Print Shipping Labels at Home: A Step-by-Step Guide
Yes, you can absolutely print shipping labels at home! It’s a convenient way to save time and skip the post office lines. You’ll need a few key things, like a printer and the right label paper, but it’s easier than you might think.
Printing your own shipping labels opens up a world of possibilities for online sellers and anyone shipping regularly. You gain more control over your shipping process. Plus, it can be a cost-effective solution when done right. Let’s get your packages ready to go!
- Get a reliable printer.
- Use the correct label size.
- Understand shipping software options.
- Ensure your labels are clear and scannable.
Ready to get started? Let’s walk through exactly how to print shipping labels at home, step by step.
“`htmlYour Guide to Printing Shipping Labels at Home
Printing shipping labels yourself is a fantastic way to streamline your shipping process. It can save you a lot of time and hassle. You’ll feel more in control of getting your packages out the door. Let’s dive into how you can make this happen easily.
Gathering Your Essential Printing Supplies
Before you can print, you need the right tools. Think of this as gathering your ingredients before baking a cake. You want everything ready to go so the process is smooth and successful.
Choosing the Right Printer
For printing shipping labels, a reliable inkjet or laser printer will do the job. If you already have one at home, great! You likely don’t need to buy a new one. What’s most important is that it’s working well. Test it with a regular document first. Make sure the ink or toner is fresh. You don’t want smudged labels. Many experts say that a printer with decent resolution will produce clear text and barcodes (PrintingForLess).
Selecting Your Label Paper
This is where you have a few good options. The type of paper you choose can affect how your labels look and how easily they scan. You’re not limited to special sticker paper, though it’s often the easiest.
Full Sheet Labels
These are large sticker sheets, usually 8.5 x 11 inches, that fit your standard printer. You print your label onto the whole sheet. Then, you can use a ruler and scissors or a paper cutter to trim out your label. It’s a bit more manual but works fine. Some people even tape these directly onto their boxes. You can find these at most office supply stores.
Direct Thermal Labels
These labels print without ink or toner. They use heat to create the image. They are often used with specialized thermal printers, but some people use them with regular printers by printing a black and white image that the thermal printer can read. They can be a bit pricier upfront if you need a dedicated thermal printer. They are also sensitive to heat and sunlight, which can fade them over time (ShipStation).
Adhesive Shipping Labels (Sticker Paper)
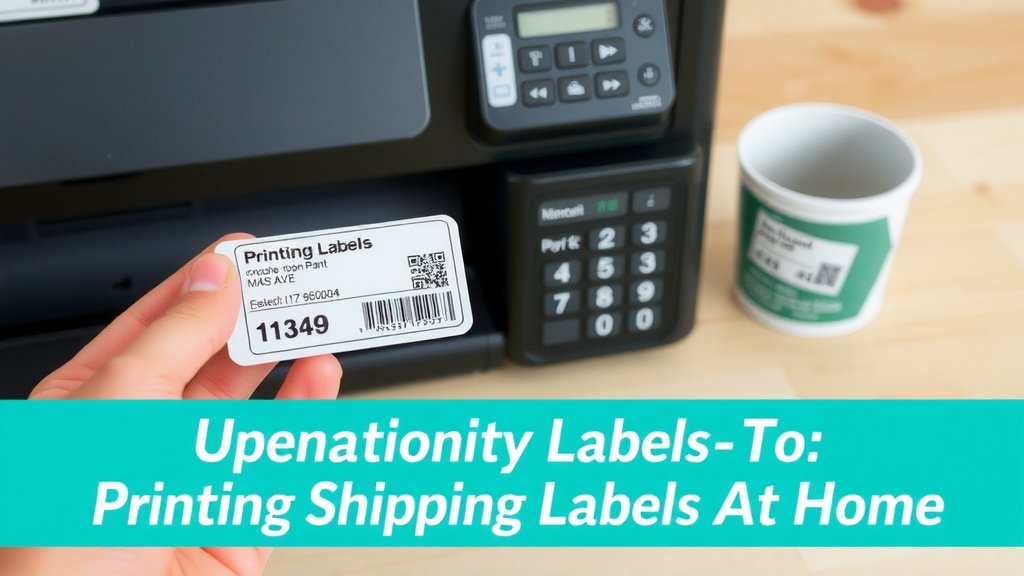
These are the most popular choice for home printing. They are sheets of sticker paper with pre-cut labels on them. You simply print your label directly onto the sticker paper. Then, peel and stick it onto your package. This is super convenient and looks very professional. You can buy these in various sizes, like 4×6 inches, which is a common shipping label size. Make sure the size you buy matches the label size you set up in your shipping software.
Plain Paper and Tape Method
If you’re in a pinch and don’t have special label paper, you can print your label onto regular printer paper. Then, use clear packing tape to securely attach it to your package. Make sure the tape covers the entire label and is smooth. Avoid wrinkles, as they can make the barcode hard to scan. This is a budget-friendly option when needed.
Understanding Shipping Software and Services
You’ve got your printer and paper. Now, where do you get the label itself? This is usually done through your shipping carrier’s website or a third-party shipping software.
Carrier Websites (USPS, FedEx, UPS)
Most major carriers let you create and print shipping labels directly from their websites. You’ll need to enter all the package details: weight, dimensions, destination address, and your return address. You’ll also pay for the postage right there. Once paid, you can download a PDF of the label to print at home. This is a straightforward method if you only ship occasionally.
Third-Party Shipping Software
If you ship frequently, software like Pirate Ship, Shippo, or Endicia can be a lifesaver. These platforms often give you discounted shipping rates compared to retail prices. They also consolidate label creation and printing into one easy-to-use interface. You connect your shipping accounts, and the software helps you manage everything. Many offer free plans for basic use. We found that using these services can cut down shipping costs noticeably (Pirate Ship).
E-commerce Platform Integrations
If you sell on platforms like Etsy, eBay, or Shopify, they usually have built-in shipping label printing tools. These are super handy because they pull your order details automatically. You don’t have to retype addresses. You can compare rates and purchase postage directly through the platform. This integration makes the whole process much quicker.
Preparing Your Label for Printing
Once you have your shipping label generated, there are a few steps to make sure it prints correctly and is ready to stick on your package.
Setting Up Your Print Settings
This is a common stumbling block for many. When you go to print, ensure your printer settings are correct. Most label software will provide a PDF. Open this PDF and select your printer.
Paper Size and Orientation
Crucially, make sure the paper size selected in your print dialog matches the label paper you’re using. If your label is 4×6 inches, select that size. If you’re using a full 8.5×11 sheet, choose that. Also, check the orientation: portrait or landscape. Your label software will tell you which it is.
Scaling and Fit
Avoid “fit to page” or “scale to fit” options if possible. These can sometimes distort the label or barcode. It’s better to print at 100% or “actual size.” If your label looks too big or too small after printing, you might need to adjust the scaling percentage. We found that a small adjustment of 98% or 102% can sometimes fix minor scaling issues (e.g., if the label is slightly cut off or too small).
Ensuring Scannability
A scannable barcode is non-negotiable. If the scanner can’t read it, your package could be delayed or misrouted. Here’s how to ensure clarity.
Print Quality
Use your printer’s highest quality setting for printing labels. Don’t skimp here. If your printer is low on ink or toner, replace it. A light or faded print won’t scan well. Also, ensure there are no smudges or streaks. Many resources suggest that clear, dark lines are essential for barcode scanners (GS1).
Placement on the Package
Once printed, carefully apply the label to your package. Make sure it lies flat. Avoid placing it over seams, tape, or curved edges if possible. The barcode should be fully visible and unobstructed. If using the plain paper and tape method, ensure the tape is clear and applied smoothly without bubbles or wrinkles. A clear, flat surface is best for the label.
A Quick Checklist for Home Label Printing Success
Ready to print your first label? Keep this checklist handy:
- Confirm your printer is working and has enough ink/toner.
- Choose the correct label paper size (e.g., 4×6 inches or 8.5×11 inches).
- Set your printer’s paper size to match your label paper exactly.
- Print at “actual size” or 100% scale for best results.
- Double-check that the barcode is dark, clear, and not smudged.
- Securely attach the label to the package, keeping it flat.
Conclusion
You’ve now got the knowledge to print shipping labels right from your home! We walked through selecting your printer and paper, understanding shipping software, and prepping your label for a perfect print. This skill will save you precious time and money. Start by choosing your preferred label paper and carrier service. Then, print your first label with confidence. You’re ready to ship with ease!
Frequently Asked Questions
Can I use any printer to print shipping labels?
Yes, most standard inkjet or laser printers work fine for printing shipping labels. Just ensure your printer has enough ink or toner and is printing clearly. Test it with a regular document first to confirm good quality.
What is the best paper to use for shipping labels?
Adhesive shipping labels, also known as sticker paper, are usually the most convenient. They let you peel and stick directly onto your package. Full sheets you cut yourself or even plain paper with tape can also work in a pinch.
Do I need special software to print labels?
Not always. You can create labels directly on carrier websites like USPS or FedEx. However, third-party shipping software or e-commerce platform integrations can offer discounted rates and streamline the process if you ship often.
Why is my shipping label barcode not scanning?
A barcode may not scan if it’s smudged, faded, wrinkled, or printed too small. Make sure you’re using your printer’s highest quality setting and printing at 100% scale. Also, place the label on a flat, unobstructed surface on your package.
How do I make sure my label is the right size?
Always check the recommended label size from your shipping software or carrier. When printing, select the matching paper size in your printer settings. Printing at “actual size” or 100% scale usually ensures the correct dimensions.