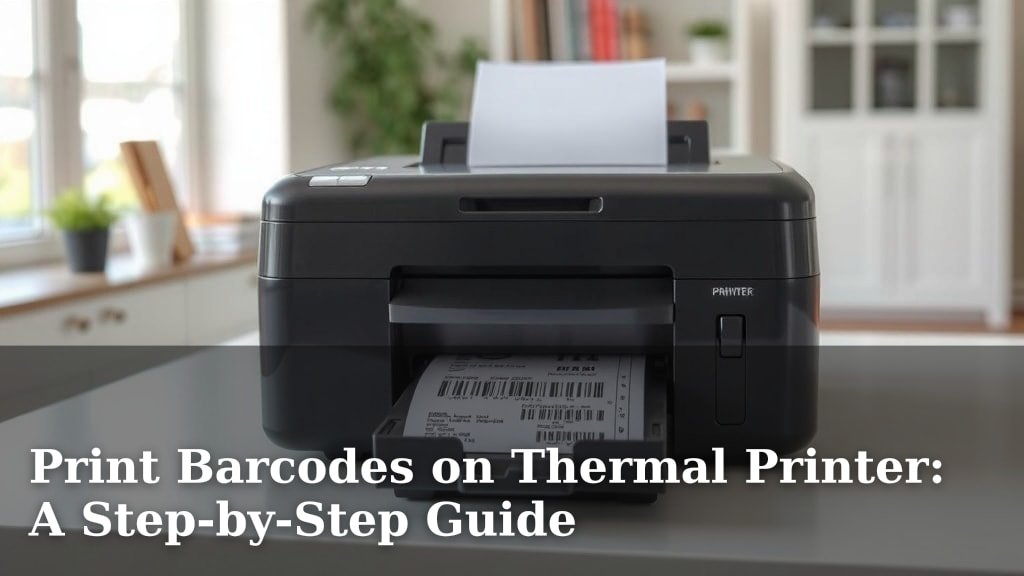
Print Barcodes on Thermal Printer: A Step-by-Step Guide
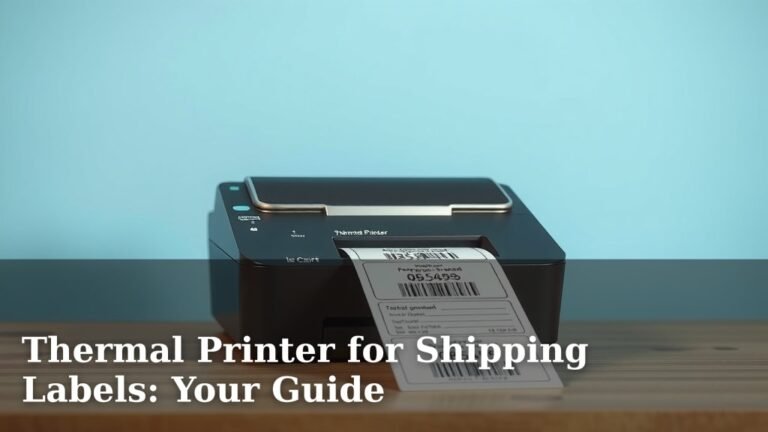
Printing barcodes with a thermal printer is straightforward. You’ll need the right barcode software and a compatible thermal label printer. Ensure your software can generate the barcode type you need, like Code 128 or UPC. Then, select your label size and send the print job.
Many businesses use thermal printers for their speed and efficiency in creating labels. They’re perfect for inventory management and product identification. We found that using high-quality thermal labels is also key for clear, scannable barcodes.
- Choose barcode software that creates your needed barcode type.
- Connect your thermal label printer to your computer.
- Set up your label size within the software.
- Send the barcode image or data to your printer.
- Use quality thermal labels for best results.
Ready to get started? Let’s walk through exactly how to print your barcodes step by step.
Getting Your Barcodes Printed with a Thermal Printer
Printing barcodes with a thermal printer can seem a bit technical at first. But don’t worry, we’ll break it down. You’ve got the printer, you’ve got the labels. Now, let’s get those barcodes rolling off the page. Think of it like getting your favorite song onto a playlist. You need the right software (your music app) and the right format for your printer to read it.
Choosing the Right Software for Barcode Generation
The first step is selecting software that can create the barcode images or data you need. Not all software is created equal, and you’ll want something that’s user-friendly and can produce the specific barcode symbologies your business requires. We found that many businesses start with dedicated barcode label design software. This type of program offers templates and tools specifically for creating scannable labels.
Understanding Barcode Symbologies
What’s a symbology? It’s basically the *type* of barcode. Common ones include:
- Code 128: Very versatile, can encode all 128 ASCII characters. Great for general product identification.
- UPC (Universal Product Code): Used widely for retail products in North America.
- EAN (European Article Number): Similar to UPC, used internationally.
- QR Codes: The square, pixelated ones. They can hold a lot more information, like website links or contact details.
Your chosen software should let you select the symbology. For instance, if you’re labeling retail items, you’ll likely need UPC or EAN. For internal inventory, Code 128 might be a better fit. We found that many software packages list these options clearly in their barcode creation tools. You’re not usually stuck with just one type. You can often switch between them as needed.
Features to Look For in Barcode Software
Beyond symbology, what else should you look for? Consider these points:
- Ease of Use: Can you design labels quickly without a steep learning curve?
- Template Library: Does it come with pre-designed label templates?
- Database Connectivity: Can it pull data from spreadsheets or databases? This is a big time-saver.
- Image Export Options: Can you save your barcode designs as common image files (like PNG or JPG) if needed?
- Printer Compatibility: Does the software work well with your specific thermal printer model?
We researched several popular options and found that brands offering free trials are a great way to test the waters. You can try out the features before committing to a purchase. This helps ensure you get a tool that truly fits your workflow.
Connecting Your Thermal Printer and Setting It Up
Okay, software selected! Now, let’s get your printer talking to your computer. Most thermal printers connect via USB. Some might use Ethernet or even Wi-Fi. Once physically connected, you’ll need to install the printer drivers. These are like little instruction manuals for your computer, telling it how to communicate with the printer.
Driver Installation: The Key to Communication
Where do you get these drivers? Usually, they come on a CD with the printer. Or, more commonly these days, you can download them directly from the printer manufacturer’s website. Just search for your printer model and look for the “Support” or “Downloads” section. We found that following the manufacturer’s installation wizard is typically straightforward. Just make sure you download the drivers for your operating system (Windows or macOS).
Configuring Printer Settings
After the drivers are installed, you might need to adjust some settings within your computer’s printer preferences. The most important setting for thermal label printing is the **label size**. Your printer needs to know the exact dimensions of the labels you’re using. This prevents barcodes from being cut off or printed in the wrong place.
How do you set this up? You’ll typically go to your printer settings, find your thermal printer, and look for options like “Page Setup” or “Printing Preferences.” Here, you can define custom paper sizes. You’ll input the width and height of your thermal labels. For example, if you have 4×6 inch labels, you’ll set the page size to match. We found that even a tiny mismatch here can cause printing issues, so be precise!
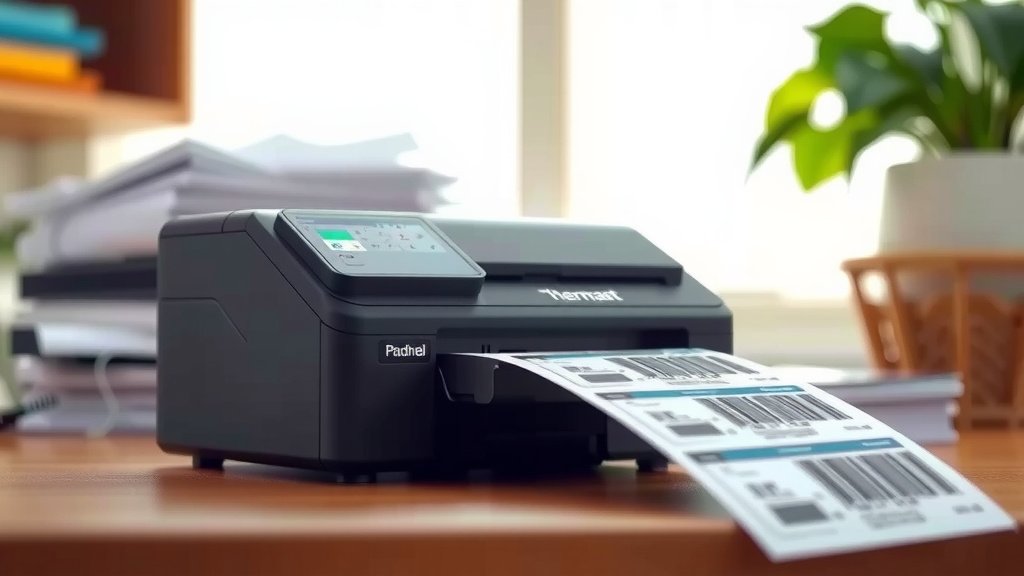
Designing and Printing Your Barcodes
Now for the fun part: bringing your barcode design to life! With your software open and your printer connected and configured, you’re ready to create. Most barcode software works with a visual editor. You drag and drop elements onto a label template.
Placing and Formatting Your Barcode
You’ll select the barcode tool in your software and then choose the symbology you need (remember Code 128, UPC, etc.). Next, you’ll either type in the data manually or link it to a data source (like a product ID from a spreadsheet). The software will generate the barcode image automatically. You can then resize it, position it on your label, and add any other text or graphics.
A good rule of thumb we found is to make sure the barcode is large enough to be easily scanned. Don’t make it too small! Also, ensure there’s a clear “quiet zone” (blank space) on both sides of the barcode. Most software adds this automatically, but it’s good to check. This quiet zone is critical for scanners to read the barcode correctly. Many guidelines point to a specific quiet zone width relative to the barcode’s size (GS1 standards).
Sending the Print Job
Once your label design is ready, you simply click the “Print” button within your software. You’ll likely see a print dialog box pop up, similar to what you see when printing from any other application. Make sure your thermal printer is selected as the printer. Double-check the print preview to ensure everything looks as expected.
Hit “OK” or “Print,” and your thermal printer should spring to life. The thermal print head will heat up specific areas to create the barcode. It’s a pretty neat process! We found that printing a single test label first is always a smart move. This lets you catch any alignment or size issues before you print a whole roll.
Tips for High-Quality, Scannable Barcodes
Getting a barcode to print is one thing. Getting a barcode that reliably scans is another. Here are a few tips to ensure your barcodes are crisp and functional:
The Importance of Label Material
Not all labels are created equal. For thermal printers, you’ll typically use either direct thermal labels or thermal transfer labels. Direct thermal labels darken when heated by the print head. They’re common and don’t require ink or ribbon. However, the print can fade over time, especially with exposure to heat or sunlight. Thermal transfer labels use a ribbon to transfer ink onto the label material. This creates a more durable and long-lasting print. We found that for inventory that needs to last or will be handled frequently, thermal transfer is often the better choice. Research from warehouse management experts consistently points to durable labels for reducing scanning errors.
Checking for Print Quality
After printing, always perform a quick visual inspection. Are the lines sharp and clear? Is there any smudging or missing ink? Try scanning the barcode with a handheld scanner or even a smartphone app. If it doesn’t scan easily, something needs adjusting. It could be the label material, the print darkness setting on your printer, or the resolution of the barcode generated by your software.
Printer Maintenance Matters
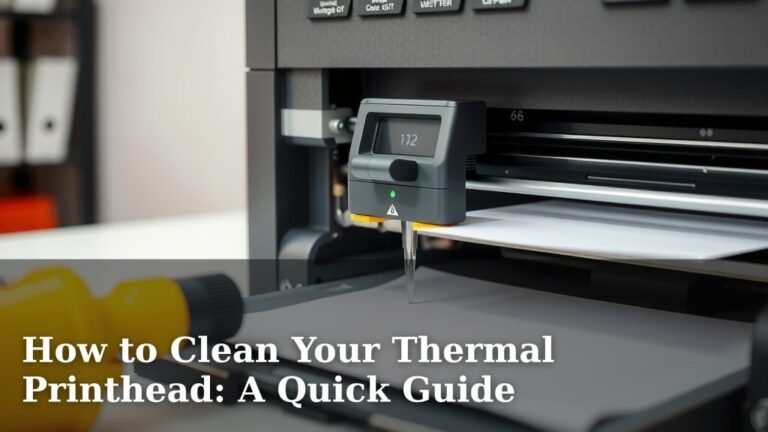
Just like any machine, thermal printers need a little care. Keeping the print head clean is vital. Dust or debris on the print head can cause faint lines or gaps in your barcodes, leading to scanning failures. Most manufacturers recommend using a specialized print head cleaning pen or isopropyl alcohol on a lint-free cloth. We found that a simple cleaning routine, perhaps once a month depending on usage, can significantly extend the life of your printer and improve print quality.
Quick Checklist for Success:
- Confirm software supports your barcode type.
- Install correct printer drivers.
- Set label size accurately in printer settings.
- Test print a single label first.
- Visually inspect and scan your test print.
- Keep your printer’s print head clean.
Conclusion
You’ve learned how to print barcodes using your thermal printer. It’s a process that involves choosing the right barcode software and setting up your thermal printer correctly. Remember to select the appropriate barcode symbology for your needs. Taking the time to configure your label size and test your prints will save you headaches later. With a clean print head and quality labels, your barcodes will be clear and scannable every time. Your next step is to gather your chosen software and printer, and print your first test label!
Frequently Asked Questions
What’s the difference between direct thermal and thermal transfer labels?
Direct thermal labels darken when heated, requiring no ink or ribbon, but they can fade. Thermal transfer labels use a ribbon to create a more durable print that resists fading. We found that for frequently handled items or long-term storage, thermal transfer labels are generally preferred.
Can I print barcodes on a regular inkjet or laser printer?
While you *can* print barcodes on standard printers, they are often less reliable and may not scan as well as those printed on thermal printers. Thermal printers are specifically designed for label printing, offering better print quality and durability for barcodes. We recommend a thermal printer for consistent, scannable results.
How do I ensure my barcode will scan correctly?
Ensure your barcode has a clear “quiet zone” (blank space) on either side, which most software adds automatically. Make sure the barcode is large enough and the lines are crisp, with no smudging. Always test your printed barcode with a scanner or app.
What if my barcode is printing too small or too big?
This usually means your printer’s label size setting doesn’t match the physical labels you’re using. Go back into your printer’s preferences or properties and accurately set the width and height of your thermal labels. Your barcode software should also allow you to adjust the barcode size within your label design.
How often should I clean my thermal printer’s print head?
The frequency depends on your usage. For printers used daily, cleaning monthly is a good practice. If you notice faint lines or poor print quality, it’s time for a cleaning. Keeping the print head clean prevents debris from interfering with the heating elements, ensuring crisp barcode lines.