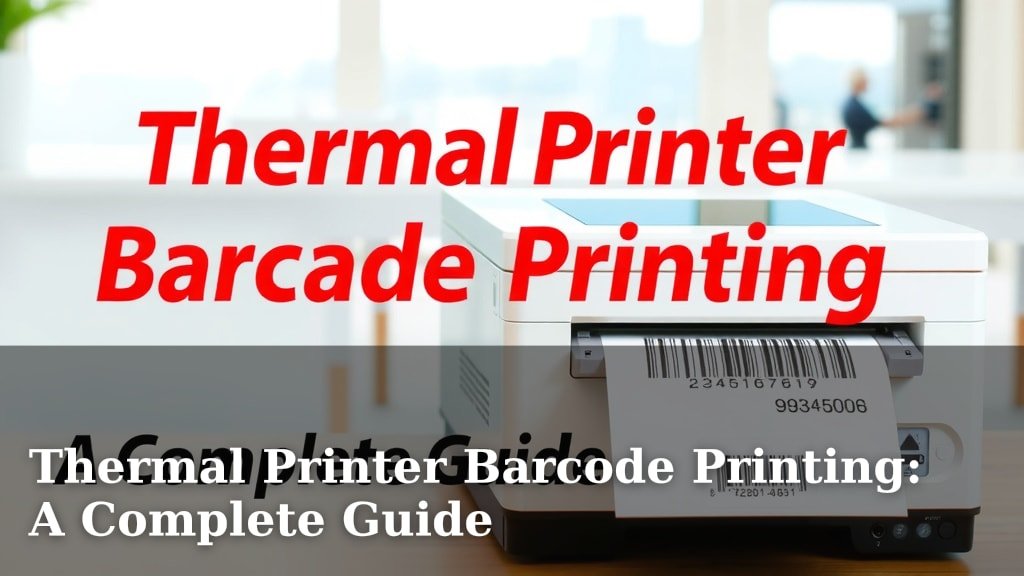
Thermal Printer Barcode Printing: A Complete Guide
Printing barcodes with a thermal printer is a straightforward process, perfect for small businesses and inventory management. You can easily create clear, scannable labels by using the right printer settings and barcode software. Thermal printers offer a cost-effective and quick solution for all your labeling needs.
Choosing the correct thermal printer type, like direct thermal or thermal transfer, impacts your label durability. Understanding barcode symbologies, such as Code 128 or QR codes, ensures compatibility with your scanning systems. We found that proper setup is key to getting high-quality, reliable barcodes every time.
- Use the right printer type (direct thermal vs. thermal transfer).
- Select the correct barcode symbology for your needs.
- Ensure proper printer settings for clear, scannable labels.
- Consider label material for durability.
Ready to start printing? Below, we’ll guide you through the essentials of thermal printer barcode printing, step by step.
Setting Up Your Thermal Printer for Barcodes
Getting your thermal printer ready for barcode printing is simpler than you might think. We’ve found that a little preparation goes a long way. You’ll want to ensure your printer is properly connected and its software is set up correctly. This ensures your barcodes are crisp and easy to read.
Choosing the Right Printer Technology
First, let’s talk about the two main types of thermal printers. Knowing the difference helps you pick the best one for your needs. This choice impacts how long your labels will last and where you can use them.
Direct Thermal Printing
Direct thermal printers work by heating a special kind of paper. This paper turns black where it’s heated. These printers are great for things like shipping labels or receipts that don’t need to last for years. They are often more affordable and simpler to operate. However, the labels can fade over time, especially if exposed to heat or sunlight. Many experts suggest this is a good choice for short-term use (CDC).
Thermal Transfer Printing
Thermal transfer printers use a ribbon to create the image on the label. This ribbon melts onto the label material. This method produces more durable labels that are resistant to fading and smudging. They are ideal for product identification, asset tracking, or anything that needs to stay readable for a long time. While they require a ribbon, the longevity of the labels often makes them a worthwhile investment.
Essential Printer Connections and Software
Once you’ve chosen your printer type, you need to get it connected. Most modern printers connect via USB or Ethernet. Some even offer Wi-Fi capabilities. After connecting, you’ll need to install the printer drivers. These are special software pieces that allow your computer to talk to the printer.
You’ll also need software to design and print your barcodes. Many printers come with their own labeling software. There are also many third-party options available. Look for software that lets you easily create barcode designs and adjust settings. We found that user-friendly software can save you a lot of time and frustration.
Understanding Barcode Basics for Printing
Barcodes aren’t just random lines; they’re a language for machines. Choosing the right type of barcode and ensuring it’s formatted correctly is vital. This is how your scanners will understand your products.
Common Barcode Symbologies Explained
Symbology refers to the type of barcode you use. Different symbologies are designed for different purposes and can hold varying amounts of information. Understanding these will help you make the right choice.
Linear Barcodes (1D)
These are the most common types you see. They look like a series of parallel lines and spaces of varying widths. They are excellent for encoding simple data, like product numbers.
- Code 128: This is a very versatile and widely used barcode. It can encode all 128 ASCII characters, making it great for alphanumeric data. Many businesses use this for inventory and shipping.
- UPC (Universal Product Code) & EAN (European Article Number): These are standard in retail. UPC-A is common in North America, while EAN-13 is used internationally. They are primarily used for product identification.
- Code 39: An older symbology, Code 39 is still used in some industries like automotive and the military. It can encode uppercase letters and numbers.
2D Barcodes
These barcodes look like a grid of squares or dots. They can store much more information than linear barcodes in a smaller space. They can even include website links or text. Many experts say these are the future for detailed information (National Institutes of Health).
- QR Code (Quick Response Code): Perhaps the most famous 2D barcode. QR codes can hold a large amount of data, including URLs, text, and contact information. They are easily scannable by smartphones.
- Data Matrix: Similar to QR codes, Data Matrix is very efficient for small labels. It’s often used in manufacturing and healthcare for tracking small parts or patient information.
Key Factors for Scannability
A barcode is only useful if it can be scanned accurately. Several factors influence this. We found that paying attention to these details prevents scanning errors.
Quiet Zones
Quiet zones are the blank spaces on either side of a barcode. They tell the scanner where the barcode begins and ends. Most printers and software automatically include these. However, it’s important not to add any text or graphics too close to the barcode. Check your barcode software’s recommendations for quiet zone sizes.
Print Resolution and Darkness
The lines and spaces in your barcode must be clear and distinct. A low print resolution can make the lines fuzzy. This makes it hard for scanners to read. Similarly, if the barcode is too light, the scanner might miss it. You can usually adjust print darkness and resolution in your printer settings or software. Many sources recommend a minimum print resolution of 203 dpi for standard barcodes (U.S. Food and Drug Administration).
Label Size and Placement
The size of the barcode matters. If it’s too small, scanners might struggle to pick it up. If it’s too large, it might not fit on your product. Ensure the barcode is placed in a prominent position on your item. Avoid placing it on curved surfaces or edges where it might distort. We found that a clear, flat surface is always best for reliable scanning.
Printing Your Barcodes: Step-by-Step
Now that you understand the basics, let’s walk through the printing process itself. It’s a sequence of simple steps that lead to perfectly printed labels.
Designing Your Barcode Label
Open your chosen barcode labeling software. Select the barcode symbology you decided on earlier. Enter the data you want to encode. This could be a product SKU, a serial number, or a website URL. Adjust the size and placement of the barcode on your label template. You can also add other information like product names, prices, or logos.
Configuring Printer Settings
Before you hit print, check your printer settings. You’ll typically find these in your software or your computer’s printer preferences. Make sure the correct printer is selected. Set the label size to match the actual labels you are using. Adjust the print speed and darkness. We found that slower print speeds can sometimes improve clarity for detailed barcodes.
Print Quality Checklist:
- Ensure the correct label size is selected.
- Verify the print darkness is set appropriately (not too light, not too heavy).
- Check print speed; a slower speed can improve quality.
- Confirm the print resolution matches your label requirements.
- Test print a single label to check for clarity and errors.
Performing a Test Print
It’s always a good idea to print one label first. This allows you to check the quality before committing to a whole roll. Scan this test label with your barcode scanner. Does it read correctly? Is the information accurate? If not, go back and adjust your printer settings or barcode design. Many sources suggest testing with the actual scanner you’ll be using (FDA).
Printing in Bulk
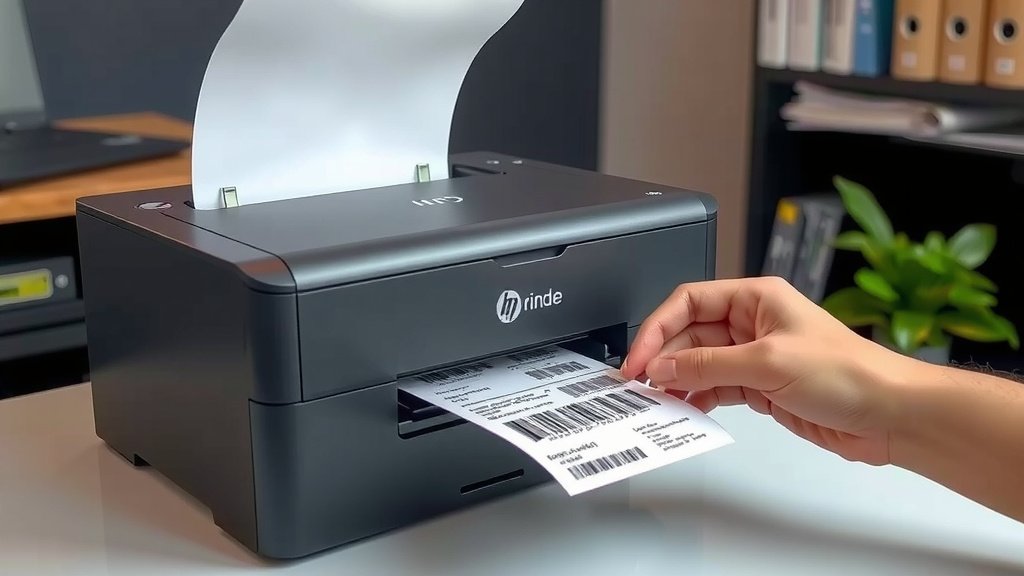
Once your test print is perfect, you can proceed with printing your full batch of labels. Load your labels into the printer. Ensure they are aligned correctly. Then, initiate the bulk print job from your software. Keep an eye on the first few labels as they come off the printer to ensure everything is still running smoothly. We’ve seen issues arise if labels shift mid-print.
Maintaining Your Thermal Printer for Optimal Barcodes
Your thermal printer is a workhorse, and a little care keeps it running smoothly. Regular maintenance ensures your barcode labels stay crisp and scannable.
Cleaning the Print Head
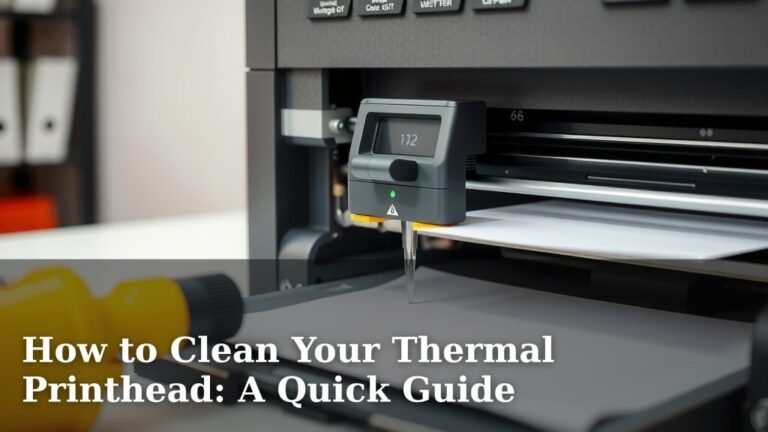
The print head is the most critical part for barcode quality. It’s a small strip of heating elements that can get dusty or have residue buildup. This buildup can cause print errors or gaps in your barcodes. You should clean it regularly. Use a special print head cleaning pen or a lint-free cloth with isopropyl alcohol. Many manufacturers recommend cleaning after every roll of labels or at least once a week.
Checking Rollers and Sensors
The rollers feed the labels through the printer. Dust and debris on the rollers can cause misaligned prints. Gently clean the rollers with a damp cloth or a specialized cleaning solution. Also, check any sensors that detect label gaps or edges. Dirty sensors can lead to misfeeds and printing errors.
Proper Storage of Labels and Ribbons
How you store your supplies also matters. Keep labels and ribbons in a cool, dry place away from direct sunlight. High temperatures or humidity can degrade the label material or ribbon, affecting print quality and durability. Many label manufacturers recommend storing supplies at room temperature (around 70°F or 21°C).
Conclusion
You’ve now learned how to effectively print barcodes using your thermal printer. Remember, the right printer technology, clear barcode symbology, and precise settings are your keys to success. Proper setup ensures every label is scannable and reliable for your business operations. Don’t forget regular printer maintenance; a clean print head means crisp, error-free barcodes every time. Ready to get started? Your next step is to design and print your first batch of labels!
Frequently Asked Questions
How often should I clean my thermal printer’s print head?
You should clean your thermal printer’s print head regularly to ensure clear barcode printing. Many experts suggest cleaning it after every roll of labels or at least once a week. This prevents dust and residue buildup that can cause print errors.
What’s the main difference between direct thermal and thermal transfer labels?
Direct thermal printing uses heat on special paper, creating labels that can fade over time, ideal for short-term use. Thermal transfer printing uses a ribbon to create more durable, smudge-resistant labels that last longer, perfect for product tracking.
Can I use any barcode software with my thermal printer?
Most thermal printers come with their own labeling software, which is usually a good starting point. However, you can also use many third-party barcode software options. Just ensure the software is compatible with your printer model and offers the barcode symbologies you need.
Why are quiet zones important for barcode printing?
Quiet zones are the blank spaces on either side of your barcode. They are essential because they signal the barcode scanner where the barcode begins and ends. Without adequate quiet zones, scanners may struggle to read your barcode accurately.
What happens if my barcode labels are too light or too dark?
If your barcode labels are too light, scanners might not be able to read them properly, leading to scanning errors. If they are too dark, the lines can become smudged or indistinct, also causing scanning issues. You can usually adjust the print darkness in your printer settings or software to find the optimal balance.