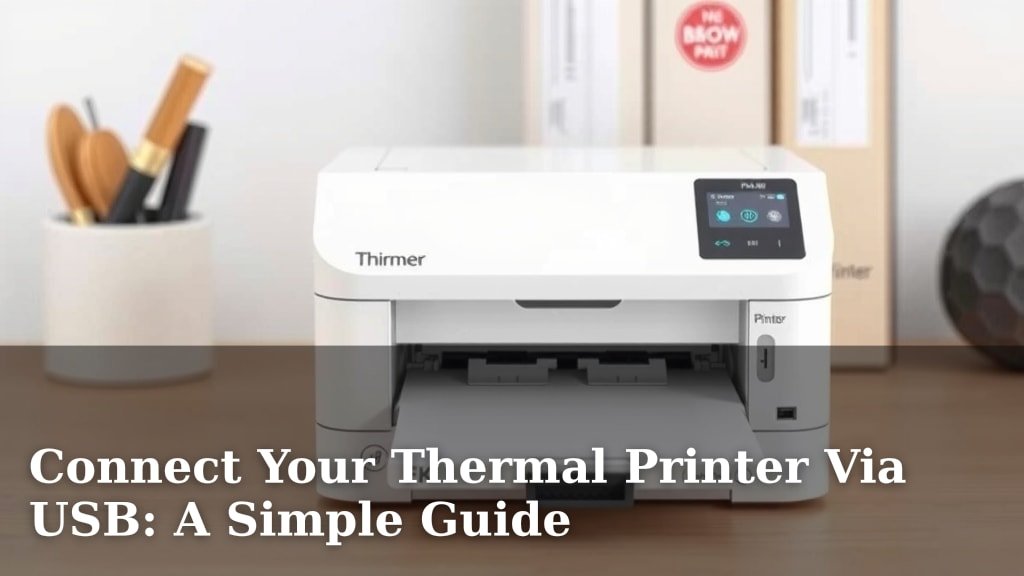
Connect Your Thermal Printer Via USB: A Simple Guide
Connecting your thermal printer via USB is usually quite straightforward. You’ll likely need to install the correct drivers for your specific printer model on your computer first. Once that’s done, a simple USB cable connects the two devices, and your computer should recognize it.
We’ve found that many users worry about driver compatibility or complex setup steps. But in most cases, the process is plug-and-play friendly after the initial software installation. Getting this connection right means you can start printing receipts, labels, or tickets without a hitch.
- Drivers are key for USB connection.
- A standard USB cable links your printer and PC.
- Make sure your printer is powered on.
- Your computer should detect the printer.
Let’s walk through the simple steps to get your thermal printer connected and printing with its USB cable.
Getting Your USB Thermal Printer Connected
Connecting your thermal printer via USB is often simpler than you might think. We’ve found that most of the work involves making sure your computer and the printer speak the same language. This is where drivers come in. Think of drivers as translators for your hardware. Without the right driver, your computer won’t know how to send print jobs to your thermal printer. Once that’s sorted, a USB cable does the heavy lifting.
Step 1: Gather What You Need
Before you start plugging things in, let’s make sure you have everything ready. You’ll need your thermal printer, its power adapter, and a USB cable. Most thermal printers come with a compatible USB cable, but it’s always good to check. You’ll also need your computer, whether it’s a desktop or a laptop.
Step 2: Power On Your Printer
This might sound obvious, but ensure your thermal printer is plugged into a power outlet and turned on. Look for a power button, usually on the front or back of the unit. A blinking light or an audible beep usually confirms it’s powered up and ready to go. If it doesn’t turn on, double-check the power cord connection at both ends.
Step 3: Install the Printer Drivers
This is arguably the most important step. Your computer needs specific software to communicate with your thermal printer. Most manufacturers provide these drivers on a CD or, more commonly now, as a download from their official website. We recommend downloading the latest version directly from the manufacturer’s support page to ensure compatibility and security.
Finding Your Printer’s Drivers
Locate your printer’s make and model number. This is usually printed on the printer itself. Once you have that, go to the manufacturer’s website. Look for a “Support,” “Downloads,” or “Drivers” section. Search for your specific model. Make sure you select the correct operating system for your computer (e.g., Windows 10, macOS Ventura).
The Driver Installation Process
Run the driver installer file you downloaded. Follow the on-screen prompts carefully. The installer might ask you to connect the USB cable at a specific point. Do not connect the printer yet if the installer tells you to wait. This ensures the software is ready to detect the hardware when you do plug it in. Most drivers install quickly, often under five minutes.
Step 4: Connect the USB Cable
With the drivers installed (or at the point the installer tells you to connect), it’s time to physically link your printer and computer. Take the USB cable. Plug one end into the USB port on your thermal printer. These ports are usually clearly marked and look like a small, rectangular slot.
Connecting to Your Computer
Now, plug the other end of the USB cable into an available USB port on your computer. If you’re using a desktop, the ports are usually on the back or front. For laptops, they are on the sides. It’s generally a good idea to plug directly into the computer and avoid using a USB hub if possible, especially for the initial setup. This reduces potential connection issues.
Step 5: Confirm the Connection and Test Print
After connecting the cable, your computer should detect the new hardware. You might see a notification pop up, saying “Device driver software was successfully installed” or something similar. Windows and macOS typically have built-in mechanisms to recognize newly connected USB devices.
Checking Printer Status in Your OS
On Windows, you can check if the printer is recognized by going to Settings > Bluetooth & devices > Printers & scanners. You should see your thermal printer listed there. On macOS, go to System Settings > Printers & Scanners. Your printer should appear in the list.
Performing a Test Print
The best way to confirm everything is working is to perform a test print. If your printer driver installed a utility program, you can often print a test page from there. Alternatively, you can try printing a simple document from any application, like Notepad or TextEdit. Open a new document, type a few words, and select your thermal printer from the print dialog box. If a page comes out of your printer with the text you typed, congratulations! You’ve successfully connected your USB thermal printer.
Troubleshooting Common USB Connection Issues
Even with simple steps, sometimes things don’t go as planned. Don’t worry; we’ve all been there. Here are a few common hiccups and how to fix them.
The Printer Isn’t Recognized at All
If your computer doesn’t seem to see the printer, first, double-check all cable connections. Are they firmly seated? Try a different USB port on your computer. Sometimes a specific port can be faulty. Also, ensure the printer is powered on and the correct drivers are installed. Restarting both your computer and the printer can resolve many temporary glitches.
Driver Installation Fails
If the driver installation gives you errors, try downloading the drivers again. Your internet connection might have interrupted the download. Make sure you’re downloading the *exact* driver for your printer model and operating system. Some security software can also interfere with driver installations. You might need to temporarily disable your antivirus or firewall, but remember to re-enable it afterward.
Printing Gibberish or Incorrect Formatting
This often points to a driver or software setting issue. Ensure you’ve selected the correct printer driver in your print settings. Check the printer properties or preferences for any specific settings related to paper size, darkness, or speed. Many thermal printers have unique command languages, and the driver needs to translate your print job into that language correctly. We found that checking the manufacturer’s support forums or documentation can offer specific solutions for formatting problems.
USB Cable Problems
While less common, a faulty USB cable can cause connection problems. If possible, try using a different USB cable. Ensure it’s a data transfer cable and not just a charging cable, as some low-cost cables lack data wires.
USB Connection Checklist: Your Quick Guide
Let’s recap the essential steps to make sure your USB thermal printer is up and running:
- Confirm you have the printer, power adapter, and USB cable.
- Ensure the printer is powered on and has a stable connection.
- Download and install the correct drivers for your printer model and OS.
- Connect the USB cable from the printer to your computer.
- Check your computer’s printer settings to see if it’s listed.
- Print a test page to verify the connection and print quality.
Conclusion
Connecting your thermal printer via USB doesn’t have to be complicated. By focusing on installing the correct drivers and ensuring a solid physical connection, you’re well on your way. Remember, patience during driver installation and double-checking your cables can save a lot of frustration. You’ve learned the essential steps, from powering on your printer to performing a successful test print. Your printer should now be ready for action. Go ahead and try printing that first ticket or label – you’ve got this!
Frequently Asked Questions
What if my computer doesn’t have a CD drive for drivers?
That’s very common these days! Most manufacturers offer driver downloads directly from their official website. You’ll need to find your printer’s model number, visit the manufacturer’s support page, and download the latest driver package for your operating system.
Can I use any USB cable to connect my thermal printer?
It’s best to use the USB cable that came with your printer or a high-quality data transfer cable. Some very cheap or old USB cables might be designed only for charging and lack the necessary data wires, which can prevent your computer from recognizing the printer.
My printer is connected, but nothing prints. What should I do?
First, check your computer’s printer settings to ensure your thermal printer is selected as the default or the correct printer for the job. Then, try printing a test page directly from the printer’s properties in your operating system. This helps determine if the issue is with a specific application or the printer connection itself.
Do I need to install drivers every time I connect a new USB thermal printer?
Yes, you generally need to install the specific drivers for your printer model on each new computer you connect it to. The drivers are software that tells your operating system how to communicate with that particular printer hardware.
Is it okay to plug the USB cable in before installing the drivers?
While sometimes your computer might automatically detect and install a generic driver, it’s usually best to follow the manufacturer’s instructions. Many installers tell you to wait until a specific prompt before connecting the USB cable. This ensures the correct, dedicated driver is installed before the system tries to communicate with the printer.