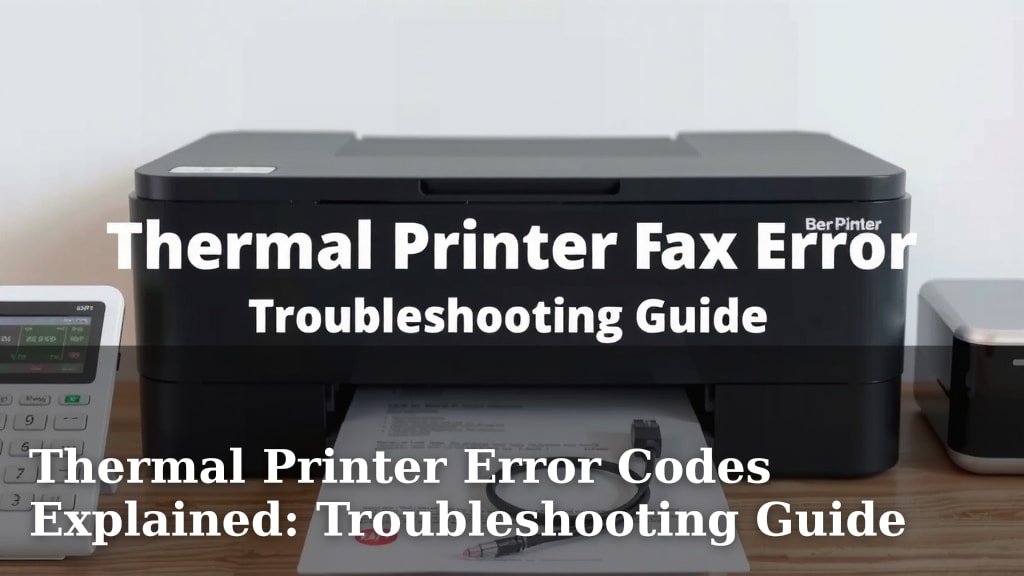
Thermal Printer Error Codes Explained: Troubleshooting Guide
Thermal printer error codes usually mean one of two things: a paper jam or a missing sensor. Most codes are simple blinking lights indicating a physical problem. You can often fix them by clearing obstructions or ensuring the cover is closed properly. Don’t panic if your printer flashes a strange code!
Understanding these codes helps you troubleshoot quickly. Different brands have unique codes, but many point to common issues like running out of labels or a dull print head. We’ve found that many error codes relate to the printer’s basic operational needs. Knowing what they signify can save you a lot of time and frustration.
- Thermal printers have error codes for simple fixes.
- Most codes indicate paper jams or sensor issues.
- Check for obstructions and ensure the cover is shut.
- Look up your specific printer model’s manual for detailed codes.
- Resolving codes quickly gets your printing back on track.
Let’s walk through common thermal printer error codes and how to fix them so you can get back to printing without hassle.
“`htmlDecoding Your Thermal Printer’s Blinking Lights
Your thermal printer is sending signals. Those blinking lights aren’t random flashes. They’re your printer’s way of talking to you. We found that most error codes point to simple, fixable issues. Think of them like warning lights on your car’s dashboard. They tell you something needs attention.
Understanding these messages saves you time. It prevents unnecessary calls to tech support. Many issues are solved with a quick check of the printer’s internals. We’ve compiled the most common reasons for these alerts. Let’s get your printer back to full speed.
Common Thermal Printer Error Causes
When your printer stops working, it’s usually for a few main reasons. These are the usual suspects we see time and time again.
Paper or Label Issues
This is the most frequent cause of printer errors. Your printer needs a clear path for labels or paper to feed through. Any obstruction can stop the printing process. We found that a loose label edge or a torn piece of paper is often the culprit.
Paper Jams
A paper jam means something is stuck where it shouldn’t be. You might hear grinding noises. The print head might be trying to pull paper that isn’t aligned. We recommend turning off the printer first. Then, gently open the printer cover to access the paper path. Carefully remove any jammed media. Make sure no small pieces are left behind.
Running Out of Media
It sounds obvious, but printers will signal when they’re out of labels or receipt paper. Some printers have a sensor that detects the end of the roll. If this sensor is blocked or dirty, it might not register correctly. We suggest checking your media supply first.
Media Type and Loading Errors
Thermal printers need specific types of media. Using the wrong kind can cause feeding problems. Also, how you load the media matters. If it’s not seated correctly under the guides, it can skew. We found that ensuring the media is centered and snug is key.
Sensor Problems
Thermal printers use sensors to know where media starts and stops. They also detect if the cover is open. If a sensor is dirty, blocked, or malfunctioning, it triggers an error. We found that keeping these sensors clean is important for smooth operation.
Media Sensors
These sensors detect the gaps or marks on your labels. This tells the printer when to cut or start a new label. If dust or debris covers them, they can’t work properly. We recommend using a soft, dry brush or compressed air to clean them. Follow your printer’s manual for the exact location of these sensors.
Cover Sensors
Most printers have a safety feature that stops printing if the cover is open. This prevents injury from the hot print head. If the sensor for the cover is dirty or misaligned, it might think the cover is open even when it’s closed. We found that a simple check to ensure the cover clicks shut is often enough.
Print Head and Thermal Transfer Issues
The print head is where the magic happens. It heats up to create the image on thermal paper. Sometimes, issues with the print head itself can cause errors.
Dirty Print Head
A dirty print head leads to faded or missing print. While not always an error code, it’s a common operational issue. We recommend using a special print head cleaning pen or isopropyl alcohol on a lint-free cloth. Gently wipe the print head. Let it dry completely before closing the cover.
Print Head Not Seated Properly
The print head needs to be firmly in place to function. If it’s loose or not aligned correctly, it can cause errors or poor print quality. We found that after cleaning or maintenance, double-checking that the print head is secure is a good step.
Connectivity and Power Problems
Sometimes, the issue isn’t with the printer’s internal parts. It could be an external factor.
Loose Cables
Ensure that the power cable and any data cables (USB, Ethernet) are securely plugged in. A loose connection can cause intermittent errors or prevent the printer from starting. We found that wiggling the cables gently can sometimes reveal a poor connection.
Power Supply Issues
Make sure your printer is plugged into a working outlet. Try a different outlet if you suspect a problem. If you use a power strip, test the printer directly in the wall socket. We recommend checking the power adapter itself for any damage.
Understanding Specific Error Codes (The Blinking Light Guide)
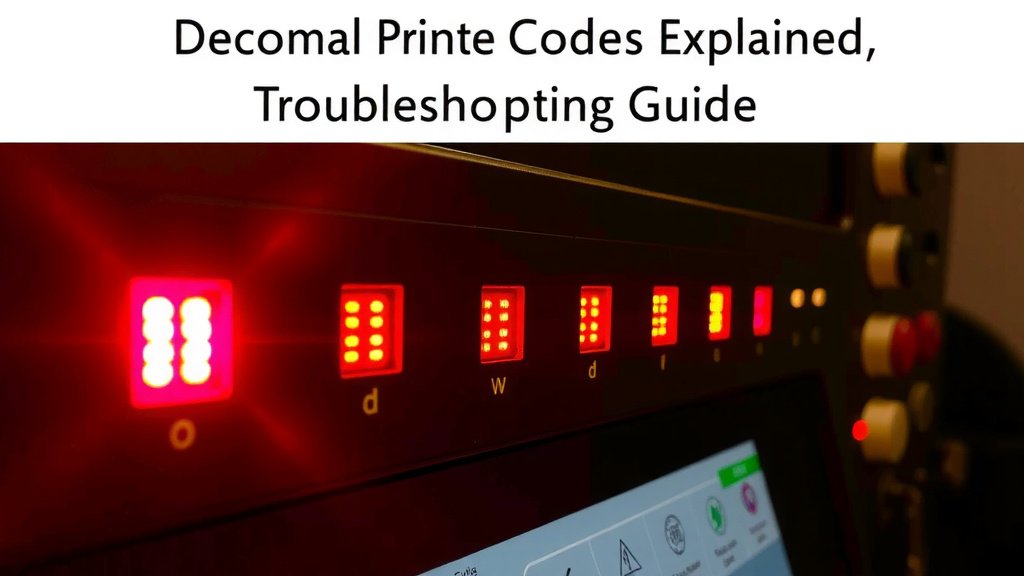
Most thermal printers use a series of blinking lights to indicate specific problems. While exact codes vary by brand, some patterns are universal. We’ve researched common blinking patterns and what they typically mean.
| Blinking Pattern | Likely Cause | Suggested Action |
|---|---|---|
| Single Blink, Pause, Repeat | Paper out or media not detected. | Check and reload media. Ensure sensors are clean. |
| Fast Blinking (All Lights) | General error or internal fault. | Power cycle the printer. Check for jams. Consult manual. |
| Two Blinks, Pause, Repeat | Cover is open. | Ensure the printer cover is securely closed. |
| Alternating Blinks | Print head is too hot or has an issue. | Let the print head cool. Check print head seating. |
| Solid Light (No Blinking) with no print | Printer is idle and ready. | Ensure print command was sent correctly. Check software. |
This table gives you a general idea. Always refer to your specific printer’s manual. It will have the most accurate information for your model. We found that manuals are often the best first resource.
Troubleshooting Checklist: Get Your Printer Back Online
When an error code pops up, don’t despair! Run through this quick checklist:
- Power Cycle: Turn the printer off, wait 30 seconds, then turn it back on.
- Check Media: Is there enough paper/labels? Is it loaded correctly?
- Inspect Paper Path: Look for any small pieces of torn media.
- Close Cover Firmly: Make sure the printer lid clicks shut.
- Clean Sensors: Gently blow out dust from sensor areas.
- Consult Your Manual: Match the blinking lights to your printer’s specific error guide.
When to Seek Professional Help
Most thermal printer errors are user-fixable. However, some issues require more advanced knowledge. If you’ve tried all the basic steps and the error persists, it might be time to call in an expert. This could include issues with the printer’s internal electronics or a damaged print head that needs replacement.
We found that persistent errors after all troubleshooting steps usually mean a component failure. Don’t hesitate to reach out to the manufacturer’s support or a qualified printer technician. They have the tools and expertise to diagnose complex problems.
“`Conclusion
You’ve learned that most thermal printer errors aren’t scary. They’re usually simple signals about paper jams or sensor issues. By checking the media path, ensuring the cover is closed, and keeping sensors clean, you can fix many problems yourself. Remember to always consult your printer’s manual for specific codes. Don’t let blinking lights stress you out. Take a moment, follow these steps, and get your printer back to reliably producing your labels or receipts. Your next step is to keep this information handy for future reference.
Frequently Asked Questions
How often should I clean my thermal printer’s sensors?
We recommend cleaning your thermal printer’s sensors at least once a month, or more frequently if you notice print quality issues or error codes related to media detection. Dust and debris can easily accumulate and interfere with sensor accuracy.
Can using the wrong type of label cause error codes?
Yes, absolutely. Using label stock that is too thin, too thick, or has an incorrect gap or black mark can cause feeding errors and trigger error codes. Always check your printer’s manual for compatible media types.
My printer is still showing an error after clearing a jam. What else could it be?
Sometimes, small pieces of torn media can remain hidden in the paper path. We suggest carefully inspecting the entire path again, including rollers. Also, try a power cycle to reset the printer’s internal memory after clearing any obstruction.
What does it mean if all the lights on my printer are blinking rapidly?
A rapid blinking pattern on all lights usually indicates a general error or an internal fault. Your first step should be to power cycle the printer. If the issue persists, consult your manual or contact support, as it might require more advanced diagnostics.
Is it safe to clean the print head myself?
Yes, cleaning the print head is a standard maintenance task that you can perform. We suggest using a specialized print head cleaning pen or a lint-free cloth lightly dampened with isopropyl alcohol. Always ensure the printer is off and the print head has cooled down before cleaning.