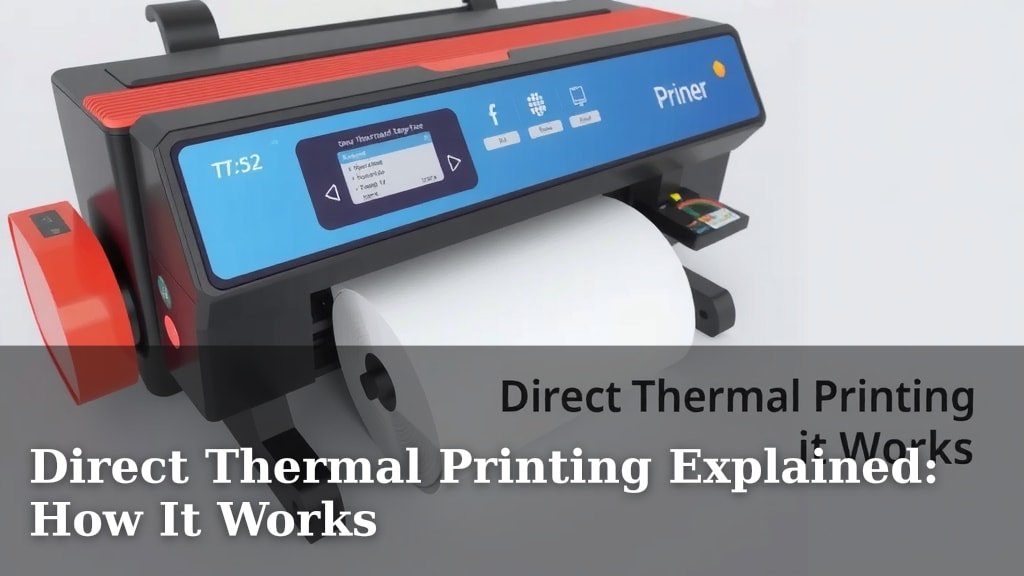
Direct Thermal Printing Explained: How It Works
Direct thermal printing is a clever way to create labels and receipts without needing any ink or toner. It works by heating up special paper, causing the areas you want to print on to turn black. This makes it a simple and cost-effective method for many everyday tasks, perfect for quickly printing price tags or shipping labels.
Think of it like a very precise hot-stamping process for paper. We found that the magic happens thanks to a heat-sensitive coating on the paper itself. When the print head applies heat, it causes a chemical reaction that forms your text or images. It’s a popular choice because it’s incredibly low-maintenance and straightforward to use.
- Direct thermal printing uses heat, not ink.
- Special paper changes color when heated.
- It’s a simple and affordable printing method.
- Ideal for labels, receipts, and tickets.
- Requires minimal maintenance.
Ready to see how this ink-free wonder actually works? Let’s walk through the basics of direct thermal printing step by step.
“`htmlHow Direct Thermal Printing Works
So, how does this ink-free magic actually happen? It all comes down to a special kind of paper and a very precise print head. You might be wondering, “Where’s the ink?” Well, that’s the beauty of it – there isn’t any! We found that the process is quite straightforward once you understand the key components.
The Special Paper: More Than Meets the Eye
The secret ingredient is the direct thermal paper itself. We’ve learned that this paper has a unique coating applied to it. This coating is made of a special thermosensitive material. Think of it like a mild chemical that changes color when it gets warm enough. This coating is typically clear or pale yellow before printing.
The Thermosensitive Coating Layer
This layer is where all the action takes place. We discovered that it’s usually a mixture of dyes and developers. When these two components are kept separate, the coating stays its original color. However, when heat is applied, they combine and react. This reaction creates a visible, dark mark – usually black.
The Protective Top Coat
Above the thermosensitive layer, there’s often a protective top coat. This isn’t always present, but when it is, its job is to shield the sensitive layer. It helps prevent damage from things like moisture, UV light, or even abrasion. This can extend the life of your printed labels and receipts.
The Print Head: The Heat Master
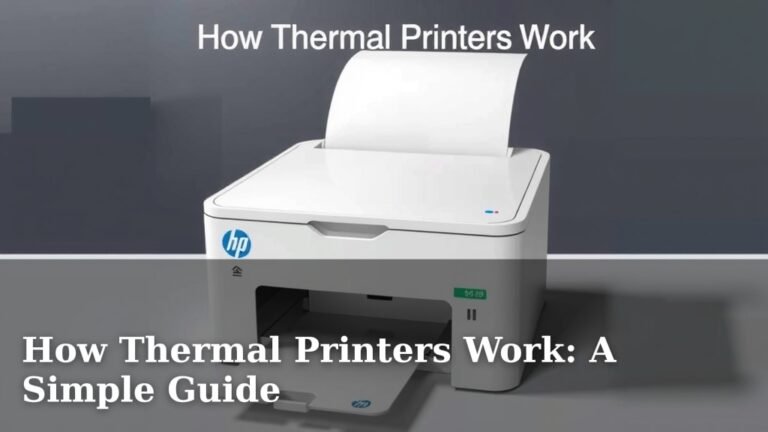
The direct thermal printer has a specialized print head. This head contains tiny heating elements, often called ‘dots’ or ‘elements’. We found that these elements are arranged in a precise grid. When the printer receives data, it sends electrical signals to specific heating elements on the print head. These activated elements then heat up rapidly.
How the Dots Create Your Image
As the heated dots come into direct contact with the thermosensitive paper, they trigger the chemical reaction we talked about. The pattern of activated dots creates the desired text or image. It’s like drawing with heat! The speed at which these dots heat up and cool down is astonishingly fast, allowing for quick printing.
The Pressure Roller’s Role
While the print head provides the heat, a pressure roller works in conjunction with it. This roller, usually made of rubber, presses the paper firmly against the heated elements. We found that good pressure is essential. It ensures consistent contact between the paper and the print head. This contact is vital for sharp, clear, and uniform prints every time.
The Direct Thermal Printing Process Step-by-Step
Let’s walk through what happens when you hit ‘print’. It’s a coordinated dance between the paper and the printer. We’ve broken it down into simple steps to make it easy to follow.
1. Data Input and Processing
First, you send your design – text, barcodes, graphics – to the printer. Your computer or device processes this data. It converts it into a format the printer understands. This information tells the printer exactly which dots on the print head need to heat up and for how long.
2. Paper Feed and Alignment
The printer then feeds a specific length of direct thermal paper. The pressure roller moves into position. It ensures the paper is perfectly aligned against the print head. Proper alignment is key to avoid crooked or misprinted labels.
3. Heating and Image Formation
Now, the magic happens. The printer activates the tiny heating elements on the print head. These elements heat up instantly. They touch the thermosensitive coating on the paper. Where the paper is heated, the dye and developer react. This forms the visible black image. The unheated areas of the paper remain unchanged.
4. Paper Ejection
Once the image is formed, the paper moves forward. The newly printed label or receipt is then ejected from the printer. The entire process, from data to ejection, can take mere seconds. We found that this speed is one of its biggest advantages for busy environments.
Key Components for Your Direct Thermal Setup
To get started with direct thermal printing, you’ll need a few essential items. Think of it like building blocks for your printing solution. We’ve listed the core pieces you’ll want to consider.
- Direct Thermal Printer: The heart of the operation. Look for one that suits your needs for speed and label size.
- Direct Thermal Labels/Paper: This is non-negotiable. Regular paper won’t work. Ensure it’s specifically designed for direct thermal use.
- Power Supply: Printers need power, of course! Make sure you have the correct adapter.
- Connection Cable: Depending on your printer and computer, you’ll need a USB, Ethernet, or other compatible cable.
- Software/Drivers: You’ll need the right software or printer drivers installed on your computer. These allow your device to communicate with the printer.
When Does Direct Thermal Shine?
This printing method isn’t for every single printing task, but it excels in specific areas. We’ve seen it become a go-to for many businesses and individuals because of its unique strengths.
Ideal Use Cases
Direct thermal printing is fantastic for applications where labels or receipts don’t need to last for years. Think about items that are used up quickly or need frequent updating. We found that these scenarios are where direct thermal really proves its worth:
- Shipping Labels: Perfect for getting packages out the door quickly.
- Receipts: Customers usually don’t keep receipts for very long.
- Price Tags and Markdowns: Great for retail environments where prices change often.
- Event Tickets: Ideal for single-use admissions.
- Name Badges: Often printed for the duration of an event.
- Visitor Passes: Similar to name badges, these are temporary.
When to Consider Other Options
However, if your printed material needs to withstand harsh conditions or be archived for a long time, direct thermal might not be the best fit. We’ve noted that prolonged exposure to sunlight or heat can cause the print to fade. For long-term archival or extreme durability, thermal transfer printing (which uses a ribbon) or inkjet/laser printing might be more suitable. Many experts suggest that if your print needs to last more than a year without degradation, it’s time to look elsewhere (National Archives and Records Administration).
Quick Checklist for Direct Thermal Success
Ready to make sure your direct thermal printing goes smoothly? Here’s a quick rundown of things to keep in mind:
- Use only direct thermal-compatible labels or paper.
- Keep printed items away from direct sunlight and heat.
- Handle labels gently to avoid scratching the surface.
- Ensure your printer’s print head is clean for optimal results.
- Store any unused direct thermal paper in a cool, dark place.
- Check your printer’s manual for specific maintenance tips.
Conclusion
You’ve now got a clear picture of how direct thermal printing works. We’ve seen it’s a simple, ink-free technology that relies on heat and special paper to create your prints. It’s a fantastic, low-maintenance choice for labels, receipts, and tickets that don’t need to last forever. By understanding its core components and ideal uses, you can confidently decide if direct thermal is the right fit for your needs. For your next printing task, consider this efficient method for quick and cost-effective results!
Frequently Asked Questions
How long do direct thermal prints typically last?
We found that direct thermal prints are not meant for long-term archival. They can start to fade within months, especially when exposed to sunlight, heat, or even just handling. For applications where longevity is key, other printing methods are usually better suited.
Can I use regular paper in a direct thermal printer?
No, you absolutely cannot. A direct thermal printer requires special heat-sensitive paper. Regular paper will not react to the heat from the print head, so nothing will be printed on it.
What happens if my direct thermal labels get hot?
If your direct thermal labels get too hot, the thermosensitive coating can start to react prematurely. This can cause the labels to darken or even turn completely black, rendering them unusable. Always store and use them away from heat sources.
Is direct thermal printing more expensive than other methods?
Generally, direct thermal printing is quite cost-effective. You eliminate the ongoing cost of ink or toner cartridges, and the specialized paper is often reasonably priced. The initial printer cost can also be quite low for many models.
How do I clean my direct thermal printer’s print head?
Most direct thermal printers can be cleaned with a specialized print head cleaning pen or a lint-free cloth lightly dampened with isopropyl alcohol. We recommend checking your printer’s manual for specific instructions to avoid damaging the sensitive elements.