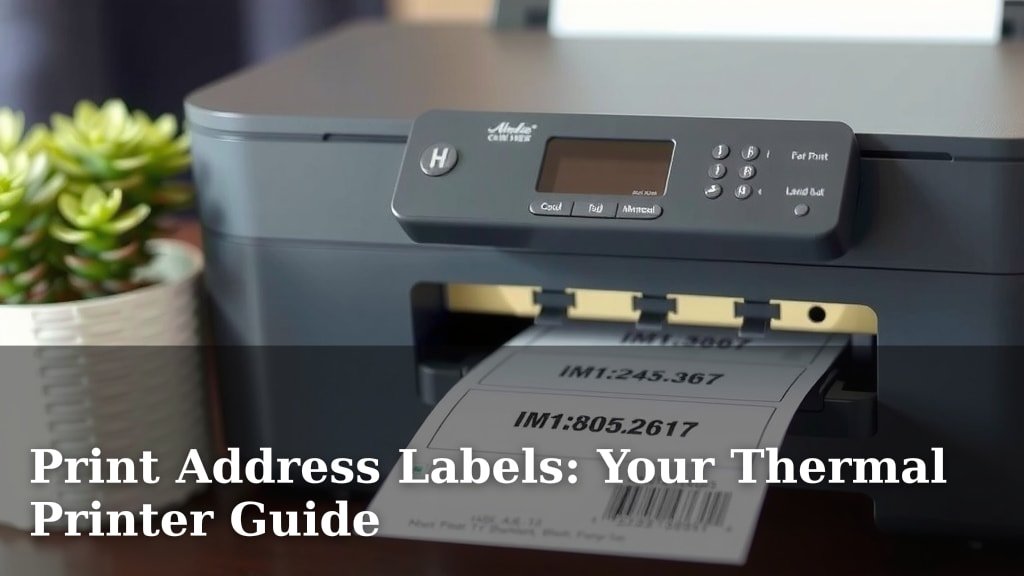
Print Address Labels: Your Thermal Printer Guide
Printing address labels with a thermal printer is surprisingly simple. You just need the right labels, your printer, and your software to get started. Most thermal printers work directly with label sheets or rolls, making the process quick and efficient for shipping or organizing.
Many people wonder if thermal printing is the best option for their labels. We found that thermal printers offer a cost-effective solution because they don’t require ink or toner. Plus, the labels are often water-resistant and durable, which is great for packages that might face the elements.
- Thermal printers are ink-free, saving you money.
- Choose labels specifically designed for thermal printing.
- Software helps you design and print your labels easily.
- Ensure your printer is compatible with your label size.
- Thermal labels are often more durable than standard paper labels.
Ready to get those labels printed? Let’s walk through the few simple steps to make sure your thermal address labels come out perfectly.
Getting Your Address Labels Printed Thermally
Printing address labels with a thermal printer is much easier than you might think. You’ll get professional-looking labels in no time. We’ve found that the process is straightforward for shipping, organizing, or even personalizing items.
Understanding Thermal Printing for Labels
Thermal printers work a bit differently than your standard inkjet or laser printers. They use heat to create images on special paper. This means no ink cartridges to replace. It’s a clean and often more economical way to print labels.
How Thermal Printers Work
A thermal print head heats up specific dots. These heated dots cause a chemical reaction in the heat-sensitive coating on the label paper. This reaction turns the dots black, forming your text and images. It’s a fast and quiet process. Many shipping services prefer thermal labels because they are often very durable.
Benefits of Thermal Label Printing
You’ll find several advantages to using thermal printing for your address labels. For starters, the lack of ink or toner is a big plus. This saves you ongoing costs. Plus, the labels themselves are designed to last. We’ve found they hold up well against moisture and smudging. This is great if your packages might get wet during transit.
- No ink or toner needed, saving money.
- Labels are often water and smudge-resistant.
- Prints quickly and quietly.
- Durable for shipping and long-term storage.
Choosing the Right Thermal Labels
Not all labels work with thermal printers. You need to use labels specifically made for thermal printing. These are often called “direct thermal” labels. They have that special heat-sensitive coating we talked about. Using the wrong kind of label means you’ll get blurry or unreadable prints, or no print at all.
Types of Thermal Labels
There are two main types of thermal printing: direct thermal and thermal transfer. For address labels, you’ll almost always use direct thermal labels. Thermal transfer uses a ribbon to transfer ink onto the label, which is great for some applications but not typically for standard address labels.
Label Size and Compatibility
Your thermal printer has a specific width it can print. You need to make sure your labels fit this width. Standard address label sizes are common. Think about the common dimensions like 4″ x 6″ for shipping labels. You can also find smaller labels for return addresses. Always check your printer’s specifications for supported label sizes. This avoids frustration later.
Where to Buy Thermal Labels
You can find thermal labels online from many retailers. Office supply stores also carry them. Look for brands known for quality. Some printers come with starter rolls, which is a nice way to test things out. We recommend buying in bulk if you use a lot of labels; it’s usually more cost-effective.
Setting Up Your Thermal Printer for Address Labels
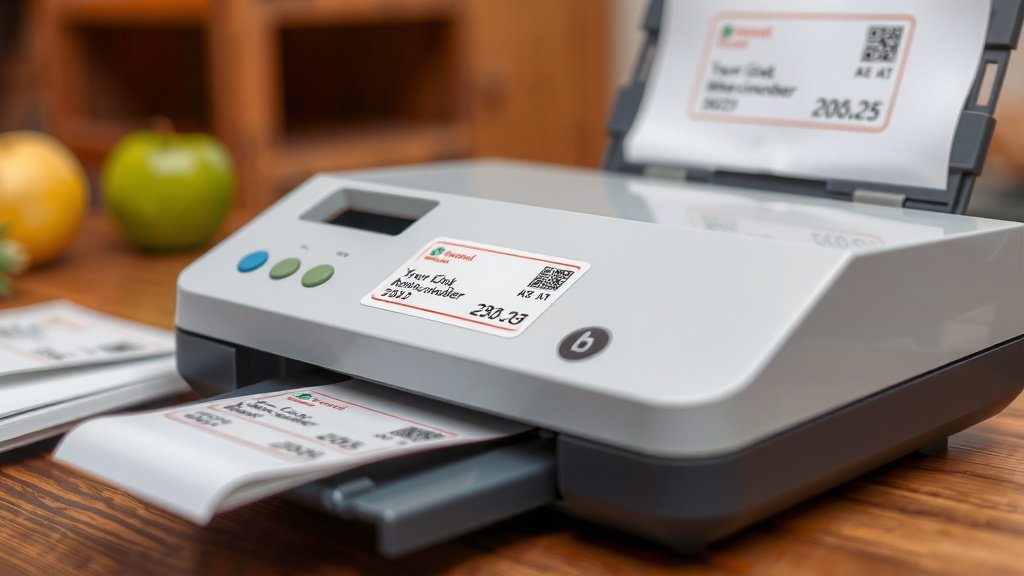
Once you have your labels, it’s time to get your printer ready. This involves a few simple steps. The goal is to make sure your printer knows what kind of labels you’re using and how to print on them correctly.
Connecting Your Printer
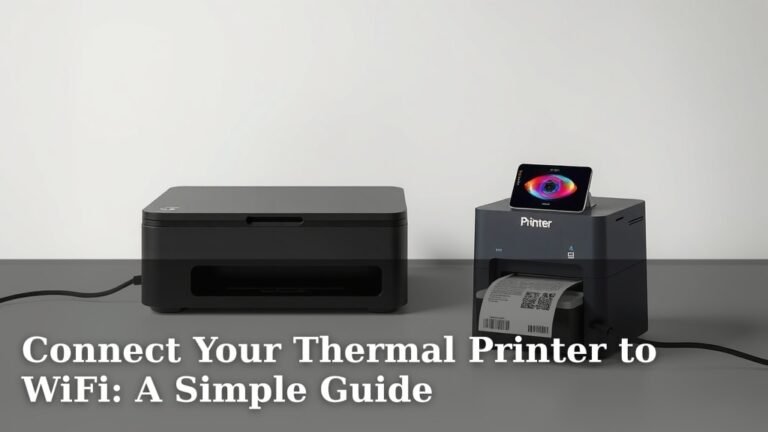
Most modern thermal printers connect via USB. Some might offer network connectivity. Make sure you have the correct cable. Plug it into your computer and your printer. Your computer should detect the printer. If not, you might need to install printer drivers. These are small software programs that let your computer talk to the printer.
Installing Printer Drivers
Drivers are essential. They tell your operating system how to control the printer. You can usually download the latest drivers from the printer manufacturer’s website. Search for your specific printer model. Download the driver for your operating system (Windows or macOS). Run the installer and follow the on-screen instructions. This is a critical step for proper functioning.
Loading the Labels
Loading labels varies by printer model. Some printers have a simple roll holder. Others require you to feed the labels through a specific path. Check your printer’s manual for exact instructions. Ensure the labels are loaded correctly and not twisted. The printer needs to be able to advance the labels smoothly. Most printers have a sensor to detect the edge of the labels.
Calibrating Your Printer
Calibration tells your printer where the gaps between labels are. This ensures it prints in the right spot every time. Many printers have an automatic calibration function. You might need to press a button or use the printer software. This is important for accurate printing, especially with smaller labels. Without calibration, your printout might start halfway down a label or get cut off. We found that proper calibration is key.
Designing and Printing Your Address Labels
Now for the fun part: designing your labels! You can use a variety of software for this. The goal is to get your address information onto the label clearly and legibly.
Using Label Design Software
Many label printers come with their own software. This is often the easiest option. These programs are designed specifically for label printing. They typically have templates for different label sizes. You can easily add text, logos, or barcodes. Some popular options are easy to use. They allow you to import contact lists from spreadsheets too. This saves a lot of manual typing.
Common Software Options
Beyond the bundled software, you can use other programs. Word processors like Microsoft Word or Google Docs can work. You’ll need to set up a custom label template. Design software like Adobe Illustrator or Canva also offer options. For shipping labels, dedicated shipping software is often the best. Think of platforms like Shippo or Pirate Ship. They integrate directly with carriers like USPS and UPS.
Creating Your Label Layout
When designing, keep it simple. Your recipient’s address should be clear and easy to read. Use a font size that is legible from a distance. Typically, 10-12 points is good for return addresses. For the main address, 12-14 points is often best. Ensure good contrast between your text and the label background. Black text on a white label is usually most effective.
Importing Address Data
If you have a long list of addresses, manual entry is tedious. Many software programs allow you to import data. You can usually import from CSV files or spreadsheets. Ensure your data is organized correctly in columns (e.g., Name, Street, City, State, Zip). This is a huge time-saver for mass mailings.
The Printing Process
Once your design is ready and your data is imported, you’re set to print. Select your thermal printer from the list of available printers. Double-check your print settings. Make sure the correct label size is selected. Then, hit print! The printer should feed a label and print your design. It’s usually a quick process.
Troubleshooting Common Issues
Sometimes things don’t go perfectly. If labels are printing blank, check if you’re using direct thermal labels and that the printer is heated correctly. If text is cut off, recalibrate your printer. If the printer isn’t recognized, ensure the drivers are installed correctly and the USB cable is secure. Most issues are resolved with a quick check of the manual or a restart.
Here’s a quick checklist to ensure your thermal address labels are ready to go:- Confirm you are using direct thermal labels.
- Ensure your printer is connected and drivers installed.
- Load labels correctly and calibrate your printer.
- Design your label for clear readability.
- Double-check print settings for the correct label size.
- Test print one label before printing a batch.
Conclusion
You’ve learned that printing your own thermal address labels is straightforward and cost-effective. By understanding how thermal printers work and selecting the right direct thermal labels, you avoid ink costs and get durable prints. Proper setup, including driver installation and printer calibration, ensures your labels are perfectly aligned. With user-friendly software, you can easily design and import addresses for professional-looking mailings. Now, go ahead and set up your printer to tackle that label project. Your organized mailings await!
Frequently Asked Questions
Can I use regular paper labels with my thermal printer?
No, you generally cannot use regular paper labels with a standard thermal printer. Thermal printers require special direct thermal labels that have a heat-sensitive coating. Using regular labels will result in blank or unreadable prints because they don’t react to the heat from the printer head.
How do I make sure my address is readable on the label?
To ensure readability, use a clear, legible font size, typically between 12-14 points for the main address. Ensure good contrast between your text and the label background, usually black text on a white label. Keep the layout clean and avoid small, decorative fonts that can be hard to read from a distance.
My thermal printer isn’t printing anything. What could be wrong?
If your printer isn’t printing, first check that you are using compatible direct thermal labels and that they are loaded correctly. Ensure the printer is powered on and properly connected to your computer. You might also need to confirm that the correct printer drivers are installed and that the printer is selected in your print settings.
What is the difference between direct thermal and thermal transfer labels?
Direct thermal labels have a heat-sensitive coating that turns black when heated by the printer. Thermal transfer labels require a ribbon that melts onto the label to create the print. For most standard address labels, direct thermal is the common choice due to its simplicity and no need for ink or ribbons.
How do I update my thermal printer’s drivers?
You should visit the website of your thermal printer’s manufacturer. Search for your specific printer model and look for the support or downloads section. Download the latest drivers compatible with your operating system (Windows or macOS) and follow the installation instructions provided by the manufacturer.