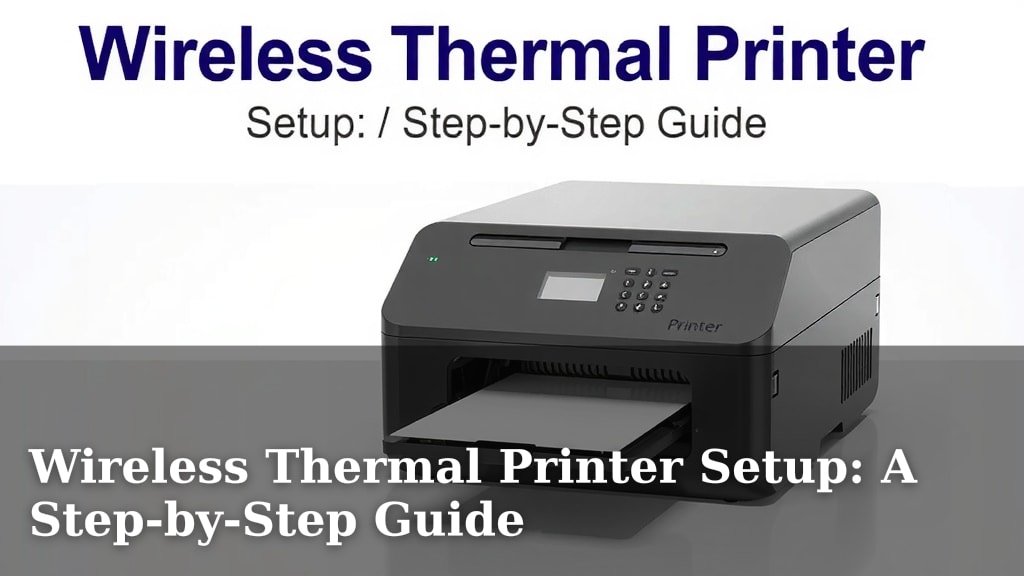
Wireless Thermal Printer Setup: A Step-by-Step Guide
Setting up your wireless thermal printer is easier than you think! You can get it connected and printing in just a few simple steps. Most models use your existing Wi-Fi network for a cable-free connection. This means you can print from anywhere in your home or office without being tethered to a computer.
A wireless setup offers incredible flexibility and convenience. Imagine printing shipping labels or receipts directly from your tablet or phone. We found that this type of printer setup is becoming increasingly popular for small businesses and home offices alike. It really streamlines your workflow and reduces clutter.
- Connect your printer to Wi-Fi.
- Download necessary drivers or apps.
- Pair your devices for printing.
- Perform a test print to confirm.
Ready to ditch the cords? Let’s walk through the process to get your wireless thermal printer up and running in no time!
Connecting Your Wireless Thermal Printer Wirelessly
Getting your new wireless thermal printer connected is more straightforward than you might expect. You’re likely eager to start printing those labels or receipts without a mess of cables. Most modern printers connect directly to your existing home or office Wi-Fi network. This means you won’t need any Ethernet cables snaking across your desk.
The goal here is simple: a stable connection. This enables you to print from any device on the same network. Think about the freedom! You could be in another room and still send a print job. We’ve found that this flexibility is a huge win for many users.
Before You Begin: Gather Your Supplies
Before diving into the setup, take a moment to gather everything you need. This small step can prevent frustration later on. You’ll want your printer, its power cord, and your Wi-Fi network name and password. You should also have the device you plan to print from (like a computer, tablet, or smartphone) nearby. Make sure your Wi-Fi is functioning correctly.
Step 1: Powering On and Initial Setup
First things first, unpack your printer carefully. Place it on a stable, flat surface. Connect the power adapter to the printer and plug it into a wall outlet. Once plugged in, press the power button. You should see some indicator lights turn on. Many printers will have an initial boot-up sequence. This usually takes a minute or two.
Some thermal printers might have a small screen or a series of buttons. Consult your printer’s quick start guide for any specific initial prompts. It might ask you to load paper or perform a self-test. Loading paper is usually as simple as opening the cover and placing the roll correctly. Ensure the paper is feeding in the right direction for thermal printing.
Step 2: Connecting to Your Wi-Fi Network
This is the core of your wireless setup. Most printers offer a few ways to connect. One common method is using the printer’s control panel, if it has one. You’ll navigate through menus to find network settings. Look for an option like “Wi-Fi Setup” or “Network Configuration.”
Using the Printer’s Control Panel
If your printer has a display screen, you’ll likely see a list of available Wi-Fi networks. Select your network name (SSID). Then, you’ll be prompted to enter your Wi-Fi password. Type this in carefully using the on-screen keyboard or buttons. Double-check the password for accuracy; it’s case-sensitive!
Once you enter the password, the printer will attempt to connect. You should see a confirmation message on the screen once it’s successful. If it fails, don’t worry. Try re-entering the password. Sometimes, moving the printer closer to your router can help during the initial setup process. We found that a strong signal is key.
Using a Wi-Fi Protected Setup (WPS) Button
Some routers and printers support WPS. This is a button-based method for connecting devices. If both your router and printer have a WPS button, the process is often simpler. First, press the WPS button on your router. Then, within a short timeframe (usually two minutes), press the WPS button on your printer. The devices should then automatically find and connect to each other.
This method avoids typing passwords altogether. It’s a neat feature if available. Just be sure to check your router and printer manuals to see if WPS is supported and how to activate it correctly.
Using a Mobile App or Desktop Software
Many manufacturers provide dedicated mobile apps or desktop software to help with setup. You might download an app on your smartphone or tablet. This app will then guide you through finding your printer and connecting it to your Wi-Fi. It often uses Bluetooth or a temporary direct Wi-Fi connection from the printer to your phone to facilitate the process.
Alternatively, if you’re connecting via a computer, you might use a setup wizard downloaded from the printer manufacturer’s website. This software will guide you through network selection and password entry. We found these guided setups to be very user-friendly for beginners.
Step 3: Installing Drivers and Software on Your Devices
Once your printer is connected to the network, your devices need to know how to “talk” to it. This requires installing the correct printer drivers. Drivers are small software programs that enable your operating system (like Windows or macOS) to communicate with your printer.
For Computer Users (Windows/macOS)
If you’re printing from a computer, you’ll usually download the drivers from the printer manufacturer’s website. Search for your specific printer model. Look for the “Support” or “Downloads” section. Download the latest driver package for your operating system. Run the installer and follow the on-screen prompts. The installer will often guide you through finding the printer on your network.
Sometimes, your operating system might automatically detect the printer once it’s on the network and suggest installing drivers. If that happens, go with the OS prompt. However, using the manufacturer’s latest drivers often provides the best performance and access to all features.
For Mobile Users (iOS/Android)
Printing from a smartphone or tablet is often managed through a specific app. As mentioned earlier, many printer brands have their own app. Download the relevant app from your device’s app store (Apple App Store or Google Play Store). Open the app, and it should guide you to connect to your printer, which is already on your Wi-Fi.
Some mobile operating systems also have built-in printing capabilities, like Apple’s AirPrint or Android’s Mopria Print Service. If your printer is AirPrint or Mopria compatible, you might be able to print directly from most apps without needing a dedicated manufacturer app, though the app often offers more control.
Step 4: Pairing Your Devices and Testing the Connection
After installing the necessary software, it’s time to make sure everything is working. You need to “pair” your device with the printer. For computers, this often means the driver software adds the printer to your system’s printer list.
On your computer, go to your printer settings. You should see your wireless thermal printer listed. If not, you might need to manually add it by searching for it on the network. The setup software you installed should have handled this automatically.
For mobile devices, the manufacturer’s app will usually recognize the printer after it’s been added to the network. You’ll select your printer within the app to initiate printing tasks. Again, ensure your phone or tablet is connected to the *same* Wi-Fi network as the printer.
Step 5: Performing a Test Print
The moment of truth! It’s essential to do a test print. This confirms that the connection is solid and the drivers are working correctly. Most printer software includes a “Test Print” function. You can usually find this within the printer’s properties or settings menu on your computer.
If you’re using a mobile app, try printing a simple document or a sample label template provided by the app. If the test page prints successfully, congratulations! You’ve successfully set up your wireless thermal printer.
Troubleshooting Common Issues
What if it doesn’t print? Don’t panic! Most problems are fixable. Here are a few common hiccups and how to address them:
- Printer Not Found: Ensure your printer and your printing device are on the exact same Wi-Fi network. Sometimes, printers can connect to a 2.4GHz network while your device is on 5GHz, or vice-versa. Check your Wi-Fi settings. Also, try restarting your printer, router, and device.
- Incorrect Password: Double-check your Wi-Fi password. It’s easy to mistype, especially with complex passwords. Make sure caps lock isn’t on.
- Driver Issues: If printing is garbled or not working at all, try uninstalling and then reinstalling the latest drivers from the manufacturer’s website.
- Firmware Updates: Check if your printer has any available firmware updates. Manufacturers often release updates to improve performance and fix bugs. You can usually do this through the printer’s menu or a dedicated utility.
- Interference: Other wireless devices can sometimes interfere with Wi-Fi signals. Try temporarily turning off other devices that might cause interference.
We’ve found that many connectivity issues stem from simple network configuration or driver mismatches. Taking the time to verify these basics can save a lot of headaches.
Maintaining Your Wireless Connection
Once your printer is set up, it’s good practice to keep its firmware and drivers updated. Manufacturers release updates to improve performance, security, and compatibility. You can usually check for updates through the printer’s own settings menu or its companion software.
Also, ensure your router is functioning correctly. A stable internet connection is the backbone of a reliable wireless printer. If you experience frequent disconnections with other devices, your router might need attention.
Keeping your printer drivers current is just as important. As operating systems get updated, older drivers might become incompatible. Regularly checking the manufacturer’s website for new driver versions is a good habit.
Quick Setup Checklist
To recap, here’s a handy checklist to guide you through the setup:
- Power On: Ensure your printer is plugged in and powered on.
- Load Paper: Load your thermal paper roll correctly.
- Connect to Wi-Fi: Successfully connect the printer to your home or office Wi-Fi network using its name and password.
- Install Drivers/App: Download and install the necessary drivers on your computer or the app on your mobile device.
- Add Printer: Make sure your device recognizes and lists the printer.
- Test Print: Perform a test print to confirm everything is working.
Conclusion
You’ve successfully navigated the steps to set up your wireless thermal printer! Getting it connected to your Wi-Fi network and ready to print shouldn’t be a hassle. We’ve seen how this cable-free setup brings incredible flexibility and efficiency to your workflow. Remember to keep your drivers and firmware updated for the best performance. Now that your printer is ready, you can start enjoying the convenience of printing wirelessly. Your next step is to try printing your first label or receipt and experience the ease firsthand!
Frequently Asked Questions
How do I connect my thermal printer if I don’t have a WPS button on my router?
If your router lacks a WPS button, you can typically use the printer’s control panel or a dedicated mobile app/desktop software. These methods involve selecting your Wi-Fi network name (SSID) and entering your password directly through the printer’s interface or a guided setup process on your device. We found this direct input method to be very reliable.
What if my computer can’t find the printer on the network after setup?
Ensure both your computer and the printer are connected to the *exact same* Wi-Fi network. Sometimes, devices can get connected to different bands (like 2.4GHz vs. 5GHz) of the same router. A simple restart of your printer, router, and computer can often resolve this connection issue. We’ve also seen success by re-running the printer’s network setup.
Do I need to install a special app to print from my phone?
Often, yes. While some printers support universal printing standards like AirPrint or Mopria, many manufacturers provide their own mobile apps. These apps guide you through connecting and offer advanced control over your printing tasks. Downloading the app recommended by your printer’s manufacturer is usually the most straightforward path for mobile printing.
My test print looks garbled. What could be wrong?
Garbled printouts typically indicate a driver issue or a communication problem. First, try uninstalling and then reinstalling the latest printer drivers directly from the manufacturer’s website. Make sure you’re downloading the drivers specifically for your printer model and operating system. We also recommend checking for any available firmware updates for your printer.
How often should I update my printer’s drivers and firmware?
It’s a good practice to check for updates every few months, or whenever you encounter a new issue. Manufacturers release updates to improve performance, fix bugs, and enhance security. You can usually find the latest versions on the printer manufacturer’s support website. Keeping these components current ensures your printer runs smoothly.