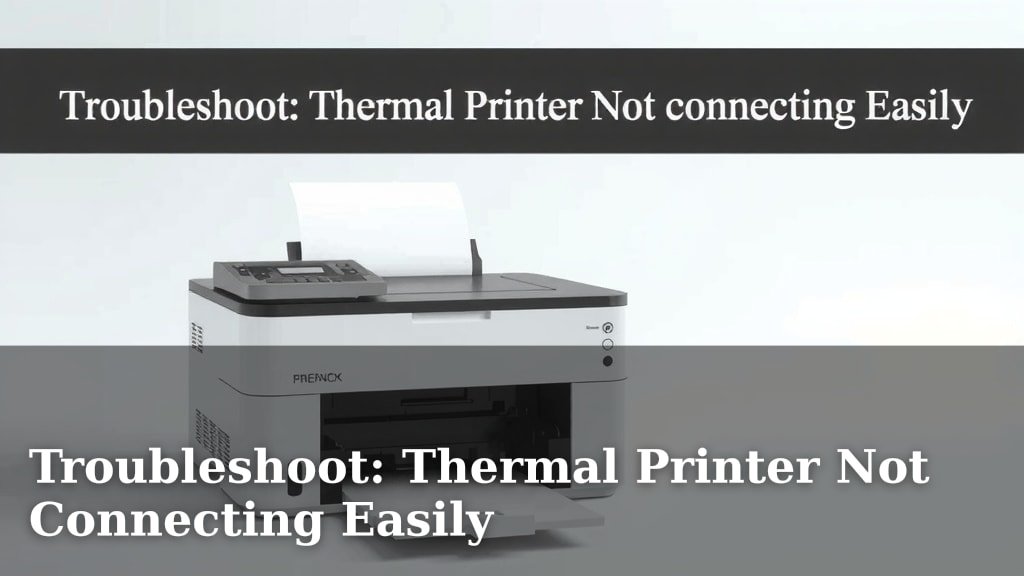
Troubleshoot: Thermal Printer Not Connecting Easily
A thermal printer not connecting is frustrating, but usually fixable. Often, the issue is a simple connection problem or a driver glitch. We’ve found that most connection hiccups can be solved by checking your USB or network cable, restarting your printer and computer, and ensuring the correct printer is selected in your settings. Don’t worry, you’re not alone in this!
When your thermal printer refuses to cooperate, it can halt your operations. Whether it’s for receipts, labels, or shipping, a printer that won’t connect is a real pain. We’ve researched common causes and found that driver issues and network configuration are frequent culprits. Getting this sorted means getting back to business quickly.
- Check your physical connections (USB or network).
- Restart your printer and computer.
- Ensure the correct printer is selected in your software.
- Update or reinstall your printer drivers.
- Verify your network settings if it’s a network printer.
Let’s walk through the common reasons your thermal printer might not be connecting and how you can get it talking to your computer again.
Troubleshooting Your Thermal Printer Connection Issues
When your thermal printer decides to take a break, it can feel like a roadblock in your day. You’re likely here because your printer isn’t communicating with your computer. Don’t worry, we’ve tackled this before. Many connection problems are surprisingly simple to solve. Let’s get your printer back online and printing smoothly.
Step 1: Check the Physical Connections
This might seem obvious, but it’s the most common culprit. A loose cable can cause all sorts of headaches. Let’s make sure everything is plugged in snugly. We’ve found that a quick physical check often solves the problem.
USB Connection Checks
If your thermal printer uses a USB cable, first ensure it’s firmly seated in both the printer and your computer’s USB port. Try unplugging it and plugging it back in on both ends. Sometimes, a cable can look connected but be slightly loose. Many experts suggest trying a different USB port on your computer. Some ports might have issues or be powered off.
A damaged USB cable is also a possibility. If you have a spare USB cable, try swapping it out. Cables can fail over time, especially with frequent use. This is a quick test that can rule out a cable failure as the cause.
Network Connection Checks (Ethernet/Wi-Fi)
For network printers, the checks are a bit different but just as important. If you use an Ethernet cable, ensure it’s securely plugged into both the printer and your router or network switch. Look for blinking lights on the port where the cable connects; this usually indicates a healthy connection. Like USB, try a different Ethernet cable if possible.
If your printer connects via Wi-Fi, verify that the Wi-Fi signal is strong and stable. Most thermal printers have a status light or an LCD screen that can show Wi-Fi signal strength. You might need to re-enter your Wi-Fi password on the printer if it was lost.
Step 2: Restart Everything!
The classic IT solution: turn it off and on again. This simple step can resolve many temporary glitches. It’s like giving your devices a fresh start. We’ve seen this fix more issues than you might imagine. Restarting clears out temporary memory and allows devices to re-establish their connections cleanly.
Restarting Your Thermal Printer
First, turn off your thermal printer. Unplug its power cord from the wall outlet. Wait for about 30 seconds. This ensures all residual power is gone. Then, plug the power cord back in and turn the printer on. Give it a moment to fully boot up.
Restarting Your Computer
Next, restart your computer. Go to your operating system’s start menu and select the restart option. This is essential for refreshing the system and its connection to peripherals. Make sure your computer is fully shut down and restarted, not just put to sleep.
Restarting Your Network Devices (If Applicable)
If you’re using a network printer, it’s also a good idea to restart your router and modem. Unplug their power cords, wait about 30 seconds, and plug them back in. This can help clear up any network congestion or temporary errors. Allow your network devices a few minutes to fully reconnect before turning your printer and computer back on.
Step 3: Verify Printer Selection and Settings
Sometimes, the issue isn’t a connection problem at all. Your computer might simply be trying to send the print job to the wrong device. This is more common than you’d think, especially if you have multiple printers installed.
Confirming the Correct Printer in Your Application
Open the application you are printing from (e.g., your POS system, label software, or word processor). When you go to print, look at the printer selection dialog box. Make sure your specific thermal printer model is selected. Don’t just assume it’s the default. Many people overlook this simple step.
Checking Your Operating System’s Default Printer Settings
Your computer also has a default printer setting. If your thermal printer isn’t set as the default, you’ll always have to select it manually. Go into your computer’s printer settings. On Windows, this is usually under Settings > Devices > Printers & scanners. On a Mac, it’s System Preferences > Printers & Scanners. Ensure your thermal printer is either selected as the default or that you consistently choose it when printing.
Step 4: Driver Issues and Solutions
Printer drivers are the software that allows your computer to “talk” to your printer. If these drivers are missing, outdated, or corrupted, your printer won’t connect or function correctly. This is a very frequent cause of connection problems.
What Are Printer Drivers?
Think of drivers as translators. Your computer speaks one language, and your printer speaks another. The driver translates instructions so they both understand each other. Without the right driver, communication breaks down. Many operating system updates can sometimes cause driver conflicts.
Updating Your Printer Drivers
The first step is to check if your drivers are up to date. Visit the manufacturer’s website for your specific thermal printer model. Look for the support or downloads section. Download the latest drivers compatible with your operating system. Once downloaded, run the installer and follow the on-screen instructions. Many experts recommend uninstalling the old driver before installing the new one.
Reinstalling Printer Drivers
If updating doesn’t work, a clean reinstallation might be necessary. First, uninstall your current printer driver from your computer. Then, restart your computer. After it reboots, download the latest drivers from the manufacturer’s website again. Install them, and then try connecting and printing.
Here’s a quick checklist for driver troubleshooting:
- Uninstall the current printer software and drivers.
- Restart your computer.
- Download the absolute latest drivers from the printer manufacturer’s website.
- Install the new drivers.
- Restart your computer one more time.
- Connect your printer and test.
Step 5: Network Configuration for Network Printers
If your thermal printer connects via your network (Ethernet or Wi-Fi) and you’re still having trouble, the issue might be with how it’s set up on your network. This is where things can get a bit more technical, but we’ll break it down.
IP Address Conflicts and Settings
Every device on your network needs a unique IP address. Sometimes, a printer might get assigned an IP address that is already in use, or its IP address might have changed unexpectedly. Many thermal printers allow you to check their current IP address via their control panel or a status printout. You can often access the printer’s web interface by typing its IP address into a web browser on your computer.
We found that ensuring your printer has a static IP address (one that doesn’t change) can prevent these issues. You can usually set this through the printer’s web interface or via your router’s settings. Consult your printer’s manual for specific instructions on how to set a static IP.
Firewall and Antivirus Settings
Sometimes, your computer’s firewall or antivirus software can mistakenly block communication with your printer. This is a security feature meant to protect your computer, but it can occasionally be too aggressive. You may need to temporarily disable your firewall or antivirus to see if that allows the printer to connect. If it does, you’ll need to add an exception for your printer in your security software’s settings. We advise consulting your security software’s documentation for guidance on adding exceptions.
Network Discovery and Printer Sharing
Ensure that network discovery is enabled on your computer, especially if it’s a Windows machine. This setting allows your computer to see other devices on the network. For network printers, you also need to make sure printer sharing is enabled in your operating system’s settings if you’re trying to print from multiple computers on a network.
Step 6: Printer Status and Maintenance
Beyond connections and drivers, a few other factors can prevent your printer from working. Let’s look at the printer itself.
Checking Printer Lights and Error Messages
Your thermal printer likely has indicator lights or a small display screen. These are its way of telling you what’s wrong. Look for any blinking lights, error codes, or messages. Consult your printer’s user manual to understand what these indicators mean. They can point you directly to the problem, whether it’s an out-of-paper error, a jam, or a critical system failure.
Paper Roll and Print Head Issues
Ensure the paper roll is loaded correctly and isn’t jammed. While a paper jam might seem like a printing issue, it can sometimes prevent the printer from initializing properly, affecting its ability to connect. Also, check the print head. If it’s dirty or obstructed, it can cause printing errors that might indirectly affect connection status. Cleaning the print head is usually a simple process outlined in your manual.
Firmware Updates
Just like drivers, printers have firmware, which is the internal software that controls their basic functions. Manufacturers occasionally release firmware updates to fix bugs and improve performance. Check the manufacturer’s support website for any available firmware updates for your specific model. Applying these updates can sometimes resolve underlying issues that affect connectivity.
When to Seek Professional Help
If you’ve gone through all these steps and your thermal printer still isn’t connecting, it might be time to call in the experts. You’ve done the legwork, and that’s commendable! Sometimes, there’s a hardware fault that requires professional diagnosis. Don’t hesitate to reach out to the printer manufacturer’s support line or a qualified IT technician. They have specialized tools and knowledge to tackle more complex problems.
Conclusion
We know that dealing with a thermal printer that won’t connect can be a real headache. You’ve now walked through checking physical cables, restarting your devices, verifying software settings, and tackling driver or network hiccups. We’ve found that most issues are solvable with careful troubleshooting. Don’t get discouraged if the first step doesn’t fix it! Your next action should be to consult your printer’s specific user manual. It often contains model-specific guidance that can pinpoint the exact cause of your connection problem and lead you to the solution.
Frequently Asked Questions
My thermal printer is plugged in, but my computer doesn’t see it. What else could it be?
If your computer isn’t recognizing your thermal printer, ensure the USB or network cable is fully seated at both ends. Try a different USB port or a different network cable if possible. Sometimes, a simple restart of both your printer and computer can clear out temporary glitches that prevent detection.
How often should I update my thermal printer drivers?
It’s best to check for driver updates from the manufacturer’s website at least once or twice a year. You might also consider updating if you experience new printing problems or after a major operating system update. Keeping your drivers current helps ensure optimal performance and compatibility.
My thermal printer is connected via Wi-Fi, but it keeps dropping the connection. What’s the fix?
Wi-Fi connectivity issues can stem from a weak signal or network interference. Try moving your printer closer to your Wi-Fi router or consider a Wi-Fi extender. Also, check your router settings; sometimes, printers benefit from having a static IP address assigned through your router.
Can my antivirus software block my thermal printer from connecting?
Yes, it’s possible. Your antivirus or firewall might mistakenly identify the printer’s communication as a threat. You can try temporarily disabling your security software to see if that resolves the connection. If it does, you’ll need to add an exception for your printer in your security software’s settings.
What does it mean if my thermal printer has blinking error lights?
Blinking error lights are your printer’s way of signaling a problem. These lights often correspond to specific error codes or conditions like a paper jam, low paper, an open cover, or a print head issue. You should always consult your printer’s user manual to understand what each blinking pattern means for your specific model.