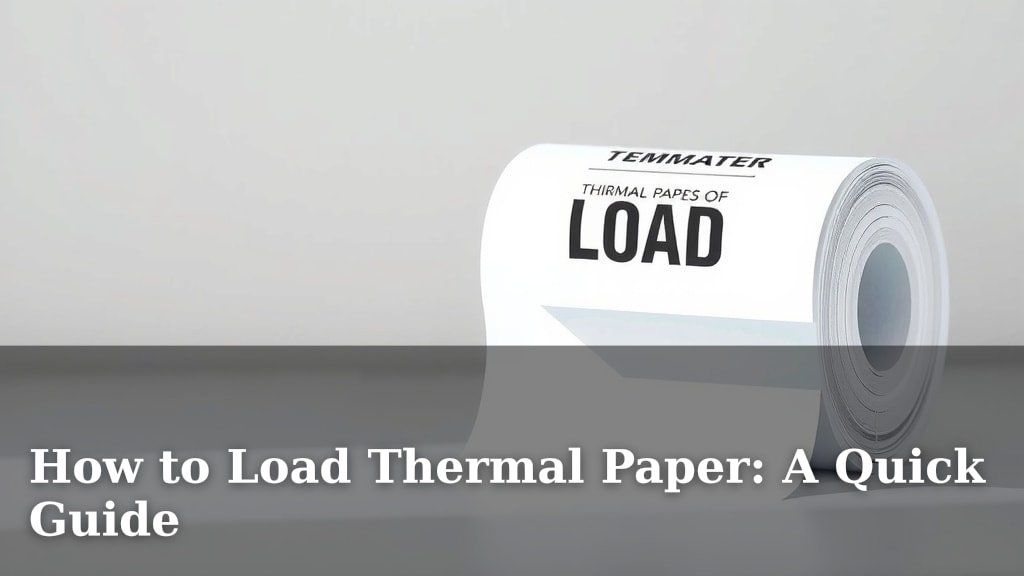
How to Load Thermal Paper: A Quick Guide
Loading thermal paper into your receipt printer is usually a simple process. You’ll typically want to ensure the paper is facing the right way before you begin. Most printers have a clear way to guide you.
Getting this right means your receipts will print clearly every time. No one wants a blank receipt or one that’s smudged! We’ve found that understanding your specific printer model is key to loading thermal paper correctly and efficiently.
- Identify the correct side of the paper.
- Open your printer’s paper cover.
- Feed the paper into the designated slot.
- Close the cover firmly.
- Test print to confirm.
Let’s walk through exactly how to load your thermal paper step by step, so you can get back to business.
You’ve got your new thermal receipt paper, and you’re ready to get your printer back up and running. It sounds simple, right? And it usually is! But a little attention to detail can save you from printing headaches later. Let’s make sure you load that paper like a pro.
Getting Your Thermal Paper Loaded Correctly
Loading thermal paper is surprisingly straightforward. The key is understanding which side of the paper needs to face the printer’s heat source. Get this wrong, and your receipts will be blank or unreadable. We’ve found that most printers make this quite obvious.
Identifying the Right Side of Your Thermal Paper
This is the most critical step. Thermal paper has a heat-sensitive coating on one side. This coating reacts to the heat from your printer’s print head. You need this side to make contact with the print head to produce an image. Think of it like putting film in an old camera – it has to be in the right way.
How to Tell Which Side is Which
Most thermal paper rolls come with clear indicators. Often, the paper will be wound so that the heat-sensitive side is on the outside of the roll. This means when you unroll it a little, the side that’s visible and feels smooth is usually the one that prints. You can also often tell by touch. The coated side might feel slightly smoother or glossier than the uncoated side. If you’re still unsure, try a simple test.
The Scratch Test for Paper Orientation
Grab your fingernail or a coin. Gently scratch a small section of the paper. If a dark line appears where you scratched, that’s the heat-sensitive side. You want this side to be the one that touches the printer’s hot components. If you don’t see a mark, try the other side. We found this trick is usually foolproof for identifying the printing surface.
Opening Your Thermal Printer
Printers are designed for easy access to the paper compartment. They usually have a lid or cover that lifts up. You might see a button or a latch to release it. Some models have a lever on the side. We suggest looking for any visible buttons or areas that look like they are meant to be lifted. Don’t force it; if it doesn’t open easily, you might be missing a release mechanism.
Common Printer Cover Mechanisms
Many point-of-sale printers use a simple top-opening design. You just lift the lid. Others might have a front-facing door. Some even have a side-loading mechanism. For most common models, lifting the lid is the standard way to access the paper roll holder. We’ve seen many models that feature a clear diagram right on the printer itself, showing you how to open it.
The Loading Process Step-by-Step
Now that you know which side of the paper to use and how to open your printer, let’s get that roll loaded. This process typically takes less than a minute.
Removing the Old Roll (If Applicable)
If you’re replacing an empty roll, start by removing the old one. It might be just sitting there, or it might be secured by a small spindle. If there’s a spindle, it usually slides out easily. Discard the empty cardboard tube. Make sure no stray pieces of paper are left inside the printer.
Placing the New Thermal Paper Roll
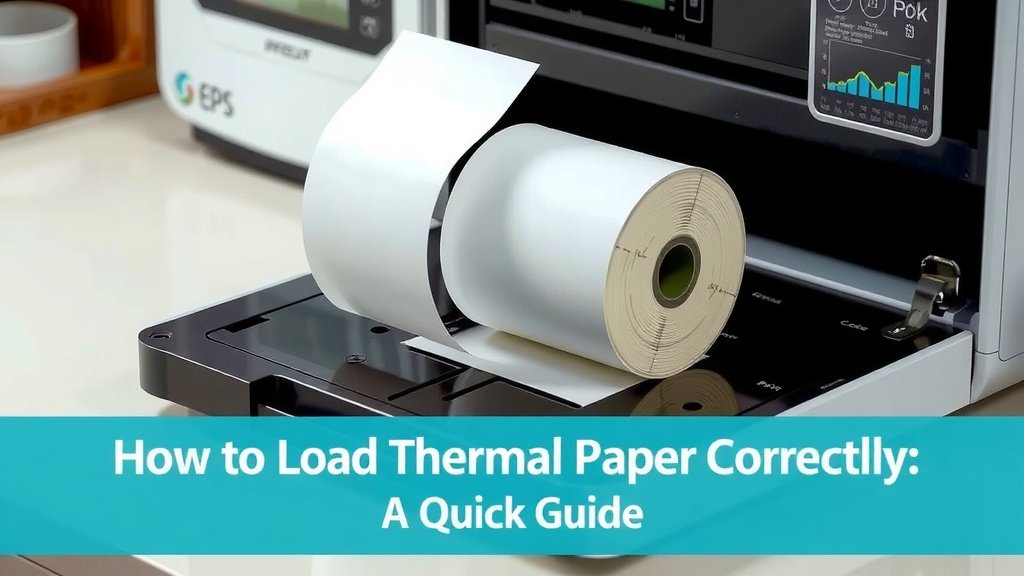
Take your new roll of thermal paper. Remember, the heat-sensitive side needs to face the correct direction. For most top-loading printers, this means the paper should feed from the bottom of the roll, up, and over. The printed side of the paper should be facing upwards, towards the printer’s lid. Some printers have guides or clips to help hold the roll in place. Make sure the roll spins freely.
Ensuring Proper Paper Tension
The paper shouldn’t be too loose or too tight. A loose roll can jam easily. A roll that’s too tight might not feed smoothly. Most printers have a spindle that helps manage this. You want the paper to unroll without resistance but also without slack. We found that a properly seated roll makes a noticeable difference in print quality and speed.
Feeding the Paper into the Printer
Once the roll is seated correctly, you need to feed the loose end of the paper into the printer. Look for a slot or opening where the paper should go. Gently push the paper into this slot. You don’t need to force it. You might feel a slight tug as the printer’s internal mechanism grabs the paper. Some printers have a button you press to advance the paper. If yours does, press it a couple of times.
Using the Feed or Cut Button
Many receipt printers have a dedicated “Feed” or “Cut” button. Pressing the “Feed” button repeatedly will advance the paper. This is useful for aligning the paper after loading or for printing a test page. If your printer has an automatic cutter, this button might also trigger it. We always recommend feeding a small amount of paper through—about an inch or two—to ensure it’s properly positioned.
Closing the Printer Cover
After the paper is fed and advanced, you need to close the printer cover. This is usually as simple as pressing down firmly until it clicks into place. You should hear or feel a secure closure. A properly closed cover ensures the print head presses down correctly onto the paper. This is essential for getting clear, crisp printouts every single time.
What to Do if the Cover Won’t Close
If the cover doesn’t close easily, double-check that the paper roll is seated correctly and not catching anywhere. Also, ensure you’ve fed enough paper through the slot. Sometimes, a bit of paper sticking out can prevent the lid from closing properly. Make sure no part of the paper roll or cardboard tube is obstructing the mechanism. We’ve found that a quick visual check usually reveals the issue.
Testing Your Newly Loaded Paper
You’ve loaded the paper – great job! Now, let’s make sure it’s working perfectly. A quick test print is the best way to confirm everything is set up correctly.
Performing a Test Print
Most receipt printers can perform a self-test. This test prints a built-in report or configuration page. To do this, you often need to press and hold the “Feed” button while turning the printer on. Consult your printer’s manual if you’re unsure of the exact procedure. If a self-test isn’t available or convenient, you can simply send a small test transaction or receipt from your point-of-sale system.
Interpreting Your Test Print Results
Look closely at the test printout. Is the text clear and legible? Are there any missing lines, smudges, or blank areas? If the print is faded or unreadable, the paper is likely loaded with the wrong side facing the heat source. If you see dark lines or marks, it confirms you’re using the heat-sensitive side. A good test print means you’re ready for business!
Troubleshooting Common Loading Issues
Sometimes, despite your best efforts, things don’t go perfectly. Don’t worry; most issues are easily resolved.
| Problem | Possible Cause | Solution |
|---|---|---|
| Blank Receipts | Paper loaded incorrectly (uncoated side facing heat). | Reload paper with the heat-sensitive side facing the print head. |
| Faint or Smudged Print | Print head may be dirty or paper not loaded properly. | Clean the print head (refer to manual). Reload paper. Ensure cover is closed firmly. |
| Paper Jam | Paper not fed straight or cover not closed securely. | Open cover, carefully remove jammed paper. Reload ensuring it feeds smoothly. Close cover firmly. |
| Printer Not Feeding Paper | Paper roll is empty, or paper is not properly seated. | Check for an empty roll. Ensure the roll is seated correctly and spins freely. Feed paper into the slot again. |
Many guidelines suggest that regular cleaning of the print head can prevent smudging and ensure longevity (National Print Services). Proper loading is just one part of a well-maintained receipt printer system.
When to Seek Further Assistance
If you’ve tried these steps and are still experiencing issues, it might be time to consult your printer’s user manual. The manual will have model-specific instructions and troubleshooting tips. If the problem persists, contacting the manufacturer’s support or a qualified printer technician is your next best step. Sometimes, a component might be failing, but loading issues are usually fixable with careful attention.
Here’s a quick checklist to help you remember the key steps:
- Confirm the heat-sensitive side of the paper.
- Open the printer lid or cover.
- Place the roll so the printed side faces up.
- Feed the paper into the slot.
- Close the cover until it clicks.
- Run a test print to verify.
You’ve got this! Loading thermal paper is a fundamental skill for anyone using a receipt printer, and with these steps, you’ll be a pro in no time.
Conclusion
You’ve successfully learned how to load your thermal paper printer. Remembering to check the heat-sensitive side and ensure the paper feeds correctly are the most important steps. We’ve found that a little attention here prevents most printing problems. This skill will keep your receipts printing clearly and your business running smoothly. Your next step is to keep this knowledge handy and tackle any future paper changes with confidence. You’re now equipped to handle this essential printer maintenance!
Frequently Asked Questions
How often should I change the thermal paper roll?
You’ll need to change the roll when your printer indicates it’s low or empty, usually by stopping print jobs or displaying an error. We recommend keeping spare rolls nearby to avoid unexpected interruptions during busy periods.
Can I use regular paper in a thermal printer?
No, thermal printers specifically require thermal paper. Regular paper does not have the heat-sensitive coating needed for printing and will not work in these machines.
What if the paper is printing too faintly?
Faint printing usually means the heat-sensitive side isn’t facing the print head correctly. Double-check your paper orientation. It could also indicate a dirty print head, which you can clean following your printer’s manual instructions.
Is there a difference between thermal paper for different printers?
While thermal paper types are similar, ensure you purchase the correct width and core size for your specific printer model. Using the wrong size can cause jams or prevent the roll from fitting properly.
What does the “scratch test” tell me about thermal paper?
The scratch test helps you identify the heat-sensitive coating. When you gently scratch it with a fingernail or coin, the coated side will turn dark. This confirms which side needs to face the printer’s hot print head for clear printing.