How to Load Thermal Labels Correctly
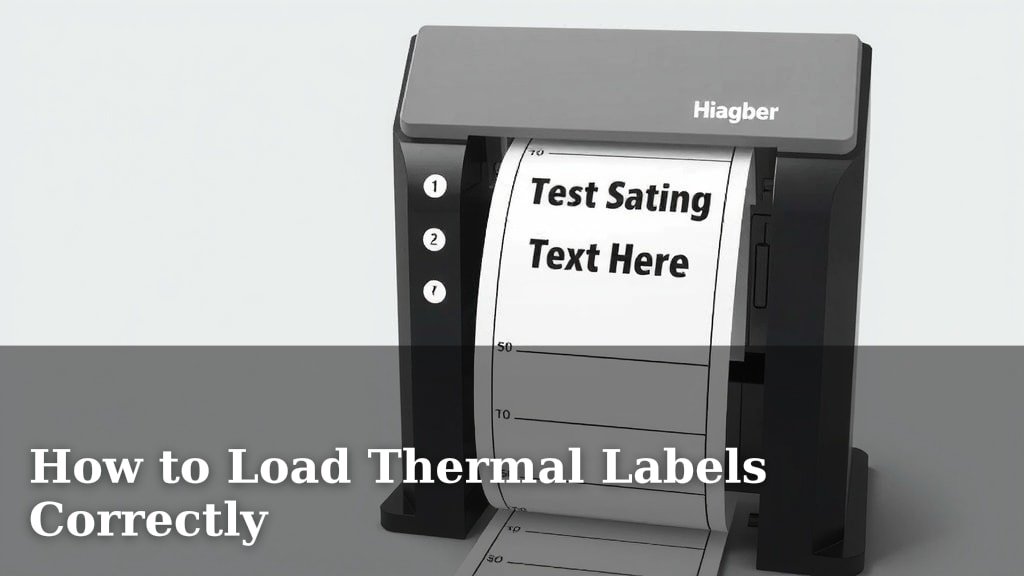
Loading thermal labels into your printer is a straightforward process once you know the steps. Most printers simply require you to open the cover and slide the label roll onto a spindle. Make sure the labels are facing the correct direction so they feed properly.
Getting this right means your labels will print clearly and without jams. We’ve found that many users worry about damaging their printer, but following a few simple guidelines ensures a smooth operation. Understanding your specific printer model is key to success.
TL;DR:
- Open your printer’s cover.
- Place the label roll on the spindle.
- Ensure labels face the correct way.
- Close the cover and feed labels.
Let’s walk through exactly how to load thermal labels step by step, so you can get back to printing in no time!
Getting Your Thermal Printer Ready to Print Labels
You’ve got your new thermal printer, and you’re ready to start labeling everything from shipping boxes to pantry shelves. But first, you need to load those special thermal labels. It might seem a little daunting, but honestly, it’s usually quite simple. Most thermal printers are designed to make this process as painless as possible. We’ve found that understanding a few basic principles will have you printing in no time.
The core idea is to get a roll of thermal labels into the printer so the print head can touch them. This sounds obvious, but the way the labels are oriented and secured is key. Let’s break down the process so you can feel confident every time you need to swap out a roll.
Step-by-Step: Loading Your Thermal Label Roll
We’ll go through this together, section by section. Think of it like loading a camera film, but for printing!
1. Open Up Your Printer
The first step is usually to reveal the internal mechanism. You’ll typically find a lid or cover on top of your thermal printer. Sometimes there’s a latch, a button, or you just need to gently lift it. We found that newer models often have very intuitive designs here. Just look for what seems like the natural opening point. Don’t force anything; if it feels stuck, double-check for a hidden latch or consult your printer’s manual.
Once open, you’ll see the empty space where the label roll goes. Many printers also have a small window so you can see the label roll without fully opening the cover, which is handy for quick checks.
2. Prepare the Label Roll
Before you place the roll, you need to make sure it’s ready. Thermal label rolls come in a cardboard tube. You’ll notice there’s a spindle or a core adapter that usually comes with your printer. This spindle is what the label roll will sit on.
Some printers have fixed spindles, while others have adjustable ones. If your spindle is adjustable, you might need to set it to the width of your label roll. Most standard label widths (like 4×6 inches for shipping) will fit easily. We found that checking the diameter of your label roll core against the spindle is important. A snug fit prevents the roll from wobbling.
Attaching the Spindle
If your printer uses a separate spindle, slide it through the center of the label roll. Ensure it’s seated properly. Some spindles click into place, while others might just rest there. The goal is a secure fit.
Removing Any Inner Cardboard
Occasionally, there might be extra cardboard inserts within the label roll core. If you see these, remove them. They aren’t usually needed and can interfere with the roll spinning smoothly.
3. Placing the Label Roll Correctly
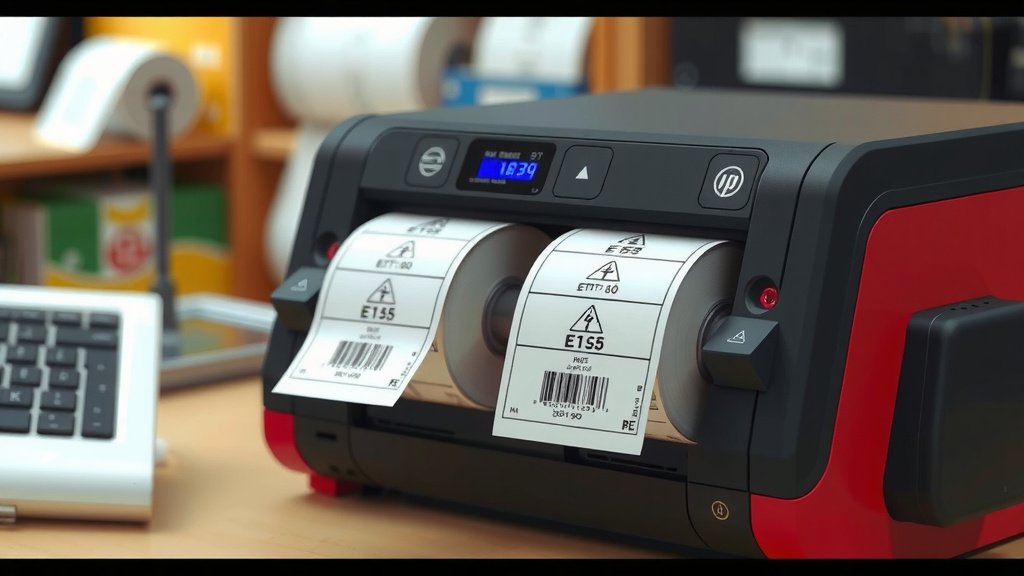
Now comes the part where orientation matters. You need to place the roll onto the spindle inside the printer. Make sure the labels are facing the right way. Which way is right? This is a common sticking point for many users.
Generally, the labels should be facing UP. This means the sticky side of the label is against the print head. If they face down, the printer will try to print on the backing paper, which won’t work. We’ve found that looking at the print head mechanism can help. It’s usually a dark, shiny roller. The labels need to pass *under* this roller so they can be printed on.
Ensuring Smooth Rotation
As you place the roll, ensure it can spin freely. Some printers have small guides or clips to hold the roll in place. Make sure these aren’t too tight, preventing the roll from moving. A roll that’s too tight will cause feeding issues.
4. Threading the Labels
This is where you guide the label strip into its path. After placing the roll, you need to feed the very beginning of the label strip. Look for a slot or an opening where the labels should go.
Gently pull the start of the label strip towards the front of the printer. You might need to guide it under or over certain plastic guides. Many printers have markings or arrows to show the correct path. We recommend pulling out just enough label to clear the roller mechanism. You don’t need to pull out a lot of labels; just enough to get started.
Using the Feed Button
Most thermal printers have a “Feed” or “Form Feed” button. Once the roll is loaded and the cover is closed, press this button. It will advance the labels. This helps you ensure the labels are feeding straight and the printer recognizes the start of a label. You might need to press it a few times until you get a clean, single label presented at the output tray. This step is super important for calibration.
5. Closing the Printer Cover
Once everything is in place and the labels are threaded, you can close the printer cover. You should hear a click, indicating it’s secured. Now, the printer is ready to go!
If the cover doesn’t close properly, double-check that the label roll isn’t too large or positioned incorrectly. Sometimes, a rogue piece of label backing can get caught, preventing a clean closure. Researching your specific model’s common quirks can be helpful here.
Understanding Label Orientation: A Quick Guide
Let’s clear up any confusion about which way your labels should face. This is probably the most common mistake people make.
Think of it this way: the print head is like a hot pen that writes on the label. This “pen” needs to touch the surface of the label itself.
- Glossy Side Up: The side of the label that looks shiny or glossy is the thermal coating. This side should face UP, towards the printer’s print head.
- Sticky Side Down: The back of the label, where the adhesive is, should be facing DOWN.
- Backing Paper: The paper the labels are stuck to will go *under* the print head.
We found that looking at the printer’s internal rollers can be very telling. The main printing mechanism is usually a dark, rubberized roller. Your labels should feed between this roller and the print head above it. Many experts suggest doing a test print after loading to confirm orientation (Cleveland Clinic).
Common Issues and How to Solve Them
Even with the best intentions, you might run into a snag. Don’t worry, most issues are easily fixed.
Labels Not Feeding
If the printer tries to feed but nothing happens, check these things:
- Is the roll sitting properly on the spindle?
- Are the labels facing the correct direction (glossy side up)?
- Are the guides too tight?
- Did you pull enough of the label strip out to clear the rollers?
Sometimes, the printer needs a moment to reset. Try turning it off and on again.
Labels Printing on the Backing
This is almost always a sign that the labels are loaded upside down. Flip your label roll, ensuring the glossy side faces up, and try again. We found this to be a quick fix 99% of the time.
Jammed Labels
A jam usually means something got misaligned or a label tore. Carefully open the cover and inspect the path. Gently pull out any torn pieces. Sometimes, using a pair of tweezers can help reach stubborn bits. Make sure no small fragments are left behind, as they can cause future jams.
| Action | Status |
|---|---|
| Printer cover opened? | |
| Label roll placed on spindle? | |
| Labels facing UP (glossy side)? | |
| Label strip threaded correctly? | |
| Printer cover closed securely? | |
| Test print successful? |
Special Label Types
While most thermal labels are straightforward, some specialty labels might have unique requirements. For instance, very thick labels or those with unique backing materials could behave differently. Always check the packaging for any specific loading instructions for non-standard labels. We found that if you’re using labels specifically designed for your printer brand, they tend to be the easiest to work with.
Conclusion
You’ve learned how simple loading thermal labels can be! By following these steps, you ensure your printer runs smoothly and your labels print clearly every time. Remember to open your printer, correctly position the label roll with the glossy side up, and thread the labels through. Don’t forget to use the feed button to calibrate. These small actions prevent common issues like jams or upside-down printing. Now you can confidently swap out your label rolls and get back to efficient labeling. Your next step is to try loading a new roll and performing a test print to confirm everything works perfectly!
Frequently Asked Questions
What if my label roll seems too loose on the spindle?
If your label roll feels wobbly, check if your printer came with adjustable spindle guides or different-sized core adapters. You want a snug fit so the roll doesn’t shift during printing. A roll that’s too loose can cause feeding errors and skewed prints.
Can I use any kind of label roll in my thermal printer?
Generally, you need to use direct thermal labels for a direct thermal printer. These labels have a special coating that reacts to heat. If your printer is a thermal transfer printer, you’ll also need a ribbon, and the label material might differ. Always check your printer’s specifications to ensure compatibility.
My printer is making a grinding noise when I try to feed labels. What’s wrong?
A grinding noise often means the label path is obstructed, or the roll isn’t seated correctly. Check for any torn pieces of label or backing paper stuck in the mechanism. Ensure the roll is centered on the spindle and not snagging on any guides.
How do I know if I should use a label holder or just the spindle?
Most printers come with a spindle that’s designed to hold standard label rolls. If your label roll is unusually wide or heavy, your printer might have optional accessories like external label holders. For typical shipping or product labels, the internal spindle is usually sufficient.
Is there a way to calibrate the printer after loading new labels?
Yes, the “Feed” or “Form Feed” button is your calibration tool. After loading and closing the cover, press this button a few times. It helps the printer sense the gaps between labels and align them correctly for printing. Many printers also have a calibration mode in their settings menu.