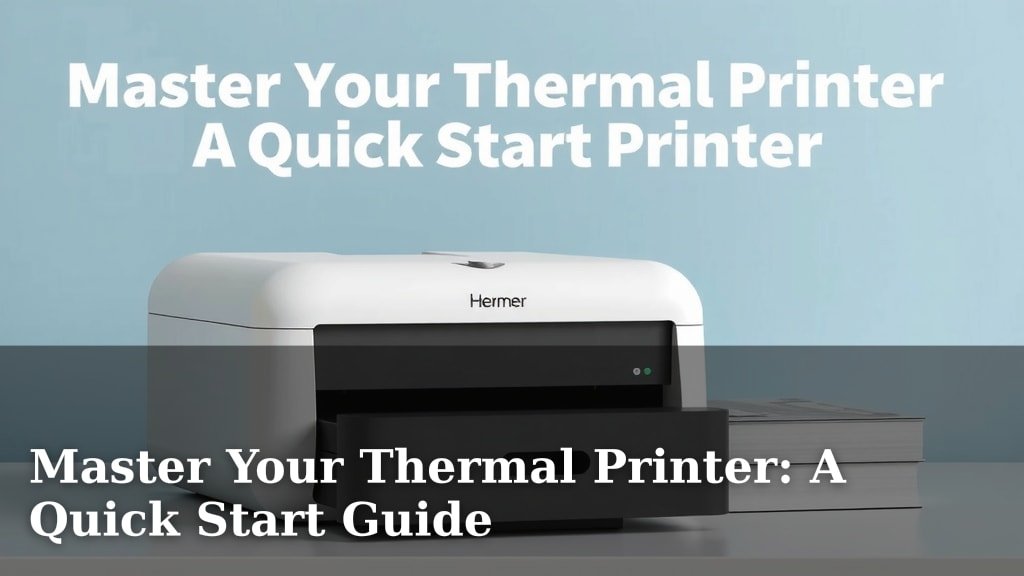
Master Your Thermal Printer: A Quick Start Guide
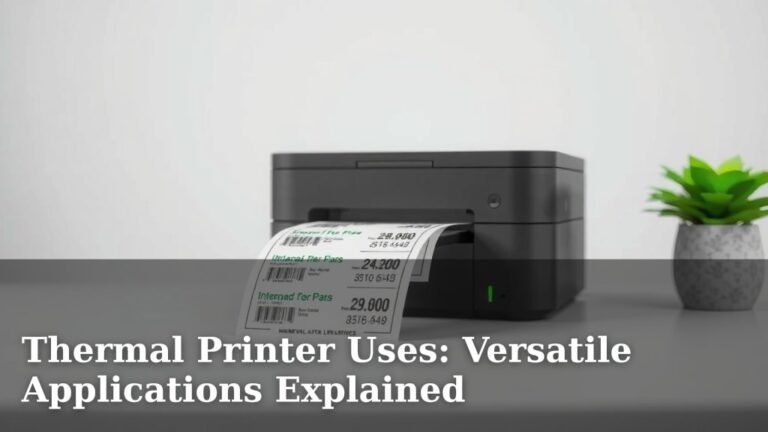
Using a thermal printer is actually quite simple once you get the hang of it. The basic process involves loading special heat-sensitive paper, connecting your printer to your device, and sending your print job through the correct software or app. You’ll find that printing receipts, labels, or tickets becomes a breeze with just a few quick steps, making it a practical tool for many situations.
Thermal printers work by applying heat to specially coated paper, creating an image without ink or toner. This makes them incredibly efficient for tasks requiring quick, on-demand printing. Understanding the different types of thermal printing, like direct thermal and thermal transfer, can also help you choose the right paper and ensure the best results for your specific needs, from creating durable shipping labels to printing crisp event tickets.
- Load the correct paper.
- Connect the printer to your computer or device.
- Use the right software to send your print job.
- Check for clear, legible prints.
- Troubleshoot common issues if needed.
Ready to get started? Let’s walk through exactly how to set up and use your thermal printer step by step, so you can start printing in no time.
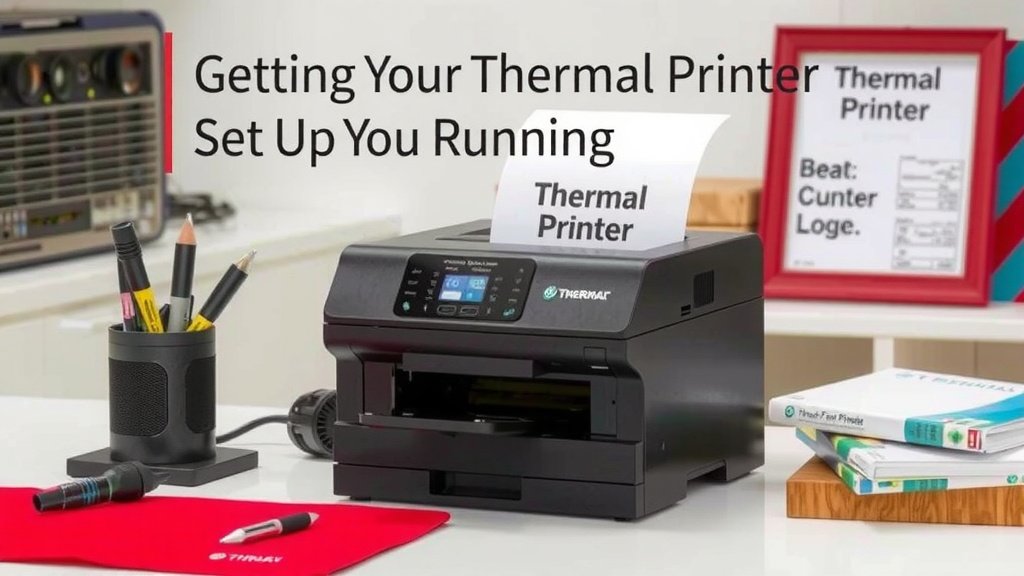
“`htmlGetting Your Thermal Printer Set Up and Running
You’ve got your new thermal printer, and you’re ready to start making labels, receipts, or tickets. It’s not as scary as it might seem! Think of it like setting up any other printer, but with a few thermal-specific quirks. We’ll walk you through the essential steps, from loading the special paper to making your first print.
Understanding Thermal Printing Basics
Before we dive in, let’s quickly touch on what makes thermal printers tick. They don’t use ink or toner. Instead, they use heat. A special print head gets hot and melts the image onto special paper. This makes them super fast and great for high-volume printing without messy cartridges.
Direct Thermal vs. Thermal Transfer
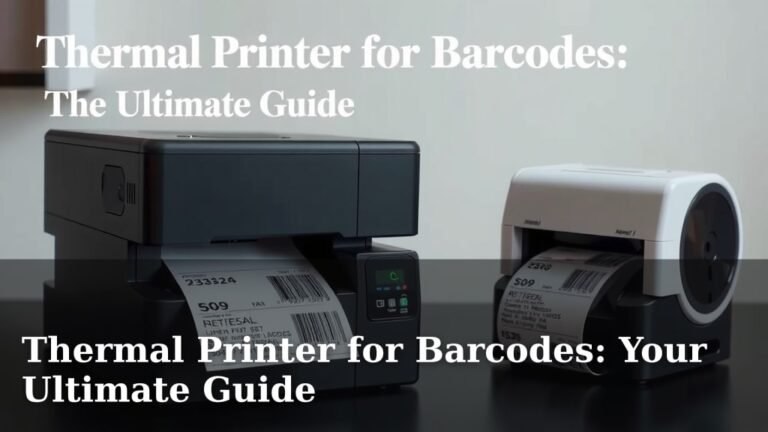
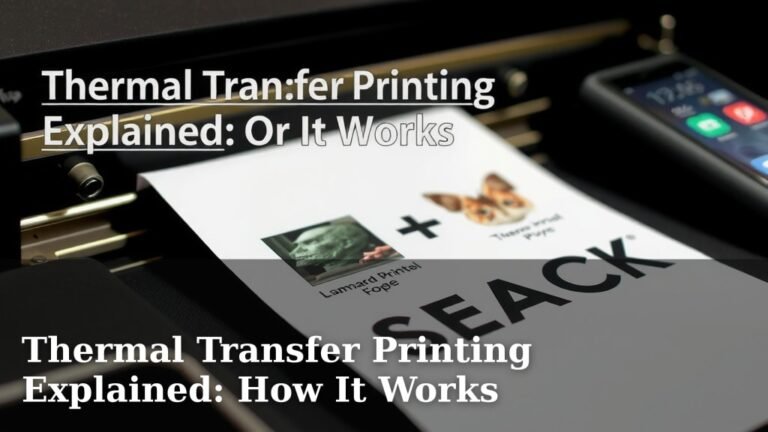
There are two main types of thermal printing you might encounter: direct thermal and thermal transfer. For most label and receipt printers, you’re likely dealing with direct thermal. This means the paper itself has a heat-sensitive coating. Thermal transfer printers use a ribbon to transfer ink onto the label material. They’re often used for more durable, long-lasting labels, like those on outdoor equipment or industrial products. If you’re printing receipts or shipping labels from your home or small business, it’s probably direct thermal.
What You’ll Need to Get Started
First, make sure you have all the right components. You’ll definitely need your thermal printer, of course. Then, gather the special thermal paper or labels designed for your printer model. You’ll also need a power cord and a USB cable or other connection cable (like Ethernet or Bluetooth adapter) to link it to your computer or device.
Loading the Thermal Paper: The Heart of the Matter
This is often the trickiest part for newcomers, but it’s actually quite straightforward once you know the drill. The way you load your paper depends on your specific printer model, but the general principles are the same. We found that paying attention to the paper’s orientation is key for a successful print.
Finding the Paper Path
Most thermal printers have an opening where you insert the paper roll or stack. Open the printer cover. You’ll see guides to help you position the paper correctly. For rolls, there’s usually a spindle or holder to place the roll onto. Make sure the roll is secure and can spin freely.
Correct Paper Orientation is Crucial
This is where many people get stuck. Thermal paper has a shiny or coated side and a duller side. The print head needs to touch the coated side to make the image. Look for markings or diagrams on your printer or in its manual. Generally, the coated side should face up, towards the print head. If your prints are blank or faint, this is the first thing to check. We found that printers often have a diagram showing this on the inside of the cover.
Feeding the Paper
Once the roll is in place, gently feed the edge of the paper through the printer’s path until it emerges from the output slot. Close the printer cover securely. Some printers have a button to feed the paper automatically to the correct starting position. Press it a few times until you see a clean edge to print on.
Connecting Your Thermal Printer to Your Device
Now that your paper is loaded, it’s time to connect the printer. The method will depend on your printer and your device.
Wired Connections (USB, Ethernet)
For most desktop setups, a USB connection is the most common. Simply plug the USB cable into your printer and then into an available USB port on your computer. If you’re using an Ethernet connection for network printing, plug one end into your printer and the other into your router or network switch. Your computer should detect the printer automatically, but you might need to install drivers.
Wireless Connections (Wi-Fi, Bluetooth)
Many modern thermal printers offer Wi-Fi or Bluetooth. For Wi-Fi, you’ll usually need to connect the printer to your wireless network. This often involves using a setup utility or pressing a button on the printer while it’s near your router. Bluetooth printers are simpler: just put the printer in pairing mode and select it from your device’s Bluetooth settings. We found that Bluetooth is great for mobile devices like tablets or smartphones.
Installing the Necessary Software and Drivers
Your computer needs to know how to talk to your printer. This is where drivers and software come in. Many printers come with an installation CD, but it’s usually better to download the latest drivers from the manufacturer’s website. Search for your printer model on their support page.
Driver Installation Process
Run the installer program. It will guide you through the process. You’ll likely be asked to connect the printer at a specific step. Follow the on-screen instructions carefully. Once installed, you should see your thermal printer listed in your computer’s list of available printers.
Choosing the Right Software for Printing
What you print from depends on your needs. For basic text or image printing, you can often use standard applications like Notepad, Word, or image editors. However, for labels and receipts, specialized software is often best. Many label printers come with their own design software. For shipping labels, you’ll use the platforms provided by carriers like UPS, FedEx, or USPS, or third-party shipping software. These programs are designed to format the information correctly for thermal printing.
Performing Your First Print Job
You’ve loaded the paper, connected the printer, and installed the software. It’s time for the moment of truth! Sending a print job is similar to any other printer, but double-checking the settings is smart.
Selecting Your Thermal Printer
Open the document or label design you want to print. Go to File > Print. In the print dialog box, make sure you select your thermal printer from the list of available printers. If it’s not there, go back and check your connections and driver installation.
Configuring Print Settings
This is an important step. You’ll want to ensure the print size and orientation are correct. For labels, you’ll need to specify the exact dimensions of your label. For receipts, you might need to select a specific paper size. Check settings like print speed and darkness if your printer allows. Most software for labels and receipts will have presets you can choose.
Initiating the Print
Click the “Print” button. Watch your printer to see if it whirs to life. Your first print should emerge from the output tray. If it looks good, congratulations! If not, don’t worry; we’ll cover troubleshooting next.
Troubleshooting Common Thermal Printer Issues
Even with the best setup, things can sometimes go a little sideways. Most problems are easily fixed once you know where to look. We found that many common issues stem from paper loading or software settings.
Blank or Faint Prints
This is a classic. The most likely culprit is incorrect paper orientation. Make sure the coated side of the paper is facing up. If that’s correct, check the print darkness setting in your printer’s properties. You might need to increase it. Also, ensure your print head isn’t dirty. A gentle wipe with a lint-free cloth dampened with isopropyl alcohol can help (always unplug the printer first and let it dry completely).
Printer Not Responding
Check all your connections – power and data cables. Is the printer turned on? Are there any error lights flashing? Restart your computer and the printer. You might need to reinstall the printer drivers. Sometimes, a simple printer queue reset can solve the problem. In Windows, go to Settings > Devices > Printers & scanners, select your printer, and then click “Open queue” and cancel all documents.
Clipped or Misaligned Prints
This often happens when the label size in your software doesn’t match the actual label size. Double-check all dimensions in your print settings. Ensure the paper guides inside the printer are snug against the paper roll or stack, but not too tight.
Here’s a quick checklist to run through if you encounter issues:
- Is the printer powered on and connected?
- Is the thermal paper loaded correctly (coated side up)?
- Are the correct drivers installed and selected?
- Do your software’s print settings match your paper size?
- Is the printer’s print head clean?
- Have you tried restarting the printer and your computer?
Conclusion
You’ve now learned the essential steps to using your thermal printer. From loading the right paper and connecting your device to installing software and performing your first print, you’re ready to go. We’ve seen how direct thermal printing works and what you need to get started. Remember, paying attention to paper orientation is key for clear prints. If you run into any hiccups, our troubleshooting tips should help you get back on track quickly. Your journey to efficient, ink-free printing starts now – go ahead and print your first label or receipt!
Frequently Asked Questions
How do I know which side of the thermal paper is coated?
Most thermal papers have a slightly shiny or glossy side, which is the coated side that needs to face the print head. The other side will look duller. If you’re unsure, check your printer manual for a diagram, or try printing a test page on each side.
Can I use regular paper in a thermal printer?
No, you cannot use regular paper. Thermal printers require special heat-sensitive paper. Regular paper does not react to heat, so it will not produce any image, and it could also potentially damage your printer’s print head.
How often should I clean the print head on my thermal printer?
It’s a good idea to clean the print head every few months, or whenever you notice a decline in print quality. You can use a lint-free cloth lightly dampened with isopropyl alcohol. Always ensure the printer is unplugged and completely dry before using it again.
What’s the difference between direct thermal and thermal transfer printing for my needs?
Direct thermal is common for receipts and basic shipping labels, as it uses heat-sensitive paper and no ribbon. Thermal transfer uses a ribbon to create more durable, fade-resistant prints, often used for product labels or barcodes that need to last. For most home or small business use, direct thermal is likely what you have.
My thermal printer is printing very light or faded text. What should I do?
This is often due to incorrect paper loading; ensure the coated side of the paper is facing up. You might also need to adjust the print darkness setting in your printer’s software properties. If the issue persists, the print head might need cleaning or could be nearing the end of its lifespan.