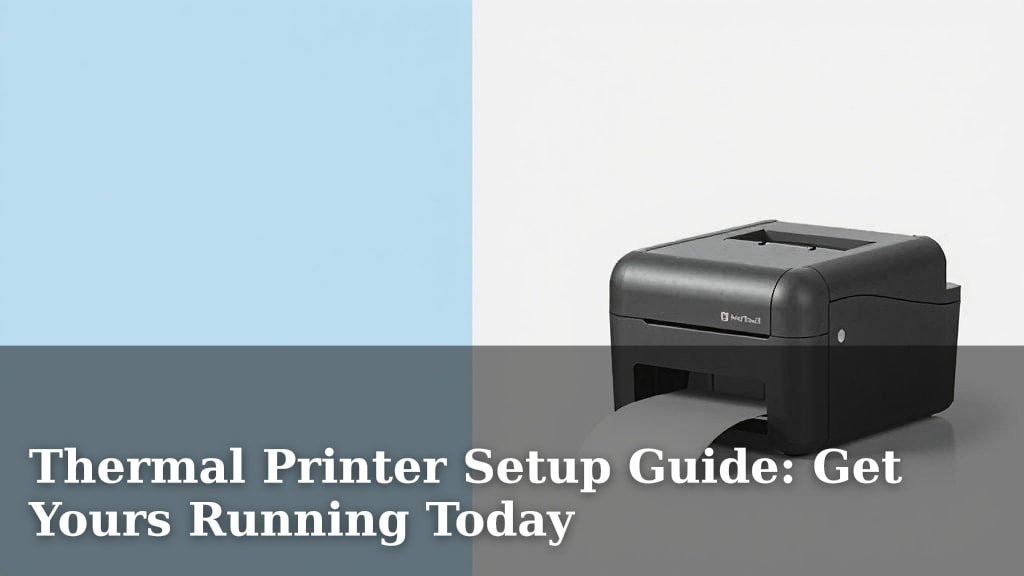
Thermal Printer Setup Guide: Get Yours Running Today
Setting up a thermal printer is simpler than you might think! You’ll typically need to connect it to power, then link it to your computer via USB or network. Finally, you’ll install the correct drivers. We found that many users worry about the technical side, but following these basic steps makes it very manageable.
Whether it’s for printing shipping labels, receipts, or wristbands, a thermal printer can be a real workhorse. Getting it connected properly ensures you get crisp, clear prints every time, without any annoying glitches. We’ve seen that having the right setup can really boost your productivity.
- Connect to power and your computer.
- Install the correct printer drivers.
- Test print a small label or receipt.
- Troubleshoot common connection issues.
- Ensure software compatibility.
Below, we’ll walk you through exactly how to get your new thermal printer up and running, step by step.
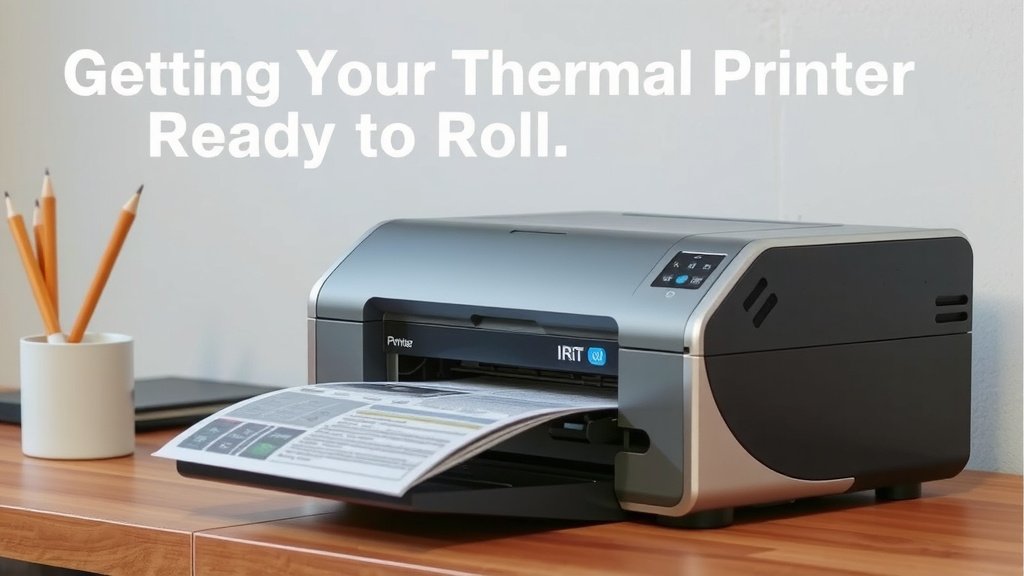
Getting Your Thermal Printer Ready to Roll
So, you’ve got a new thermal printer and you’re wondering how to get it hooked up. Don’t worry, it’s usually a pretty straightforward process. We’ll walk you through connecting it, getting the right software talking to it, and making sure it’s ready to print those important labels or receipts without a hitch. It’s a bit like setting up any new tech gadget, just with a few specific steps.
Powering Up and Connecting Your Printer
The very first thing you’ll want to do is get your printer plugged in. This sounds obvious, but it’s the foundation for everything else. Once it has power, we can think about how it will talk to your computer.
Connecting to a Power Source
Find the power cord that came with your printer. It will have a plug for the wall and a connector for the printer itself. Plug the connector firmly into the power port on your thermal printer. Then, plug the other end into a standard electrical outlet. Some printers might have a power switch; if so, make sure it’s in the ‘off’ position for now. You’ll turn it on later.
Linking to Your Computer
Most modern thermal printers connect to your computer in one of two main ways: USB or network. Think of these as the different highways your data will travel on.
Using a USB Connection
This is often the simplest method. Look for a USB port on your printer – it usually looks like a small, flat rectangle. You’ll use a USB cable (often included) to connect this port to an available USB port on your computer. It’s a direct line, very reliable for most home or small office setups. We found this is the go-to for many users because it’s so plug-and-play.
Using a Network Connection (Ethernet or Wi-Fi)
If your printer is designed for network use, you have a couple of options. An Ethernet connection uses a network cable (like the one for your internet router) to plug directly into your printer’s network port and your router or network switch. This provides a very stable, fast connection. If your printer is Wi-Fi enabled, you’ll usually set this up through the printer’s menu or a setup utility on your computer. This offers more flexibility in where you place your printer, as it doesn’t need to be tethered by a cable.
Installing the Necessary Software (Drivers)
Your computer needs to know how to ‘speak’ to your new printer. This is where printer drivers come in. They are like translators, allowing your operating system and applications to send commands to the printer correctly.
Finding the Right Drivers
Drivers are almost always specific to your printer model and your operating system (like Windows 10, macOS, etc.). The best place to find them is usually the manufacturer’s website. Search for your specific printer model on their support or downloads page. You’ll typically find a download link for the driver software. Some printers might come with a CD, but downloading the latest version from the web is generally recommended to ensure you have the most up-to-date features and bug fixes.
Running the Installation Process
Once you’ve downloaded the driver file, open it to start the installation. The installer will guide you through the process. You might be prompted to connect your printer at a certain point – follow the on-screen instructions carefully. For USB printers, it often tells you to connect the cable *after* the software starts asking for the printer. Network printers might require you to enter an IP address or discover the printer on your network during setup.
Windows Driver Installation
On Windows, after downloading the driver, you’ll usually run an executable file (.exe). Just double-click it and follow the wizard. It will ask you questions about your printer’s connection type and model. Make sure you select the correct options!
macOS Driver Installation
For Mac users, drivers often come as .dmg files. After downloading, double-click the .dmg to ‘mount’ it, then run the installer package inside. The steps are similar to Windows, guiding you through the setup.
Configuring Your Printer Settings
With the drivers installed, your computer now recognizes the printer. But you’ll want to make sure it’s set up to print exactly what you need.
Setting Up Label Sizes
Thermal printers are often used for specific label sizes, like 4×6 inch shipping labels or smaller receipt rolls. In your operating system’s printer settings (often found in Control Panel on Windows or System Preferences on Mac), you can usually define custom paper sizes or select from presets. This is crucial for ensuring your labels print correctly without being cut off or having extra blank space.
We found that many users overlook this step, leading to misaligned prints. Taking a few minutes to set the correct size can save a lot of frustration.
Adjusting Print Quality and Speed
Most thermal printer drivers offer settings for print darkness (density) and speed. If your prints are too faint, you might need to increase the darkness. If you’re getting smudges or lines, try slowing down the print speed. Experimenting with these settings can help you achieve the best print quality for your specific media.
Performing a Test Print
Before you send a big batch of labels or a crucial receipt, always do a test print. This is your chance to catch any issues.
Printing a Sample Label or Receipt
Open a simple text document or use the printer’s built-in test print function (often accessible through the driver’s properties). Print a single label or a short receipt. Check it carefully for clarity, alignment, and any missing parts. Does the text look crisp? Is the barcode readable? This quick check confirms that everything is connected and configured properly.
Troubleshooting Common Setup Issues
Even with the best instructions, sometimes things don’t work perfectly on the first try. Here are a few common hurdles and how to jump over them.
Printer Not Detected by Computer
If your computer simply doesn’t see the printer, double-check your connections. For USB, try a different USB port or a different cable. For network printers, ensure both the printer and computer are on the same network and that the network cable is secure (or Wi-Fi is connected). Restarting both your printer and computer can also often resolve detection issues. We’ve seen this simple reboot fix more problems than you might think!
Prints Are Blank or Garbled
A blank print usually means the printer isn’t receiving data correctly or the media isn’t advancing. Check that you’ve installed the correct drivers for your specific model. If the prints are garbled (unreadable characters or lines), it often points to a driver issue or a communication problem. Reinstalling the drivers can sometimes clear this up. Also, ensure you’ve loaded the thermal paper correctly – it usually has a specific side that faces the print head.
Driver Installation Errors
If the driver installation fails, make sure you downloaded the correct version for your operating system (e.g., Windows 11 64-bit vs. macOS). Sometimes, antivirus software can interfere with installations; temporarily disabling it might help (remember to re-enable it afterward). Ensure you have administrator privileges on your computer.
Ensuring Software Compatibility
Your thermal printer needs to work with the software you plan to use, whether it’s shipping software, point-of-sale (POS) systems, or design programs. Most modern printers and software are designed to be compatible, but it’s worth double-checking.
Checking Your Application’s Requirements
Look at the system requirements for your shipping software, POS system, or any other application you’ll use with the printer. Does it list supported printer types or specific models? Often, applications will let you select your printer from a dropdown list during setup. If your printer isn’t listed, ensure it’s installed as a standard printer in your operating system, and the application can then ‘see’ it.
Using Printer Drivers Provided by Software
Some specialized software, like certain shipping platforms, may offer their own printer drivers or setup utilities. In these cases, it’s often best to use the drivers provided by the software manufacturer, as they might be optimized for that specific application. Just be sure you’ve still followed the basic physical setup and operating system installation first.
A Quick Setup Checklist for Your New Thermal Printer
- Confirm all cables (power, USB/Ethernet) are securely connected.
- Install the latest printer drivers from the manufacturer’s website.
- Verify the correct paper size and type are configured in settings.
- Perform a test print to check alignment and print quality.
- Restart your computer and printer if the printer isn’t detected.
- Ensure your label printing software recognizes the new printer.
Conclusion
You’ve now got a clear path to getting your thermal printer up and running smoothly. We covered connecting power and your computer, installing essential drivers, and fine-tuning settings for perfect prints. Remember, setting up your label size and performing that quick test print are key steps we found prevent many common headaches. Don’t be afraid to experiment with the print quality settings either. Your next step is to power up your printer, run the setup, and enjoy crisp, reliable printing for all your needs!
Frequently Asked Questions
What if my computer doesn’t recognize the printer after connecting it?
First, double-check all your cable connections—ensure they are fully plugged in. Try using a different USB port or a different USB cable if you’re using one. Restarting both your printer and your computer often resolves detection issues.
My printed labels are blank. What could be wrong?
A blank print usually means the printer isn’t getting data or the paper isn’t moving correctly. Confirm you have installed the correct drivers for your specific printer model. Loading the thermal paper with the correct side facing the print head is also essential.
Can I use my thermal printer with any software?
Generally, thermal printers work with most standard applications once drivers are installed. However, it’s always a good idea to check your specific software’s requirements to ensure compatibility, especially with POS or shipping platforms.
How do I ensure my labels print in the correct size and are not cut off?
You need to configure the correct paper or label size within your operating system’s printer settings. Most drivers allow you to define custom sizes or select from common presets like 4×6 inches. This ensures your layout matches the physical label.
What’s the best way to get the latest printer drivers?
The most reliable source for the latest drivers is always the printer manufacturer’s official website. Search for your specific printer model on their support or downloads page. Downloading directly from the manufacturer ensures you have the most up-to-date and secure software.