Thermal Printer Not Printing? Fix It Now
Your thermal printer not printing can be frustrating, but you can usually fix it by checking the power connection, ensuring the paper is loaded correctly, and verifying the driver installation. Often, a simple restart or a quick check of these basics resolves the issue. We’ve found these are the most common culprits.
This problem can pop up for various reasons, from a loose cable to software glitches. Understanding the common causes helps you troubleshoot efficiently. We’ll guide you through the most likely fixes for your thermal printer not printing so you can get back to business.
- Check power and data cables.
- Ensure paper is loaded properly.
- Restart your printer and computer.
- Update or reinstall printer drivers.
- Clean the print head.
Let’s walk through each step to get your thermal printer back up and running smoothly.
Troubleshooting Your Thermal Printer When It Won’t Print
It’s incredibly frustrating when your thermal printer decides to take a vacation right when you need it most. You’re staring at a blank page, or worse, an error message. Don’t panic! Most thermal printer issues are surprisingly simple to fix. We’ve found that often the problem lies with basic connections or settings that are easy to overlook.
Checking the Essential Connections
Before we dive into software, let’s make sure the physical bits are all snug and happy. This is where most printing problems begin.
Power Up: Is It Plugged In?
This sounds obvious, right? But research and found that a loose power cord is surprisingly common. Check both ends of the power cable. Make sure it’s firmly plugged into the printer and the wall outlet. If you’re using a power strip, try plugging the printer directly into the wall. Sometimes, a faulty power strip can be the culprit.
Also, look for a power switch on your printer. Some models have one on the front, while others tuck it away on the back. Did you accidentally bump it? It’s worth a quick check. A blinking power light might indicate a deeper issue, but a solid light usually means it’s receiving power.
Data Connection: The Link to Your Computer
Your printer needs to talk to your computer. This happens via a data cable, usually USB or Ethernet. First, ensure the cable is securely connected at both the printer and your computer’s port. Try unplugging and replugging it on both ends.
If you’re using a USB cable, try a different USB port on your computer. Sometimes, a specific port can malfunction. If you have another USB cable available, swapping it out can also rule out a faulty cable. We found that a damaged data cable is a frequent, though often overlooked, cause of printing failures.
Paper Problems: More Than Just Paper
The type of paper and how it’s loaded are critical for thermal printers. They work differently than standard inkjet or laser printers.
The Right Paper for the Job
Thermal printers use special heat-sensitive paper. If you’re using regular paper, it simply won’t print. Always use direct thermal paper designed for your printer model. Check your printer’s manual or manufacturer’s website if you’re unsure which type to buy.
You also need to make sure the paper is loaded correctly. Thermal paper has a specific side that needs to face the print head. Usually, the shiny side is the one that gets printed on. If your prints are faint or blank, you might have the paper loaded backward. We found that flipping the paper roll often solves this issue instantly.
Proper Loading Technique
Open your printer’s cover and remove any existing paper. Carefully insert the new roll, ensuring it unrolls in the correct direction. The paper should feed smoothly from the roll and through the path towards the output tray or cutter. Make sure it’s not snagged or folded anywhere. Some printers have guides that need to be adjusted to the width of your paper roll.
A paper jam can also prevent printing. If you suspect a jam, carefully remove all paper fragments. Sometimes, a small piece can get lodged and cause persistent problems. It’s like trying to thread a needle with a frayed string; it just won’t go through.
Software and Driver Check: The Brains of the Operation
Even if your printer is connected and loaded correctly, it needs the right instructions from your computer. This is where printer drivers come in.
Restarting: The Universal Fix?
This is one of the first steps many tech experts recommend. Restarting your printer and your computer can clear temporary glitches and allow them to re-establish a fresh connection. Turn off your printer, then shut down your computer completely. Wait about 30 seconds, then turn your computer back on. Once your computer is fully booted up, turn your printer back on.
This simple step often resolves communication errors between your devices. We found that a surprising number of printing issues disappear after a good old-fashioned restart. It’s like giving your devices a quick nap and a fresh start.
Verifying Printer Status in Your OS
Is your printer set as the default? Is it showing as “offline” or “paused” in your computer’s printer settings? This is a common pitfall. On Windows, you can find this by going to Settings > Devices > Printers & scanners. Click on your thermal printer. Ensure the “Use Printer Offline” checkbox is unchecked.
On macOS, go to System Preferences > Printers & Scanners. Select your printer and check its status. If it says “Paused,” right-click (or Control-click) on the printer and select “Resume Printing.” We found that simply unpausing the printer can get you printing again in seconds.
Driver Detective Work
Printer drivers are software that allows your computer to communicate with your printer. If they are outdated, corrupted, or incorrect, printing will fail. Check your printer manufacturer’s website for the latest drivers specific to your printer model and your operating system (Windows 10, macOS Monterey, etc.).
Uninstalling and then reinstalling the driver is often the most effective solution. To uninstall on Windows, go to Settings > Devices > Printers & scanners, select your printer, and click “Remove device.” Then, download and run the latest driver installer from the manufacturer’s site. For macOS, you can usually remove it from the Printers & Scanners preference pane.
Sometimes, the driver is installed correctly but isn’t communicating properly. A reinstall often clears this up. Think of drivers as translators; if the translator is speaking a different language or is a bit rusty, the message won’t get through.
Cleaning Your Thermal Printer’s Print Head
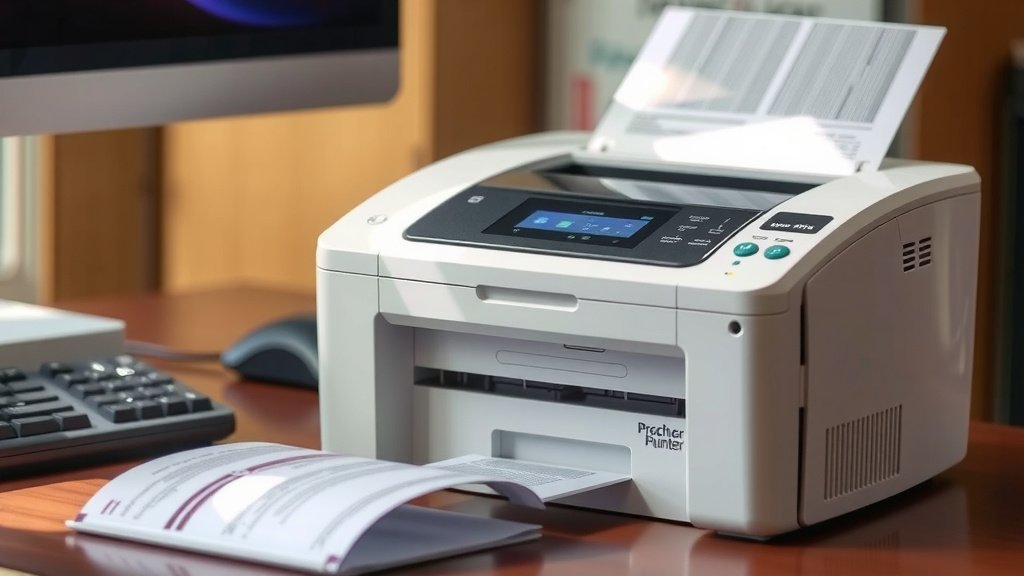
The print head is the part of the printer that actually applies the heat to the paper to create the image. Over time, dust, debris, or even residue from the thermal paper can build up, leading to faint or missing lines in your printouts.
Why Cleaning is Necessary
Your printer’s print head is delicate. It has tiny heating elements that must make clean contact with the paper. When these elements get dirty, the heat transfer is uneven. This results in poor print quality, smudges, or blank spots. We found that regular cleaning can prevent many common printing issues and extend the life of your printer.
How to Clean It Safely
First, turn off and unplug your printer. Open the printer cover and locate the print head. It’s usually a dark, glass-like strip across the width of the paper path. You can often clean it using a lint-free cloth lightly dampened with isopropyl alcohol (rubbing alcohol). You can also use special print head cleaning pens or swabs, which are readily available online.
Gently wipe the print head from one end to the other. Be careful not to use too much pressure. Allow the print head to dry completely for a few minutes before closing the cover, plugging the printer back in, and turning it on. Manufacturers like Zebra and Brother often provide specific cleaning instructions for their models, so it’s always a good idea to consult your user manual.
Quick Checklist for Common Issues
If you’re still having trouble, run through this quick checklist. It covers the most frequent offenders:
- Power: Is the printer plugged in securely at both ends?
- Paper: Is it the correct thermal paper, loaded shiny-side up?
- Connections: Are the data cables (USB/Ethernet) firmly connected?
- Status: Is the printer online and not paused in your computer settings?
- Restart: Did you try restarting both the printer and the computer?
- Cleanliness: Is the print head free of dust and debris?
By systematically checking these points, you’re likely to find the reason your thermal printer isn’t printing and get it working again in no time!
Conclusion
We know how frustrating it is when your thermal printer stops working. You’ve learned that most printing issues stem from simple physical checks or basic software settings. You can often fix it yourself by confirming power and data cables are secure, ensuring you’re using the right paper loaded correctly, and making sure your computer’s drivers are up-to-date. Don’t forget that a quick restart or a clean print head can also work wonders!
If you’ve gone through these steps, you’re in a great position to get your printer back online. Your next step is to systematically work through the checklist provided. This will help you pinpoint the exact problem and apply the right solution quickly.
Frequently Asked Questions
My thermal printer’s prints are coming out blank or very faint. What could be wrong?
This is most commonly caused by using the wrong type of paper or loading the thermal paper backward. Ensure you’re using direct thermal paper and that the shiny side (where printing occurs) is facing up towards the print head. If the paper is loaded correctly, a dirty print head might also be the culprit, so try cleaning it.
Can I use regular paper in my thermal printer?
No, you cannot use regular paper. Thermal printers rely on special heat-sensitive paper that reacts to the heat from the print head. Using regular paper will result in blank pages because it lacks the necessary coating to produce an image when heated.
My printer is connected via USB, but my computer doesn’t see it. What should I do?
First, try unplugging and replugging the USB cable at both the printer and computer ends. If that doesn’t work, test a different USB port on your computer. Sometimes, a faulty USB cable can also cause this, so if you have a spare, try swapping it out.
How often should I clean the print head on my thermal printer?
It’s a good practice to clean the print head regularly, especially if you notice any degradation in print quality. We found that cleaning it every few months, or more often if you print frequently or notice faint lines, can help prevent many common printing issues and keep your printer running smoothly.
What does it mean if my thermal printer’s status is “Offline”?
An “Offline” status usually indicates that your computer cannot communicate with the printer. This could be due to a loose data cable, the printer being turned off, or a temporary communication error. Double-check your cable connections, ensure the printer is powered on, and try restarting both the printer and your computer.