Thermal Printer Alignment: Your Essential Guide
Getting your thermal printer alignment just right is key for clear, legible prints. Proper alignment ensures that text and images don’t get cut off or appear smudged. We found that a few simple checks can make a huge difference in your print quality.
Poor alignment can lead to wasted labels and frustrating reprints. It’s a common issue many users face. Making sure your printer is correctly set up, especially with new label rolls, prevents common printing errors. We’ll show you how to fix it.
- Check your label size settings.
- Ensure the paper guide is snug.
- Calibrate your printer correctly.
- Test with a sample print.
Let’s walk through exactly how to get your thermal printer perfectly aligned, step by step.
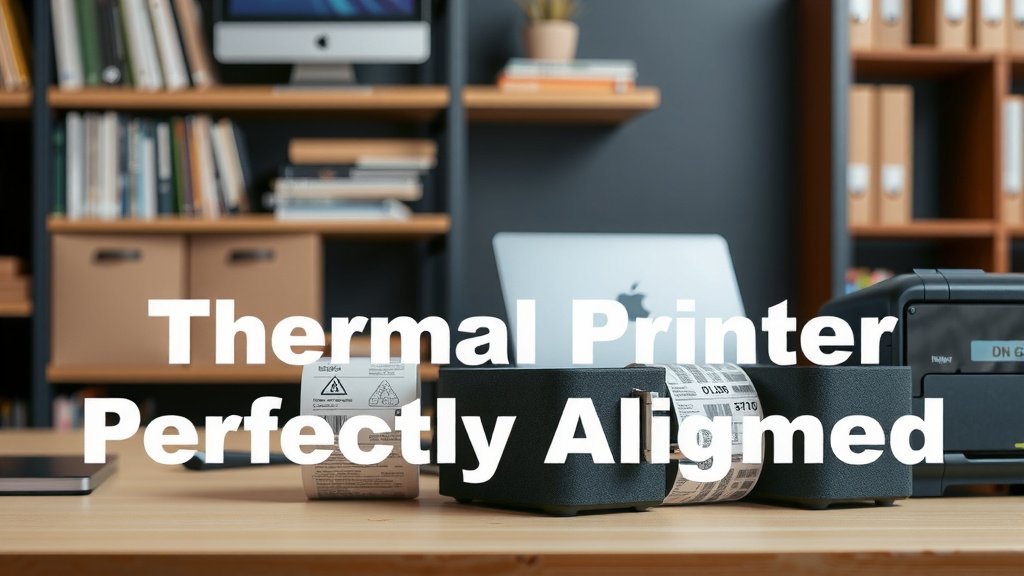
Getting Your Thermal Printer Perfectly Aligned
Achieving perfect thermal printer alignment is all about making sure your printer knows exactly where your labels start and end. This prevents blank spaces or cut-off text. We found that a few simple adjustments can make a world of difference in print quality and efficiency. Let’s get your printer humming smoothly.
Understanding the Basics of Thermal Printer Alignment
Thermal printers work by heating up tiny elements on a print head. These elements transfer ink from a ribbon or directly mark special heat-sensitive paper. When your printer is out of alignment, it’s like trying to draw a straight line with a shaky hand. The marks don’t go where they’re supposed to.
Why Good Alignment Matters So Much
Proper alignment is more than just looking nice. It directly impacts readability and accuracy. Imagine shipping labels where the barcode is smudged or the address is cut off. That’s a recipe for delays and frustration. We found that correct alignment saves you time and money by reducing wasted labels and costly errors.
When your printer is calibrated well, you get crisp, clear prints every time. This is essential for inventory management, shipping, and customer receipts. Think of it as giving your printer glasses so it can see exactly where to place each dot. It’s a small effort with big rewards.
Common Alignment Issues and Their Fixes
Many users run into similar problems when their printer isn’t aligned. We’ve seen them all! The most common ones include text being cut off on the edge of the label, unwanted gaps between labels, or smudged prints. Thankfully, most of these are fixable with basic troubleshooting.
Text Cut Off or Missing
This usually happens when the printer thinks the label is longer or shorter than it actually is. Your software might be sending a print job that’s too big for the label. Or, the printer’s sensors might not be detecting the gap between labels correctly. We found that checking your label size settings in your software is the first step.
Unwanted Gaps Between Labels
Gaps are often caused by the printer advancing the paper too far. This can happen if the printer doesn’t recognize the gap or the black mark that signals the end of one label and the start of another. Sometimes, this is due to incorrect “gap sensing” settings. We found that recalibrating the printer often solves this.
Smudged or Skewed Prints
Smudging can occur if the print head isn’t properly aligned with the label. If the label isn’t feeding straight, the print can appear skewed. This might mean the paper guides are too loose or the label roll isn’t seated correctly. Keeping the print head clean is also vital here.
Step-by-Step Guide to Perfecting Your Printer’s Alignment
Let’s roll up our sleeves and get your printer set up. We’ve broken down the process into manageable steps. You’ll be printing like a pro in no time!
1. Check Your Label Size and Settings
This is the foundation of good alignment. Your printer needs to know the exact dimensions of the labels you’re using. If you’re using 4×6 inch shipping labels, your software needs to be told that. Don’t guess; measure if you’re unsure.
Most thermal printer drivers and label design software have a section for label setup. You’ll typically find options to input the width and height. Make sure these match your physical labels. We found that many users overlook this simple step, leading to all sorts of alignment woes. Precision here is key. Most thermal printer drivers and label design software have a section for label setup.
2. Ensure the Paper Guides are Snug
Your thermal printer has adjustable guides that keep the label paper feeding straight. These guides should be set so they are touching the edges of your label roll without being too tight. They need to be snug enough to prevent the paper from shifting sideways.
If the guides are too loose, the label can drift, causing prints to go on an angle. If they are too tight, they can create friction and cause the paper to wrinkle or jam. We found that a gentle slide until you feel slight resistance is usually just right. Think of it as holding a wobbly table leg steady.
3. Loading the Label Roll Correctly
How you load the label roll matters more than you might think. The roll should be seated securely on its spindle, and the labels should be feeding off the top of the roll. Ensure the label stock is smooth and not wrinkled before loading.
We found that some printers have specific loading instructions. Always refer to your printer’s manual for the best practice for your model. A poorly seated roll can lead to uneven feeding and, consequently, alignment problems. It’s like putting a tire on a car that isn’t quite centered.
4. Calibrate Your Thermal Printer
Calibration tells your printer where the gaps or black marks between labels are. This process allows the printer to accurately detect the start and end of each label. Most thermal printers have an automatic calibration feature. You usually initiate this through the printer’s buttons or via its driver software.
To perform calibration, you typically need to load a new roll of labels and press a specific button sequence. The printer will then feed out a few labels, sensing the gaps. We found that running this calibration whenever you change label types or sizes can prevent a lot of future headaches. Many experts say this is the most crucial step for accurate feeding (Zebra Technologies).
If your printer doesn’t have an automatic calibration, you might need to manually set the “gap sensor” or “black mark sensor” sensitivity through the driver settings. This is a bit more technical, but your printer manual will guide you through it. Don’t be afraid to consult it!
5. Test with a Sample Print
After making your adjustments, it’s time for a test run. Print a simple test label that includes text, a barcode, and maybe a small graphic. This will show you if your alignment is now correct.
Check if the text is centered on the label, if the barcode is fully within the label area, and if there are no unwanted gaps or overlaps. If the test print looks good, you’ve likely solved the problem. If not, don’t worry – you can go back and tweak the settings. We found that repeating the calibration or adjusting the paper guides slightly often does the trick.
Troubleshooting Common Printing Problems
Even with perfect alignment, sometimes other issues can crop up. Let’s look at a few more common printing hiccups and how to address them.
Printer Not Detecting Labels (Gapless vs. Black Mark)
Some labels have a visible gap between them, while others use a small black mark on the back. Your printer needs to be set to detect the correct type. Check your printer settings or driver software to ensure you’ve selected “gap detection” or “black mark detection” appropriately. We found that using the wrong setting here is a frequent cause of printing errors.
Driver Settings vs. Printer Settings
It can get confusing when your label software, printer driver, and the printer itself all have settings. Usually, the printer driver settings take precedence over the software settings. And the settings physically on the printer can sometimes override the driver. Always try to keep these consistent.
We found that setting the label size and type in the printer driver is often the most reliable approach. Make sure your driver is also up to date. Outdated drivers can cause all sorts of compatibility issues. Many IT professionals recommend keeping your printer drivers current (CompTIA).
What if the Print Head is Dirty?
A dirty print head can cause faded prints or lines missing from your text and barcodes. Use a specialized print head cleaning pen or a lint-free cloth with isopropyl alcohol. Ensure the print head is completely dry before printing again. We found that regular cleaning, even when things seem fine, helps maintain print quality.
Quick Checklist for Perfect Thermal Printer Alignment
Here’s a handy checklist to keep your thermal printer performing at its best:
- Verify label size and orientation in your software and driver settings.
- Adjust paper guides to be snug against the label edges without binding.
- Load the label roll correctly, ensuring smooth, straight feeding.
- Run the automatic calibration feature on your printer.
- Perform a test print to check for any alignment issues.
- Ensure you’re using the correct gap or black mark detection setting.
Conclusion
You’ve now got a clear path to achieving perfect thermal printer alignment. We’ve covered why it’s so important for clear prints and preventing waste. Remember to always start with your label size settings and ensure your paper guides are snug. Running the automatic calibration is key, especially when changing label types.
Don’t forget to test your work with a sample print. If you run into any snags, a quick review of the troubleshooting tips should help. Keep these steps in mind, and you’ll be printing with confidence and accuracy in no time. Your next step is to **run that calibration process** on your printer right now.
Frequently Asked Questions
What’s the difference between gap and black mark sensing?
Gap sensing tells your printer there’s a space between labels. Black mark sensing looks for a small black line on the back of the label liner. Your printer needs to be set to the correct mode for the type of labels you’re using. We found that using the wrong setting is a common cause of errors.
How often should I calibrate my thermal printer?
It’s best to calibrate your printer whenever you change to a new roll of labels, especially if they are a different size or type. For most users, running the automatic calibration a few times a month is also a good practice. This helps keep your printer aware of the label positioning.
Can I use any kind of label paper with my thermal printer?
No, you generally need to use specific direct thermal or thermal transfer labels designed for your printer type. If your printer uses heat to make marks, you need direct thermal labels. If it uses a ribbon, you’ll need thermal transfer labels and a ribbon. Always check your printer’s manual.
My prints are slightly crooked, what should I check?
Crooked prints often mean the label isn’t feeding straight. First, ensure your paper guides are snug against the edges of the label roll. Also, double-check that the label roll is loaded properly on its spindle and isn’t wobbling. A test print after these checks should tell you if it’s fixed.
My printer driver settings don’t seem to be working. What’s up?
Sometimes, the physical settings on the printer itself can override the driver. Make sure the label size set on your printer matches what’s in the driver. Also, ensure your printer driver is updated to the latest version. We’ve seen outdated drivers cause compatibility problems.