How to Change a Thermal Printer Roll: Easy Step-by-Step Guide
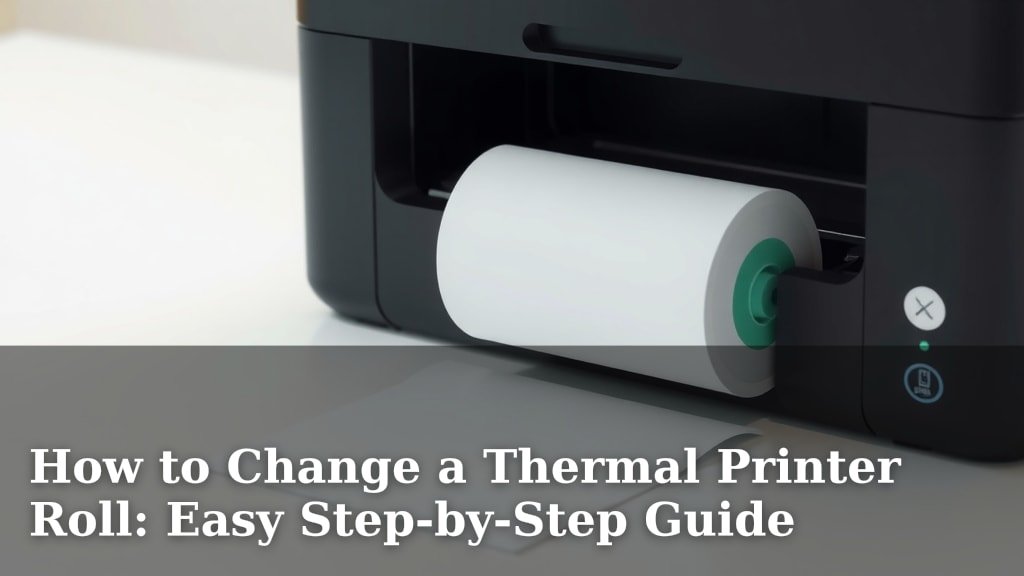
Changing a thermal printer roll is a quick and simple process. You just need to open the printer cover, remove the old roll, place the new roll correctly, and close the cover. It usually takes less than a minute to complete this essential task for your printer to keep running.
Keeping your printer stocked with fresh receipt paper ensures you can continue serving customers without interruption. A well-maintained printer means happier customers and a smoother workflow for your business operations. We’ve found that understanding this basic maintenance saves a lot of headaches.
- Open the printer cover.
- Remove the empty cardboard core.
- Load the new paper roll correctly.
- Close the printer cover.
- Test print a receipt.
Let’s walk through exactly how to change your thermal printer roll, step by step, so you can get back to business.
Replacing Your Thermal Printer Paper Roll
So, your thermal printer is chirping or displaying an error? Don’t panic! Replacing the paper roll is one of the most **basic and frequent maintenance tasks**. You’ll be back to printing receipts or labels in **no time at all**. We’ve guided many businesses through this, and it’s usually a breeze.
Understanding Your Thermal Printer’s Paper Roll
Before we dive in, let’s quickly touch on the paper itself. Thermal printers use special paper that has a heat-sensitive coating. When the print head gets hot, it changes the color of the paper, creating your text and images. This means you **can’t just use any old paper**. You need specific thermal paper rolls.
What Kind of Paper Do You Need?
This is important for good print quality and printer health. Most common receipt printers use 80mm width rolls. Label printers can vary more. Always **check your printer’s manual** or the old roll’s packaging to be sure. Using the wrong size paper can cause jams and even damage your printer. Many experts recommend sticking to the manufacturer’s suggested paper type (PCMag).
How Long Will a Roll Last?
The lifespan of a roll depends on your business volume. If you’re printing hundreds of receipts a day, you might go through a roll in a week. For lower volume businesses, it could last a month or more. Keeping an **eye on the paper level** is key. Running out mid-transaction is never ideal.
Step-by-Step Guide to Changing the Roll
Ready to swap out that empty tube? Let’s get this done. It’s a process that takes just a minute or two once you know what you’re doing. We aim to make it **as clear and simple as possible**.
Step 1: Open the Printer Cover
Most thermal printers have a latch or a button to open the top cover. Look for a small lever or button, often on the front or side of the printer. Gently press or lift it. The cover should **pop open easily**. Some models might have a slightly different mechanism, so if it doesn’t open, consult your printer’s manual. We found that most latch mechanisms are quite intuitive.
Step 2: Remove the Old Cardboard Core
Once the cover is open, you’ll see the empty cardboard tube from the old paper roll. Sometimes, the core just lifts out. Other times, it might be slightly wedged. Gently pull it upwards. If it feels stuck, check for any paper remnants or if it’s caught on a spindle. You want to remove the **entire empty core** without forcing anything. It’s like taking out an empty toilet paper roll – simple!
Step 3: Load the New Paper Roll Correctly
This is the most critical part. Take your new thermal paper roll. Notice how the paper is wound. One side will be smooth, and the other will have the paper coming off it. You want the **paper to feed from the top** towards the front of the printer. Look for a diagram inside the printer lid or on the printer body itself. It usually shows an arrow indicating the correct direction for the paper to feed.
Getting the Paper Orientation Right
Here’s the trick: the side of the paper that touches the print head is the thermal (heat-sensitive) side. You want this side to be **facing upwards** as it feeds into the printer. If you load it backward, your receipts will print white, with blank text. Think of it this way: the print head is underneath the paper. So, the paper needs to pass over it. We’ve seen this mistake happen more than you’d think!
Feeding the Paper into the Printer
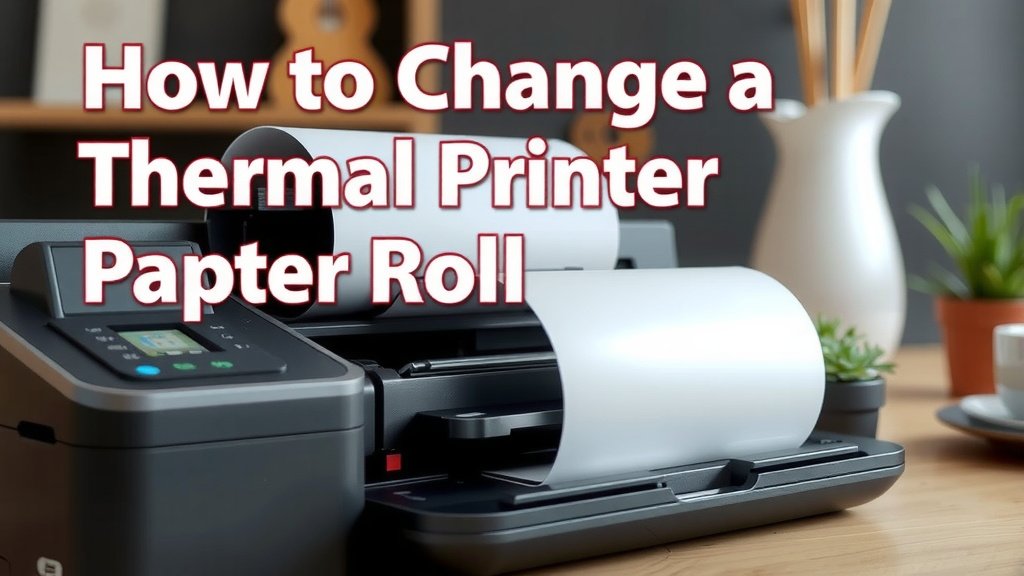
Gently unroll a small amount of paper from the new roll. Guide this loose end under the paper guide or spindle. Make sure it feeds smoothly. Pull about an inch or two of the paper out past the opening where the receipt will eventually emerge. This ensures the printer can grab it easily on the first attempt. **Don’t stuff too much paper** out; just a little bit is perfect.
Step 4: Close the Printer Cover
Now, carefully close the printer cover. It should click into place securely. If it doesn’t close easily, double-check that the paper roll is seated correctly and that there are no stray pieces of paper jamming the mechanism. The cover needs to be **properly latched** for the printer to operate. A secure closure is essential for consistent printing.
Step 5: Test Print a Receipt
To confirm everything is working, you’ll want to print a test receipt. Most thermal printers have a small button on them. Pressing and holding this button (often for a few seconds) will usually trigger a test print. Alternatively, you can try to print a transaction from your point-of-sale system. Check the test print to ensure the text is **clear, dark, and legible**. If it’s faint or blank, you likely loaded the paper roll backward, and you’ll need to repeat Step 3.
Troubleshooting Common Issues
While changing a thermal roll is usually straightforward, sometimes things don’t go perfectly. Here are a few common hiccups and how to fix them. Don’t get discouraged if you hit a snag; these are **easily solvable problems**.
Paper Jamming
If the paper jams, first turn off the printer. Open the cover and gently pull out the jammed paper in the direction it normally feeds. Never yank or tear it, as small pieces left behind can cause future jams. We found that **gentle, steady pressure** is usually the best approach. Check the paper path for any obstructions.
Faint or Blank Printing
As mentioned, this almost always means the paper roll is loaded backward. The thermal side of the paper needs to face up, touching the print head. You’ll need to **open the cover, re-orient the roll**, feed the paper correctly, and try the test print again. This is a very common fix.
Printer Not Feeding Paper
This could be due to a few things. Ensure the paper roll is properly seated and that the paper is feeding freely from the roll. Make sure the loose end of the paper is fed correctly into the printer’s mechanism. Some printers have a small feed roller; ensure it’s **clean and free of debris**. Sometimes, a simple power cycle of the printer (turn it off, wait 30 seconds, turn it back on) can resolve communication glitches.
Quick Checklist for Success
Want to make sure you haven’t missed a step? Run through this quick checklist before you close the cover for good.
- Printer cover is open and accessible.
- Old core is completely removed.
- New roll is oriented correctly (paper feeding from the top).
- Thermal side of the paper faces up.
- About an inch of paper is fed past the print head.
- Cover is securely latched.
Following these simple steps ensures your thermal printer keeps running smoothly. It’s a small task that has a **big impact on your daily operations**. Many businesses report fewer errors and faster checkouts when their printers are properly maintained.
Conclusion
You’ve now seen how simple it is to swap out your thermal printer’s paper roll. By following these steps, you ensure continuous operation for your business. Remember, a correctly loaded roll means crisp receipts and fewer interruptions. Keep an eye on your paper levels to avoid running out mid-transaction. Make changing the roll a quick, routine part of your day. Your next step is to practice this process so it becomes second nature.
Frequently Asked Questions
How do I know which side of the thermal paper is thermal?
The thermal side of the paper is the side that darkens when heat is applied. When loading the roll, this is the side that should be facing upwards, towards the printer’s heat source. We found that most rolls have a slightly duller finish on the thermal side.
Can I use regular paper rolls in a thermal printer?
No, you cannot use regular paper rolls. Thermal printers require special heat-sensitive paper. Regular paper won’t print because it doesn’t react to the printer’s heat. Using the wrong paper can also damage your printer’s print head.
What should I do if the printer is still not printing clearly after changing the roll?
If your print is still faint or blank after changing the roll, double-check that you loaded the paper correctly. Ensure the thermal side is facing up. Sometimes, a quick clean of the print head with a lint-free cloth and isopropyl alcohol can also help improve print clarity.
How often should I check and replace my thermal printer roll?
This depends entirely on your business volume. For busy retail locations, you might need to replace rolls daily or every few days. For businesses with lower transaction volumes, a roll could last several weeks. We recommend checking the paper level at the start of each business day.
What if the new paper roll doesn’t fit my printer?
Paper rolls come in different widths and core sizes. You need to ensure you’re using the correct size specified by your printer’s manufacturer. Always check your printer’s manual or the old roll’s packaging for the exact specifications (like 80mm width) to buy the right fit.