How to Clean a Thermal Printer: A Step-by-Step Guide
The easiest way to clean a thermal printer is with a lint-free cloth dampened with isopropyl alcohol. This process removes debris that can affect print quality. Regular cleaning keeps your printer running smoothly and ensures crisp, clear labels or receipts every time.
A dirty thermal print head can lead to faded lines, smudges, or even blank spots on your prints. Ignoring this can cause frustration and wasted materials. We found that most thermal printer manufacturers recommend this simple cleaning method as part of routine maintenance to extend the printer’s life and maintain print efficiency.
- Clean the print head with isopropyl alcohol and a lint-free cloth.
- Wipe down the roller to remove dust and debris.
- Allow parts to dry completely before use.
- Regular cleaning prevents printing errors and extends printer life.
Ready to get your thermal printer looking and printing like new? Let’s walk through exactly how to clean it step by step.
Keeping Your Thermal Printer in Top Shape: A Cleaning Guide
A clean thermal printer is a happy thermal printer. That’s because dirt and dust are the silent saboteurs of print quality. They can build up on your printer’s delicate components. This leads to faded prints, lines that aren’t quite there, or even completely blank spots. Regular cleaning is your best defense. It ensures your printer runs smoothly and prints look sharp. We found that most manufacturers agree on this simple approach for routine printer maintenance.
Why Regular Cleaning Matters So Much
You might be wondering, “Does it really make a difference?” The answer is a resounding yes! Think of your thermal print head like the needle on a record player. If it’s dirty, the sound (or in this case, the print) will be distorted. Dust, paper fibers, or even adhesive from labels can stick to the print head. This creates an uneven surface. Your printer tries to print, but the ink (or heat, in thermal printing’s case) can’t transfer properly. This leads to wasted labels and receipts. Plus, a struggling printer might not last as long. Many experts point to consistent cleaning as a way to extend a printer’s lifespan (Office Supply Magazine).
The Impact of a Dirty Print Head
A dirty print head is the most common culprit for poor print quality. You’ll start noticing inconsistent lines. Some spots might be lighter than others. Smudges can appear where they shouldn’t. In severe cases, entire sections of your printout might be missing. This is especially frustrating when you’re printing important shipping labels or receipts. You might end up reprinting them, wasting both time and materials. We found that these issues often appear gradually, so it’s important to catch them early.
Preventing Future Problems
Cleaning isn’t just about fixing current issues. It’s about preventing them from happening in the first place. By regularly removing debris, you keep the print head in its optimal condition. This means fewer unexpected printing errors. It also helps maintain the printer’s overall performance. You’ll likely find your printer works more reliably day-to-day. This preventative care can save you headaches down the road. Many service technicians recommend cleaning every 1-3 months, depending on usage.
Gathering Your Cleaning Supplies
Before you start, it’s good to have everything ready. This makes the process quick and easy. You won’t have to stop halfway through to search for something. We recommend gathering a few specific items to ensure the best results without damaging your printer.
Essential Cleaning Tools
- Lint-free cloths: These are key. Regular paper towels can leave behind fibers. Those fibers can then get stuck on the print head. Opt for microfiber cloths or specialized lint-free wipes.
- Isopropyl alcohol (90% or higher): This is your go-to cleaning solution. It evaporates quickly. It also effectively breaks down sticky residues and grime. Don’t use other cleaners, as they might damage the printer.
- Cotton swabs: For reaching those tighter spots. Use these with caution and make sure they don’t leave cotton fibers behind.
- Compressed air (optional): This can be helpful for blowing away loose dust. Use it sparingly and hold the can upright.
What NOT to Use
It’s just as important to know what to avoid. Using the wrong cleaning agents can cause permanent damage. Never use abrasive cleaners or solvents. Water alone is often not effective enough. Avoid household cleaners, window cleaner, or anything with ammonia. These can corrode or damage the sensitive print head elements. Many printer manuals specifically warn against these substances.
Step-by-Step Cleaning Process for Your Thermal Printer
Now, let’s get down to business. Cleaning your thermal printer is usually a straightforward process. Always refer to your specific printer’s manual for any unique instructions. But this general guide covers most models.
Safety First: Powering Down
The absolute first step is to power off your printer. Unplug it from the power source. This is crucial for your safety and to prevent any electrical damage to the printer. You don’t want to accidentally short something out. Let the printer cool down for a few minutes if it’s been recently used. The print head can get quite warm.
Cleaning the Print Head: The Heart of the Matter
This is the most critical part of the cleaning process. The print head is a delicate strip of heating elements. It’s what actually creates the image on your labels or receipts. You need to be gentle but thorough here.
Using Alcohol and a Lint-Free Cloth
Take your lint-free cloth. Lightly dampen it with isopropyl alcohol. You don’t want it dripping wet, just slightly moist. Gently wipe the print head strip from one end to the other. Use a single, smooth motion. Repeat this a few times if needed, using a clean section of the cloth. We found that wiping in one direction is often recommended. Avoid scrubbing. Scrubbing can scratch the surface of the print head.
Detailing with Cotton Swabs
If there are stubborn spots or debris stuck between the heating elements, a cotton swab can help. Again, dampen it lightly with isopropyl alcohol. Carefully use the swab to clean these areas. Be very gentle. Make sure no cotton fibers are left behind. A quick blast of compressed air can help remove any stray fibers. This meticulous approach ensures every part of the print head is addressed.
Cleaning the Roller (Platen Roller)
The roller, also known as the platen roller, is the rubber part that feeds the paper through. Dust and debris can also build up here. This can cause paper feed issues or uneven printing. Many maintenance guides suggest cleaning this part too.
Wiping Down the Roller
Use another clean, lint-free cloth. You can dampen this one slightly with isopropyl alcohol as well, or just use water if it’s not too dirty. Gently rotate the roller and wipe its surface. This removes any dust or residue. Ensure you cover the entire surface of the roller. A clean roller helps with smooth paper feeding.
Cleaning the Printer Exterior and Interior
Don’t forget the outside and other internal parts. A clean printer is more pleasant to work with. It also helps prevent dust from being drawn further into the printer.
Wiping the Casing
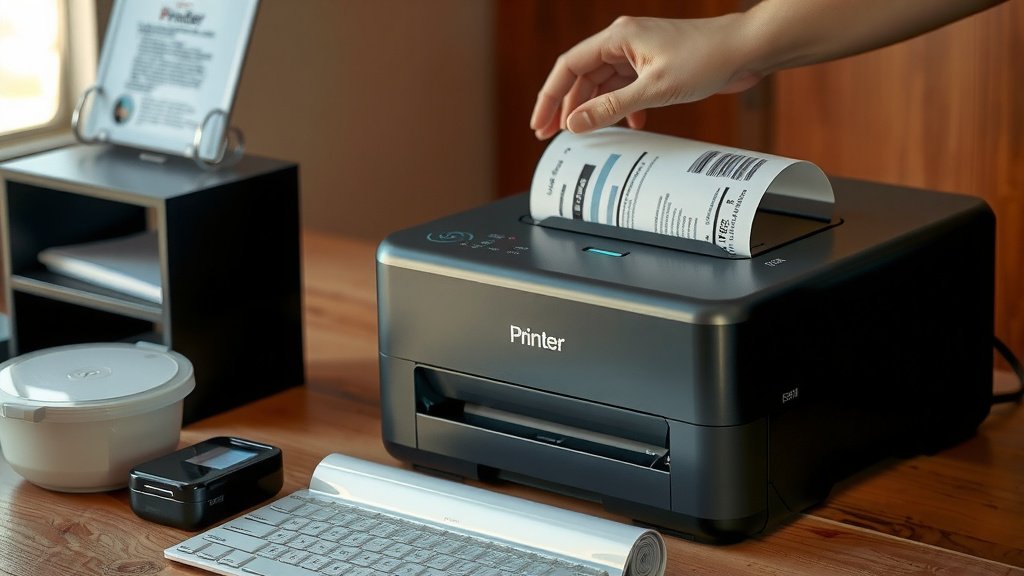
Use a slightly damp lint-free cloth to wipe down the printer’s exterior. For the interior, use a dry lint-free cloth to wipe away any visible dust. If you have compressed air, you can use short bursts to blow dust out from accessible areas. Be careful not to blow dust into sensitive components. Keep it simple and effective.
Drying and Final Checks
This step is absolutely critical. You must ensure all components are completely dry before powering the printer back on. Alcohol needs a few minutes to evaporate fully. Leaving moisture inside can cause short circuits.
Allowing Sufficient Drying Time
After cleaning, let the printer sit for at least 10-15 minutes. This allows any alcohol or moisture to evaporate. You can leave the printer cover open during this time to help with airflow. Patience here is key. We found that rushing this step can lead to costly mistakes.
Post-Cleaning Test Print
Once you’re sure everything is dry, plug the printer back in and power it on. Print a test label or receipt. Check for any improvements in print quality. If issues persist, you might need to repeat the print head cleaning process. Sometimes, very stubborn residue requires a second pass. If the problem still exists, it might be time to consult your printer’s manual or contact support.
Frequency of Cleaning: How Often Should You Do This?
The frequency of cleaning depends heavily on how much you use your printer. A printer used daily will need more frequent attention than one used only occasionally. Here’s a general guideline:
- Heavy Use (Daily): Clean the print head weekly or bi-weekly.
- Moderate Use (Several times a week): Clean the print head monthly.
- Light Use (Occasionally): Clean the print head every 2-3 months, or before a large print job.
We also found that the type of labels you use can impact cleaning frequency. Labels with heavy adhesive backing might require more frequent cleaning than standard paper receipts.
Quick Checklist for Your Next Cleaning Session
Keep this handy for your next maintenance task. It’s a simple reminder of the key steps involved:
- Power off and unplug the printer.
- Dampen lint-free cloth with isopropyl alcohol.
- Gently wipe the print head strip.
- Clean the roller with a lint-free cloth.
- Allow parts to air dry completely.
- Power on and print a test page.
Following these simple steps will help keep your thermal printer performing at its best. It ensures crisp, clear prints every time. You’ll save time and money by avoiding reprints.
Conclusion
You’ve learned how simple it is to keep your thermal printer in top working order. Regular cleaning with just a few basic supplies will prevent those annoying print errors. You’ll ensure your labels and receipts are always crisp and clear. By following these steps, you extend your printer’s life and avoid frustrating reprints. Make cleaning a quick part of your routine. Your printer will thank you with reliable performance.
Frequently Asked Questions
How often should I really clean my thermal printer?
For heavy daily use, aim to clean the print head weekly or bi-weekly. If you use your printer several times a week, monthly cleaning is usually sufficient. For light, occasional use, clean it every 2-3 months or before a big printing job.
Can I use water to clean the print head?
While water can clean some surfaces, it’s not ideal for the delicate print head. Isopropyl alcohol (90% or higher) is recommended because it cleans effectively and evaporates quickly. Water might not remove sticky residue and could leave moisture behind.
What happens if I don’t clean my thermal printer?
If you don’t clean your thermal printer, debris can build up on the print head. This leads to faded print, missing lines, or smudges on your labels and receipts. It can also cause paper feed issues and shorten the printer’s lifespan.
My print head looks okay, but my prints are still bad. What else could it be?
If the print head is clean, check the roller (platen roller). Dust or adhesive can build up there, affecting how the paper feeds. Also, ensure you’re using the correct type of thermal paper for your printer model, as incompatible media can cause poor print quality.
Are there any specific thermal printer cleaning pens or solutions I should buy?
While specialized cleaning pens or solutions exist, isopropyl alcohol and lint-free cloths are generally very effective and widely recommended by manufacturers. Ensure any specialized product states it’s safe for thermal printer print heads.