Understanding ZPL Language: A Complete Guide
ZPL language is a label programming language used to create labels for printers. It tells the printer exactly what to print, where to print it, and how to format it. Think of it as a set of instructions for your label printer. This language is essential for anyone needing custom labels for products or inventory.
When you need to design labels that go beyond basic text, ZPL becomes your best friend. It allows for barcodes, graphics, and complex formatting. Many businesses rely on ZPL for consistent and professional labeling solutions across their operations. You can control everything from font size to the orientation of your designs.
- ZPL stands for Zebra Programming Language.
- It’s used to command label printers.
- You can design custom labels with text, barcodes, and images.
- It’s important for inventory and product labeling.
Let’s walk through exactly what ZPL is and how you can start using it for your labeling needs.
Understanding ZPL for Your Label Printing Needs
So, you’re curious about ZPL, huh? It’s the secret sauce behind professional-looking labels. Think of it as a specialized language. This language speaks directly to Zebra label printers. You use it to tell the printer exactly what information to put on a label. You also tell it where on the label that information should appear. It’s like giving very precise instructions to a helpful robot.
Many businesses, big and small, rely on ZPL. This is especially true if they need to print custom labels consistently. This could be for product packaging, shipping, inventory tracking, or even patient identification in healthcare. If you want more than just plain text on your labels, ZPL is your tool. You can create labels with barcodes, logos, and even custom fonts. It gives you a lot of control over the final look and functionality of your labels.
What Exactly is ZPL and Where Did It Come From?
ZPL stands for Zebra Programming Language. It was developed by Zebra Technologies, a company famous for its label printers. They created ZPL so their printers could understand and execute detailed label designs. It’s a command-based language. This means you write specific commands. These commands tell the printer what to do, step-by-step.
Before ZPL, creating custom labels could be quite challenging. You might have needed specialized software or hardware. Zebra designed ZPL to make this process more accessible and controllable. They wanted users to be able to create dynamic labels. Labels could change based on the data being printed. This was a big step forward for labeling efficiency and customization.
The Core Components of a ZPL Command
Each ZPL command starts with a caret symbol (^). This tells the printer that what follows is an instruction. After the caret, you’ll see a letter or a pair of letters. This is the command itself, like ‘A’ for text or ‘B’ for a barcode. Then, you have parameters. These are the details for that command.
For example, the command to print text might look something like this: ^FDHello, World!^FS. Here, ^FD means “Field Data,” which is the text you want to print. Hello, World! is the actual text. And ^FS means “Field Separator,” which tells the printer that this particular piece of data is finished.
Understanding Field Data and Field Separators
The ^FD command is fundamental. It’s how you input the information you want on your label. This could be a product name, a serial number, or a customer’s address. The ^FS command is equally important. It marks the end of a data field. This helps the printer know where one piece of information stops and the next might begin. Without these, the printer wouldn’t know how to interpret your instructions clearly.
Basic ZPL Commands You’ll Encounter
You’ll find a variety of commands in ZPL. Each one serves a specific purpose in designing your label. Here are a few common ones you’re likely to use:
^XA: This command marks the beginning of a ZPL label format.^XZ: This command marks the end of a ZPL label format.^FOx,y: This positions the field. ‘x’ and ‘y’ are coordinates on the label.^A0N,50,50: This command specifies a font. ‘N’ means normal orientation. 50,50 are height and width.^GBw,h,t: This draws a graphic box. ‘w’ is width, ‘h’ is height, ‘t’ is border thickness.^BCN,100,Y,N,N: This prints a Code 128 barcode. ‘100’ is height. ‘Y’ means human-readable text.
Why ZPL is More Than Just Text
The real power of ZPL lies in its ability to handle more than just simple text. You can incorporate essential business elements like barcodes and graphics. This makes your labels functional and visually appealing. For instance, barcodes are critical for inventory management and point-of-sale systems. ZPL allows you to generate these barcodes directly on the label.
Adding Barcodes to Your Labels
ZPL supports many different barcode symbologies. This includes common ones like Code 39, Code 128, UPC, and QR codes. You specify the type of barcode you need and the data it should encode. The printer then renders the barcode accurately.
For example, to print a Code 128 barcode containing a serial number, you might use a command like this: ^FO50,100^BCN,100,Y,N,N^FD1234567890^FS. This tells the printer to place the barcode at coordinates 50,100. It should be a Code 128 (BC), 100 dots high, with human-readable text (Y). The data to encode is 1234567890. It’s quite powerful when you consider the possibilities!
Integrating Graphics and Logos
You can also add graphics to your labels using ZPL. This often involves converting your image file into a format the printer can understand. ZPL uses commands like ^GF (Graphic Field) to embed this image data. This is how many companies put their logos on their product labels.
The process for adding graphics can be a bit more involved. You typically need to use a graphics conversion tool. This tool turns your JPG or BMP file into a ZPL-compatible format. Then, you embed that data into your ZPL code. Research indicates that using brand logos on labels can improve brand recognition (Forbes). ZPL makes this customization achievable directly from your labeling software.
How ZPL Works in Practice: From Code to Label
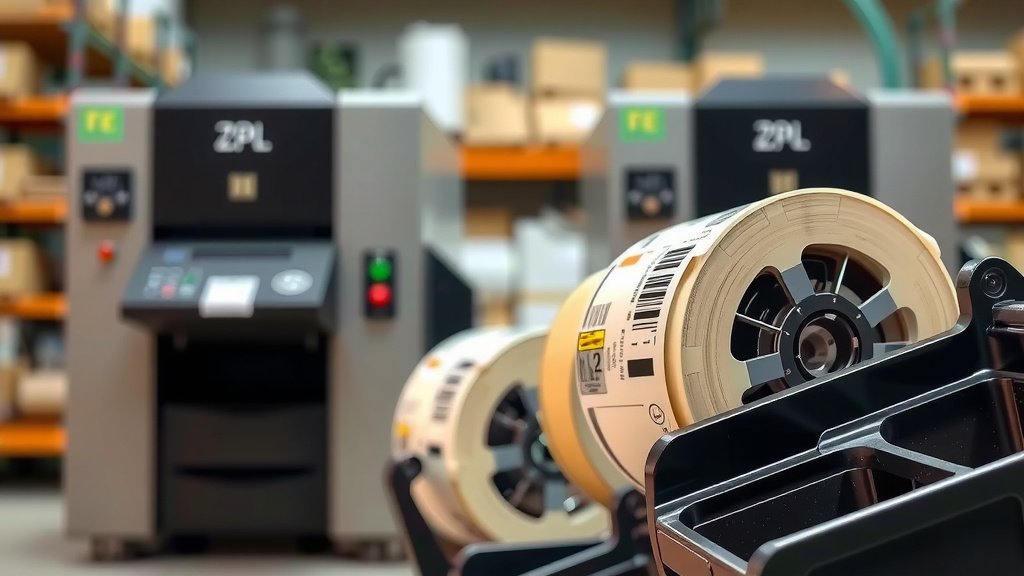
So, how does all this ZPL code actually turn into a physical label? It’s a straightforward process. You create your label design using ZPL commands. This code is often generated by label design software. However, you can also write it manually if you prefer. Once written, this ZPL code is sent to the label printer.
Sending ZPL to Your Printer
You typically send ZPL code to the printer through your computer. This can be done via a USB connection, an Ethernet network, or even Wi-Fi. Label printing software usually handles the communication. You design your label, and the software translates your design into ZPL commands. Then, it sends those commands to the printer. Some advanced systems might send ZPL directly from a database or a web application.
The Printer’s Role in Decoding ZPL
When the printer receives the ZPL data, its internal processor interprets the commands. It understands that ^FO means move to a certain spot. It knows ^FD means here’s some text or data. It can then draw the text, render the barcode, or place the graphic exactly where you specified. The printer’s firmware is designed to execute these ZPL instructions precisely.
This process ensures that your label looks the same every time you print it. Consistency is key for businesses. Whether you’re printing one label or a thousand, ZPL ensures accuracy. Many technical documents state that ZPL is designed for high-volume, accurate label printing. This makes it a reliable choice for demanding environments.
Getting Started with ZPL: What You Need
Ready to dive in? Getting started with ZPL is more accessible than you might think. You don’t necessarily need to be a master programmer to create effective labels. Here’s a simple breakdown of what you’ll want:
- A Zebra-compatible label printer: This is your essential piece of hardware.
- Label design software: Many software options can help you create ZPL code visually, without writing it all by hand.
- Basic understanding of ZPL commands: Knowing a few key commands can make a big difference.
- The data for your labels: This could be product names, prices, serial numbers, etc.
Common ZPL Use Cases and Benefits
Why choose ZPL? The benefits are clear, especially when you look at how it’s used:
- Inventory Management: Print scannable barcodes for easy tracking.
- Product Labeling: Add essential information like ingredients, warnings, and branding.
- Shipping and Logistics: Create labels with addresses and tracking codes.
- Retail: Generate price tags and shelf labels dynamically.
- Healthcare: Print patient identification wristbands or medication labels.
Research from industry sources often highlights that standardized labeling improves operational efficiency. ZPL contributes directly to this standardization. It ensures that labels are not only informative but also machine-readable and professional-looking.
Quick Checklist: Is ZPL Right for You?
If you find yourself saying “yes” to these questions, ZPL is likely a great fit for your needs:
- Do you need to print custom labels beyond simple text?
- Are you using or considering Zebra label printers?
- Do you need to include barcodes or graphics on your labels?
- Is consistent and accurate label formatting important for your business?
- Do you want more control over your label design process?
- Are you looking for a reliable way to integrate labeling into your workflow?
Conclusion
You’ve learned that ZPL language is your key to creating professional, custom labels with Zebra printers. It’s a powerful tool for adding text, barcodes, and graphics. You can control every aspect of your label design. This ensures consistency and efficiency for your business needs, from inventory to shipping. Now that you understand the basics, the next step is to try it yourself. Consider using ZPL label design software to start building your first custom label and see the difference it makes.
Frequently Asked Questions
What’s the easiest way to start creating ZPL labels?
The easiest way is often using specialized label design software. These programs provide a visual interface. You can drag and drop elements onto your label. The software then generates the ZPL code for you in the background. This avoids the need to memorize every command.
Can I use ZPL with printers other than Zebra?
ZPL is proprietary to Zebra Technologies. While some third-party devices might offer limited ZPL emulation, it’s primarily designed for Zebra printers. For other printer brands, you would typically use their own specific command languages.
How do I get my company logo onto a ZPL label?
You’ll need to convert your logo image into a ZPL-compatible graphic format. This usually involves using a specific tool or software feature. The converted graphic data is then embedded into your ZPL code using commands like ^GF. Your label design software can often assist with this conversion.
Is ZPL difficult to learn for beginners?
Learning the basics of ZPL can be quite manageable. You don’t need to be a programmer. Focusing on a few core commands like starting/ending a label format, positioning fields, and adding text or barcodes is a great start. Many online resources and software interfaces make it accessible.
What are the main benefits of using ZPL for my business?
ZPL offers precise control over label design for professional results. It enables the inclusion of scannable barcodes for efficient tracking. You can also add graphics and logos for branding. Overall, it leads to increased accuracy and standardization in your labeling processes.