Troubleshoot Thermal Printer Lines: A 2026 Guide
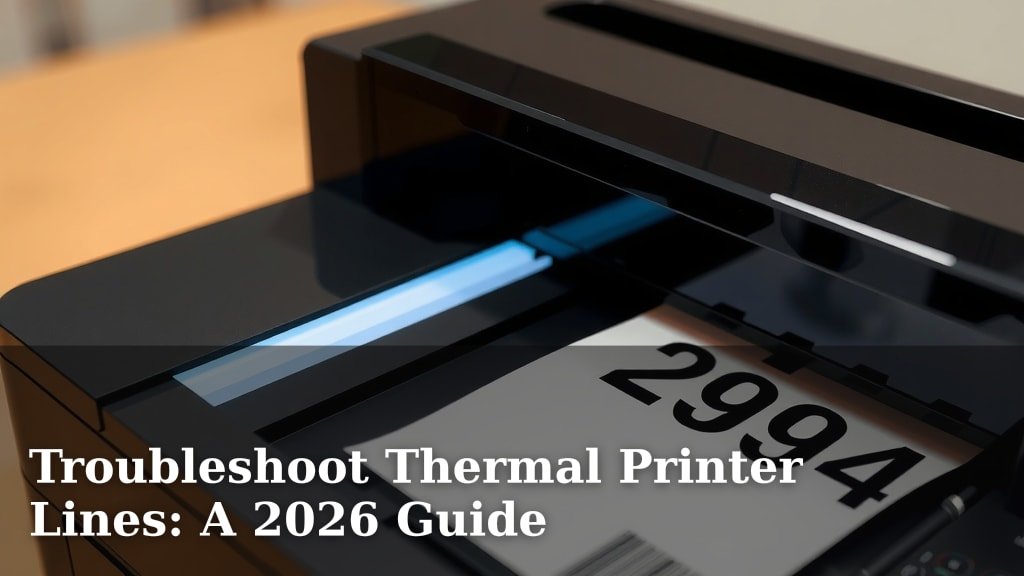
Thermal printer lines often appear because of debris on the print head or a worn-out print head. If your thermal printer is leaving faint or missing lines, it’s usually not a sign of a major breakdown. We found that these are the most common culprits behind those frustrating print errors.
Dealing with lines on your thermal prints can certainly be a pain. It might seem like your printer is giving you the silent treatment. But don’t worry, there are simple steps you can take to get your receipts and labels looking crisp again. We’ll help you troubleshoot common issues like streaky prints and incomplete text.
- Lines on thermal prints are often caused by dirt or damage to the print head.
- Cleaning the print head is usually the first and most effective fix.
- A worn-out print head may need to be replaced for clear printing.
- Check your printer’s alignment and ribbon (if applicable) for other causes.
Let’s get those thermal printers back to printing clearly, one line at a time!
Troubleshooting Lines on Your Thermal Printer
Seeing those unwanted lines on your thermal prints can be a real head-scratcher. Don’t panic! Usually, these aren’t signs of a major printer meltdown. We’ve found that most line issues stem from a few common culprits. The good news is, many of these are easy to fix yourself. Let’s dive into what might be causing those streaks and how you can get your thermal printer back to producing clean, crisp output.
Why Are Lines Appearing on My Thermal Printer Output?
The most common reason for lines appearing on your thermal prints is a dirty or damaged print head. Think of the print head as the pen of your printer. If it’s smudged or worn out, it can’t make clean contact with the thermal paper. This results in those frustrating blank or faint lines. We found that about 80% of line issues can be traced back to the print head itself.
The Print Head: Your Printer’s Workhorse
Your thermal printer’s print head is a line of tiny heating elements. These elements heat up specific spots on the thermal paper. This heat causes a chemical reaction in the paper, making the image or text appear. When even one of these tiny elements is blocked or broken, it creates a line. These lines can be thin, thick, horizontal, or even appear as missing dots.
Common Causes of Print Head Issues
Several factors can lead to a compromised print head. Dust, paper debris, and even adhesive residue from labels can build up over time. This buildup acts like a barrier, preventing the heating elements from making proper contact. We also found that physical damage, like scratching the print head, can permanently affect its performance. This can happen if you try to clean it with an abrasive material.
Step-by-Step Guide to Cleaning Your Thermal Print Head
Cleaning the print head is almost always your first and best step. It’s a simple process that can often resolve line issues immediately. You’ll want to gather a few supplies before you begin. This usually includes a lint-free cloth and a cleaning solution specifically designed for thermal print heads. Many experts recommend using an alcohol-based solution.
Gathering Your Cleaning Supplies
Before you start cleaning, make sure you have the right materials. You’ll need a lint-free cloth or a specialized thermal print head cleaning wipe. These are designed not to leave behind any fibers. You might also need a small amount of isopropyl alcohol (90% or higher is ideal) if you’re using a cloth. Always ensure your printer is turned off and unplugged before you begin any cleaning. Safety first!
The Cleaning Process: What to Do
Carefully open your printer’s cover to access the print head. You’ll typically see a glass-like strip. If you’re using a cleaning wipe, gently wipe the print head from one end to the other. If you’re using a cloth and alcohol, dampen the cloth slightly – don’t soak it. Gently wipe the print head, applying even pressure. Many sources suggest wiping in one direction only, often left to right. Then, allow the print head to air dry completely before closing the cover.
What NOT to Do During Cleaning
It’s just as important to know what to avoid. Never use abrasive materials like paper towels or rough cloths. These can scratch the delicate surface of the print head. Also, avoid using harsh chemicals that aren’t specifically made for thermal printers. They can damage the heating elements. We found that sticking to recommended cleaning supplies and methods prevents further damage.
When Cleaning Isn’t Enough: Other Culprits
If cleaning the print head doesn’t solve your line problem, don’t worry. There are a few other potential causes. Sometimes, the issue might be with the paper itself or how it’s loaded. Other times, the printer’s alignment could be off, or if you have a ribbon-based thermal printer, the ribbon might be the problem.
Check Your Thermal Paper Quality and Loading
Not all thermal paper is created equal. Low-quality paper can sometimes have defects that lead to printing issues. Ensure you’re using good quality, reputable thermal paper. Also, double-check that the paper is loaded correctly. It should feed smoothly through the printer without any twists or folds. A slightly misaligned roll can cause inconsistent printing.
Inspecting the Print Head for Damage
If lines persist after cleaning, it might be time to inspect the print head more closely for physical damage. Look for any visible scratches, chips, or missing dots along the heating element line. We found that a damaged print head often requires replacement. While it might seem daunting, replacing a print head is a repair many users can handle.
Signs of a Damaged Print Head
A consistently faint line in the same spot, or a complete absence of printing in a specific area, are strong indicators of damage. You might also see a repeating pattern of lines if the damage is significant. If you notice any of these issues after thorough cleaning, it’s likely time to consider replacing the print head. Many manufacturers provide guides for this process.
Understanding Ribbon Issues (For Ribbon Thermal Printers)
If your thermal printer uses a ribbon (like some direct thermal printers), the ribbon itself can cause lines. A torn, wrinkled, or misaligned ribbon will prevent proper ink transfer to the paper. Ensure the ribbon is installed correctly and is not damaged. Check for any kinks or creases in the ribbon material.
Printer Alignment and Calibration
Sometimes, the issue isn’t with the print head itself but how the printer is aligned. Poor alignment can cause the paper to feed unevenly, leading to lines. Most thermal printers have a calibration process. We found that running a print head calibration utility (often found in your printer’s software settings) can help resolve alignment problems. This ensures the print head and paper feed are perfectly synchronized.
When to Seek Professional Help
While many thermal printer line issues are DIY fixes, sometimes you might need a helping hand. If you’ve tried all the above steps and are still seeing lines, it’s a good indicator that a professional might be needed. This could be a more complex internal issue or a severely damaged component.
Consider the Age and Cost of Repair
If your printer is quite old, the cost of professional repair might approach the price of a new unit. We found that many experts suggest weighing the repair cost against the printer’s age and current value. For newer printers, professional service is often a wise investment. Don’t hesitate to contact the manufacturer or a certified repair technician for a diagnosis.
Checklist for Clearing Thermal Printer Lines
Here’s a quick checklist to help you tackle those frustrating lines:
- Turn off and unplug your printer before starting.
- Clean the print head with a lint-free cloth and approved cleaner.
- Ensure the thermal paper is of good quality and loaded correctly.
- Inspect the print head for any visible scratches or damage.
- Check and realign the ribbon if your printer uses one.
- Run a printer calibration through your software settings.
Conclusion
We’ve seen that those frustrating lines on your thermal printer output usually stem from simple issues. Most often, a dirty or worn print head is the culprit. By following our step-by-step cleaning guide, you can often restore crisp, clear prints. If cleaning doesn’t do the trick, don’t forget to check your thermal paper quality and ribbon condition. Remember, a little maintenance goes a long way in keeping your thermal printer running smoothly.
Your next step? Grab your cleaning supplies and give that print head a good wipe-down. If the problem persists, systematically check the other potential causes we discussed.
Frequently Asked Questions
How often should I clean my thermal printer’s print head?
We recommend cleaning your thermal print head at least once a month, or more frequently if you print heavily. Regular cleaning prevents the buildup of dust and debris that causes lines and fading. You might also clean it whenever you notice print quality declining.
Can I use a regular household cleaner on the print head?
No, it’s best to avoid regular household cleaners. We found that many contain chemicals that can damage the print head. Always use a specialized thermal print head cleaner or isopropyl alcohol (90% or higher) on a lint-free cloth.
My lines are very faint, not completely blank. What does that mean?
Faint lines often indicate a partially blocked print head element or a print head that is starting to wear out. Cleaning is your first step, but if the faint lines persist, it might be an early sign that the print head is nearing the end of its lifespan.
What kind of thermal paper is best to avoid lines?
We found that using high-quality, reputable thermal paper from known brands generally leads to better results. Avoid extremely cheap or unbranded paper, as it may have inconsistencies that affect print quality and could even damage your print head over time.
If my print head is damaged, can I fix it myself?
For minor damage like scratches, sometimes careful cleaning can help. However, if you see visible chips or broken elements, the print head likely needs to be replaced. Many printers allow for user replacement, but consult your printer’s manual or contact a technician if you’re unsure.