Fix Thermal Printer Paper Jams: A Quick Guide
A thermal printer paper jam is frustrating, but fixing it is usually straightforward. You can typically resolve most jams by gently pulling the paper out in the direction it’s supposed to feed, or by carefully opening the printer and removing any stuck paper bits. Always make sure the printer is off and unplugged before you start.
When your thermal printer grinds to a halt with a paper jam, it can really disrupt your workflow. We’ve all been there! Understanding the common causes, like misaligned paper or a tiny piece of debris, helps prevent future issues. Many users find that a quick check of the paper path is the first smart step.
- Turn off and unplug your printer.
- Gently pull jammed paper in the feed direction.
- Open printer cover to access and remove stuck paper.
- Check for any small debris obstructing the path.
- Reload paper correctly and close cover.
Ready to get your printer back to its printing ways? Let’s walk through the simple steps to clear that annoying paper jam so you can get back to business.
Troubleshooting Your Thermal Printer’s Paper Jams
When your thermal printer decides to act up and jam, it’s like a tiny paper roadblock. But don’t worry, getting it moving again is usually a quick fix. Most of the time, the solution is simpler than you think. You just need to know where to look and what to do.
A paper jam happens when the paper doesn’t feed through smoothly. This can be caused by a few common culprits. Sometimes, it’s just a small piece of paper stuck in a tricky spot. Other times, the paper itself might not be loaded quite right. We’ll walk through how to gently persuade that paper out and get your printer back to its important job.
First Steps: Safety and Initial Checks
Power Down for Safety
Before you touch anything inside your printer, always start by turning it off. Then, unplug the power cord. This might seem obvious, but it’s the most critical step to prevent any electrical accidents. Safety first, always!
Gentle Paper Extraction
Once the printer is off and unplugged, look at the jammed paper. Can you see an edge sticking out? If so, gently try to pull it. It’s best to pull the paper in the direction it normally feeds. If you yank it backward, you could tear the paper and leave small pieces behind. Think of it like guiding a shy guest out of a room – a gentle, steady pull is best.
Inspect for Debris
Sometimes, a tiny piece of paper or even a stray sticker can cause a jam. Open up your printer’s cover. Look carefully inside for any small bits of paper or foreign objects. A pair of tweezers can be very helpful for grabbing those stubborn little scraps. We found that even a small speck can wreak havoc.
Deeper Dive: Understanding the Paper Path
The journey of a thermal label or receipt paper through your printer is pretty direct. Understanding this path helps you identify where things might go wrong.
Locating the Paper Path
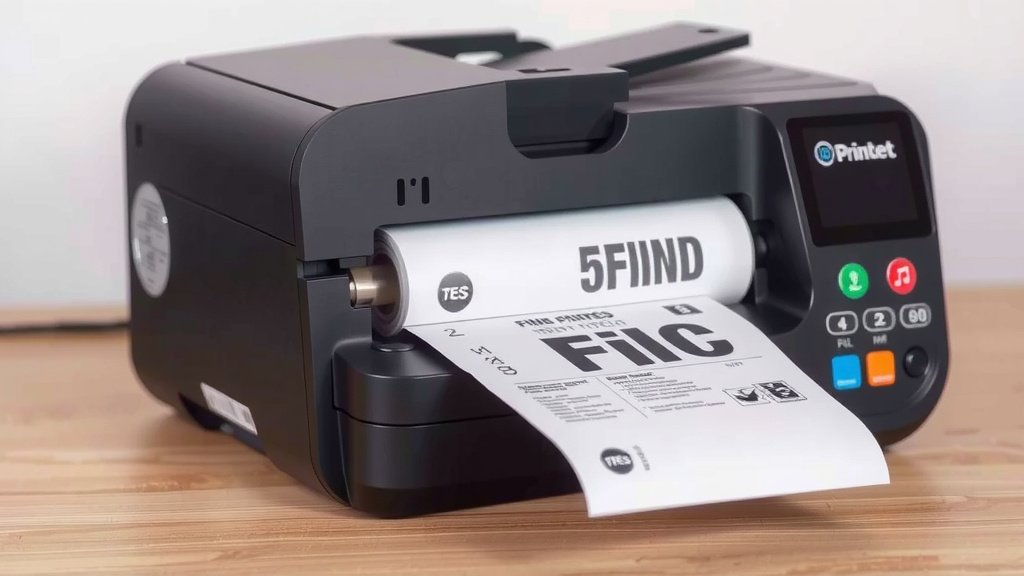
Most thermal printers have a relatively clear paper path. You’ll typically see a feed roller and a print head. The paper slides between these two components. Often, the jam occurs right where the paper enters the printer or just before it exits. Pay close attention to these areas.
Common Causes of Jams
We found that several factors commonly lead to jams:
- Misaligned Paper: The paper roll might not be seated correctly. Or, the edge of the paper could be crooked as it enters the printer.
- Wrong Paper Type/Size: Using paper that isn’t designed for your specific thermal printer can cause feed issues. Always check your printer’s manual for recommended paper.
- Torn Paper Edge: If the end of the paper roll is torn or ragged, it can snag inside.
- Debris: As mentioned, small bits of paper, dust, or even adhesive from labels can get stuck.
- Worn Rollers: Over time, the feed rollers can become dirty or worn, reducing their grip on the paper.
Cleaning the Rollers and Print Head
Dirty rollers can slip, causing jams. The print head also needs to be clean for proper operation. You can usually clean the rollers with a lint-free cloth lightly dampened with water or isopropyl alcohol. For the print head, use a specialized print head cleaning pen or a lint-free cloth with isopropyl alcohol. Let everything dry completely before turning the printer back on.
When Paper Jams Keep Happening
If you’re finding yourself clearing jams repeatedly, it’s worth investigating further. There might be an underlying issue you’re overlooking.
Check Your Paper Loading Technique
How you load the paper roll can make a big difference. Ensure the paper is loaded correctly, with the correct side facing up (usually the side that will be printed on). The paper should feed straight into the rollers without any sideways bending. Some printers have guides to help you align the paper – make sure you’re using them!
We’ve seen many instances where simply re-loading the paper roll, ensuring it’s snug and centered, resolved frequent jamming issues. It sounds simple, but it’s surprisingly effective. Always ensure the paper roll is securely in place and hasn’t shifted.
Is the Paper Roll Tightly Wound?
A loosely wound paper roll can cause problems. If the paper is coming off the roll unevenly, it can snag. Try to ensure your paper rolls are always wound neatly and tightly. If a roll is starting to unravel, it might be best to replace it before it causes more trouble.
Using the Right Paper
Not all thermal paper is created equal. Using the wrong kind can lead to printing issues and jams. For example, some papers are thicker or have different backing materials that your printer might not handle well. We found that manufacturers often recommend specific paper types. It’s a good idea to stick to their recommendations. Guidelines from printer manufacturers (like Zebra or Epson) often stress using approved consumables.
A Table of Common Issues and Solutions
Here’s a quick reference for you:
| Problem | Likely Cause | Solution |
|---|---|---|
| Paper Tears Inside | Ragged paper edge, debris, or forceful pulling | Carefully remove all torn pieces, clean path, pull gently in feed direction. |
| Paper Won’t Feed | Misaligned paper, dirty rollers, or loose paper roll | Reload paper straight, clean rollers, ensure roll is secure and tight. |
| Repeated Jams | Wrong paper type, worn rollers, or internal obstruction | Verify paper compatibility, clean rollers thoroughly, inspect for small debris. |
| Error Light Flashing | General jam or cover not closed properly | Clear any jam, ensure cover is fully latched. |
Preventing Future Paper Jams
Once you’ve cleared the jam, wouldn’t it be nice to avoid them in the future? A little preventative care goes a long way.
Regular Cleaning Schedule
Make it a habit to clean your printer’s rollers and print head. A quick wipe-down every month or so can prevent dust and residue buildup. Think of it like brushing your teeth – a little effort regularly keeps things healthy. Many cleaning guides suggest this as a primary method for maintaining printer health.
Proper Paper Storage
Keep your thermal paper rolls in a cool, dry place. Extreme temperatures or humidity can affect the paper quality and make it more prone to jamming. Also, try to keep rolls covered when not in use to prevent dust accumulation.
Listen to Your Printer
Printers often give subtle cues when something is wrong. If you hear unusual grinding noises or the paper seems to be feeding unevenly, investigate it right away. Catching a small issue early can prevent a full-blown jam. Many technicians say that paying attention to unusual sounds is a key diagnostic step.
Your Paper Jam Checklist
Here’s a quick checklist to help you get your printer back in action:
- Turn off and unplug the printer.
- Gently pull paper in the normal feed direction.
- Open the cover and look for hidden debris.
- Use tweezers for small paper fragments.
- Clean rollers and print head if needed.
- Reload paper carefully and ensure the cover is latched.
Conclusion
You’ve now got the know-how to tackle most thermal printer paper jams! Remember, safety first by unplugging your printer. Gentle pulling in the feed direction and checking for small debris are your best allies. We found that regular cleaning and proper paper loading can prevent many future headaches. If you’re still experiencing frequent jams after trying these steps, it might be time to consult your printer’s manual or manufacturer support for deeper issues. Keep those printers running smoothly!
Frequently Asked Questions
What if the paper tears and leaves small pieces inside?
If the paper tears, turn off and unplug your printer immediately. Carefully open the printer cover and use tweezers to gently extract all torn pieces. Leaving even a small fragment can cause future jams.
Can I use regular office paper in my thermal printer?
Generally, no. Thermal printers require specific thermal paper designed for them. Using the wrong type can cause poor print quality, jams, and even damage to your printer’s print head.
How often should I clean my thermal printer’s rollers?
We recommend cleaning your thermal printer’s rollers at least once a month, or more frequently if you notice printing issues or experience frequent jams. This helps ensure consistent paper feeding.
My printer keeps jamming at the same spot. What could be wrong?
If jams happen repeatedly in the same area, it might indicate a worn roller, a bent part in the paper path, or a persistent piece of debris you may have missed. Carefully re-inspect the entire paper path, paying close attention to that specific spot.
Is it safe to use compressed air to clean my thermal printer?
While compressed air can remove dust, use it with caution. Hold the can upright to avoid spraying propellant, and don’t blast air directly at delicate components like the print head. A lint-free cloth and isopropyl alcohol are often safer for cleaning rollers and the print head.