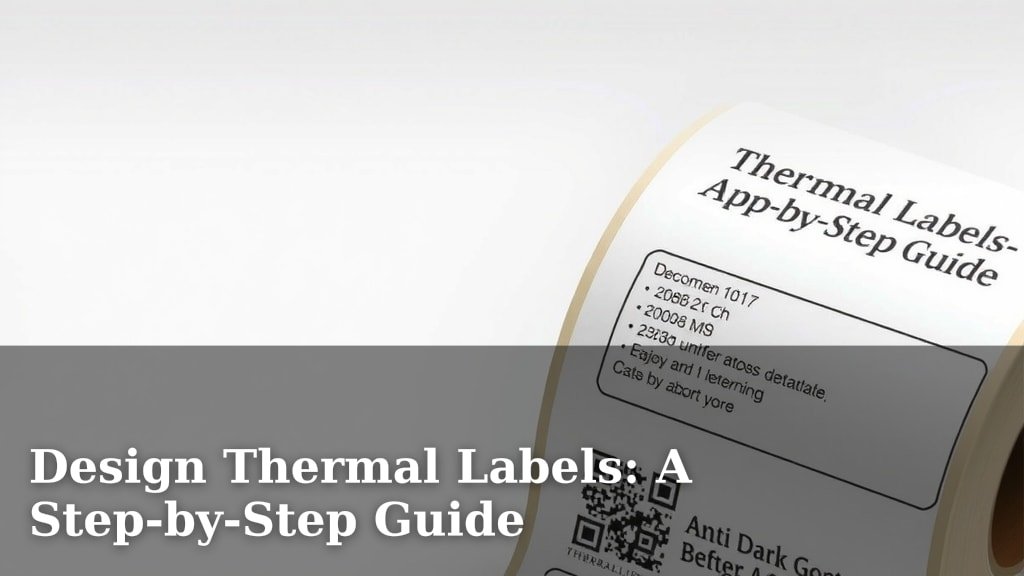
Design Thermal Labels: A Step-by-Step Guide
Designing thermal labels is simpler than you might think! You just need to understand a few key things about label layout, design elements, and printer compatibility. Getting these right means your labels will be clear, professional, and easy to read every time.
Think of your thermal label as a tiny billboard. Every inch counts! You’ll want to arrange your information logically and choose fonts and graphics that print well on thermal paper. We found that balancing readability with visual appeal is the sweet spot. Your goal is a label that works hard for your business or project.
- Keep your design clean and simple.
- Choose fonts that are easy to read.
- Use high-contrast colors.
- Don’t forget important details like barcodes or logos.
- Test your design before printing in bulk.
Ready to make your labels pop? Let’s walk through exactly how to design thermal labels that get noticed for all the right reasons.
Crafting Effective Thermal Labels: A Step-by-Step Guide
Designing thermal labels might seem tricky at first. But with a few smart choices, you can create labels that look great and work perfectly. Think of your label as a mini-salesperson. It needs to be clear, professional, and informative. We’re here to guide you through the process, making sure your labels are a success.
Understanding Your Thermal Printer and Media
Before you even think about design, you need to know your printer and the labels it uses. This is the foundation of good thermal label design. Get this wrong, and your beautiful design might print poorly or not at all.
Direct Thermal vs. Thermal Transfer
First, know which type of thermal printer you have. Direct thermal printers use heat to mark the paper. The label paper itself has a special coating. Thermal transfer printers use a ribbon to create the image. This ribbon melts onto the label material. Each type has different strengths and weaknesses for design.
Choosing the Right Label Stock
The material of your label matters a lot. For direct thermal, you’ll use coated paper. This is great for short-term use, like shipping labels. It can fade with heat or sunlight. For more durable labels, like product or asset tags, thermal transfer with polyester or polypropylene is better. We found that picking the right stock ensures your label lasts as long as you need it.
Printer Resolution and Limitations
Your printer’s resolution is measured in dots per inch (DPI). Common resolutions are 203 DPI, 300 DPI, and 600 DPI. Higher DPI means sharper images and smaller text can be printed clearly. A 203 DPI printer is fine for basic text and large barcodes. For detailed logos or very small text, you’ll want 300 DPI or higher. We found that checking your printer’s specs is a non-negotiable first step.
Designing Your Label Layout for Clarity
Now, let’s talk about arranging the information on your label. Good layout makes your label easy to read and understand. It’s about prioritizing information. What does the person using the label need to know first?
Prioritize Essential Information
What absolutely must be on the label? Is it a product name, a barcode, or shipping details? Put the most important information in a prominent place. This is usually at the top or center of the label. Think about how someone will scan this label quickly. What do they need to see at a glance?
Use White Space Effectively
Don’t cram too much onto your label. White space, or negative space, is your friend. It helps separate different pieces of information. This makes your label look cleaner and easier to read. We found that giving elements room to breathe makes a huge difference. It prevents your label from looking cluttered and unprofessional.
Consider Label Orientation
Think about how the label will be applied and read. Will it be on a bottle that gets rotated? Or a box that sits flat? Design your text and graphics to be readable in the intended orientation. For example, text might be oriented in a “flag” style (horizontal) or a “flag pole” style (vertical). Ensure the barcode is also oriented correctly for scanning.
Selecting Fonts and Graphics for Thermal Printing
The look of your text and images is key. Not all fonts and graphics print well on thermal printers. You need to choose wisely to ensure readability and quality.
Choosing the Right Fonts
Stick to simple, clear, sans-serif fonts. Fonts like Arial, Helvetica, or Verdana are good choices. They are designed for screens and print well. Avoid decorative or very thin fonts. They can become difficult to read, especially at smaller sizes or lower DPI printers. Many experts say to test fonts at different sizes on your specific printer. This ensures they remain legible.
Here’s a quick tip: test your chosen font in sizes from 6pt up to 12pt. See how they look when printed. Some fonts might look okay on screen but blur together when printed.
Graphics and Barcodes: Keep it Simple
If you’re adding logos or simple graphics, make sure they are high-contrast. Black and white graphics usually work best. Avoid fine details or gradients that can get lost in the printing process. For barcodes, clarity is king. Ensure the barcode is large enough and has enough white space around it (known as the “quiet zone”) to be scanned easily. We found that clear, bold barcodes are much more reliable.
High-Contrast Color Considerations
While thermal printers primarily print in black, some designs might incorporate color. Remember, the print itself will be monochrome. If you use colored label stock, ensure it doesn’t interfere with the readability of the black print. We found that dark colors for the stock can make black print hard to see. Light colors or white are generally the safest bet for maximum readability.
Essential Label Elements to Include
Beyond basic text and graphics, certain elements are often critical for thermal labels. These are the workhorses that make your label functional.
Barcodes and QR Codes
These are common for inventory, shipping, and product identification. Make sure you choose the correct barcode symbology (like Code 128, UPC-A, or QR Code). Your label design software or printer driver will usually handle this. The most important thing is to ensure the code is scannable. Test it with a scanner before printing a large run.
Product Information and Compliance Text
Depending on your industry, you might need to include ingredients, nutritional facts, warnings, or compliance statements. Keep this text concise and legible. Small, but readable, is the goal. If there’s a lot of compliance text, consider a smaller font size. But never sacrifice readability entirely. Regulations often have specific requirements for font size and clarity.
Testing and Proofing Your Thermal Label Design
Before you hit “print” on thousands of labels, take a moment to test. This is the stage where you catch mistakes and ensure everything looks as intended. It’s an easy step to skip, but it saves a lot of headaches later.
Print a Sample Label
Always print one or a few labels from your actual printer using your design file. Don’t just rely on how it looks on your computer screen. Different software and printer drivers can interpret designs slightly differently. Check the print quality. Is the text crisp? Is the barcode clear? Are there any smudges or broken lines?
Scan Barcodes and Test Readability
Use a barcode scanner to test your printed barcodes. If they don’t scan, your design needs adjustment. Also, have a few people look at the sample labels. Ask them if they can easily find the information they need. This feedback is invaluable. We found that a quick spot-check can reveal issues you might have missed.
Checklist for Designing Your Thermal Labels
Here’s a quick rundown to keep you on track:
- Confirm your printer type (direct thermal or thermal transfer).
- Choose the right label material for your needs.
- Select clear, readable fonts and test them.
- Keep graphics simple and high-contrast.
- Ensure barcodes are scannable with sufficient quiet zones.
- Print and test a sample label before bulk printing.
Conclusion
You’ve now learned how to design effective thermal labels. By understanding your printer and media, you set a solid foundation. We found that a clean layout, simple fonts, and high-contrast graphics are key. Prioritizing essential information and using white space makes your labels readable. Always test your design by printing and scanning a sample. Taking these steps ensures your thermal labels look professional and function perfectly for your needs. Your next step is to open your label design software and apply these principles to your first label project.
Frequently Asked Questions
What’s the biggest mistake people make when designing thermal labels?
A common mistake is not considering the printer’s limitations, like its resolution (DPI). We’ve found that designing for a high-resolution screen and then printing on a lower-resolution printer can lead to blurry text and graphics. Always design with your specific printer’s capabilities in mind.
Can I use color in my thermal label design?
While thermal printers print in black, you can use colored label stock. However, we recommend sticking to light-colored or white labels for maximum print contrast and readability. Darker label stock can make your black print difficult to see and scan, especially for barcodes.
How important is the “quiet zone” for barcodes on thermal labels?
The quiet zone, which is the blank space around a barcode, is extremely important. We found that without sufficient quiet zone, scanners may struggle or fail to read the barcode accurately. Ensure there’s enough clear space on all sides of your barcode, as specified by the barcode type.
What type of fonts should I avoid for thermal labels?
You should avoid overly decorative, script, or very thin fonts. These fonts can become unreadable when printed, especially at smaller sizes or on lower DPI printers. We recommend sticking to clean, sans-serif fonts that are designed for clarity, like Arial or Helvetica.
How can I make sure my thermal labels are durable enough?
Durability depends on both the label stock and the printer type. For basic needs like shipping, direct thermal paper is fine. However, we found that for longer-lasting labels exposed to moisture, chemicals, or UV light, thermal transfer printing with materials like polyester or polypropylene is a much better choice.