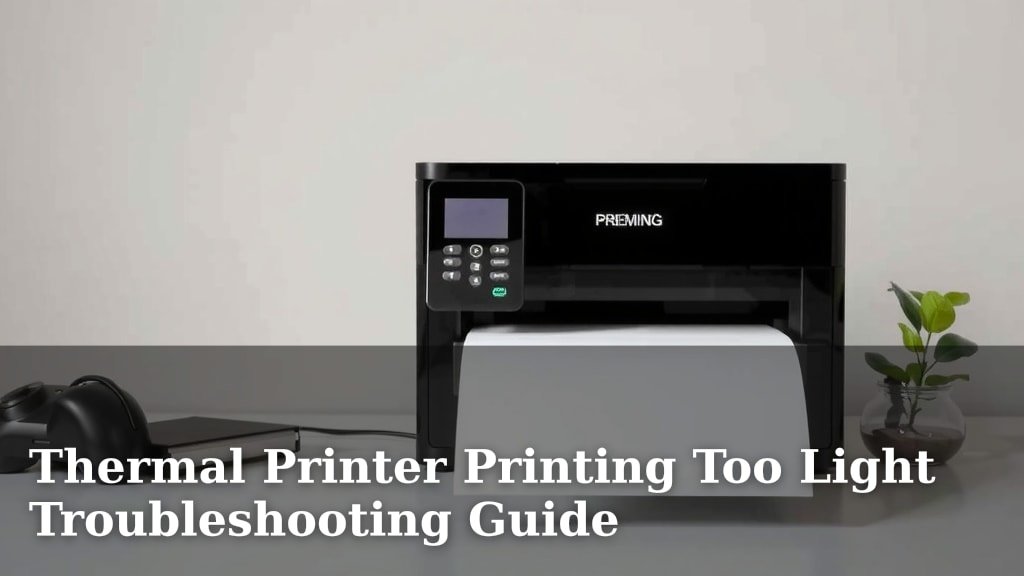
Thermal Printer Printing Too Light Troubleshooting Guide
Your thermal printer prints too light because of a few common issues. Often, the print head might be dirty, or the thermal paper could be old or low quality. Sometimes, the print darkness setting is simply too low. We’ve found these are the most frequent culprits for faint prints.
When your thermal printer struggles to produce dark, readable text, it can be frustrating. This can affect everything from shipping labels to receipts. Understanding the common causes helps you fix the problem quickly. We’ll cover the typical reasons for a light print and how to solve them.
- Print head needs cleaning.
- Thermal paper quality or age is poor.
- Darkness setting is too low.
- Printer driver settings are incorrect.
- Printer is overheating.
Let’s walk through exactly how to troubleshoot and fix your thermal printer’s light printing issues step by step.
“`htmlTroubleshooting Your Thermal Printer’s Faint Prints
It’s incredibly annoying when your thermal printer decides to be shy with its ink. You need clear labels for shipping, or a receipt that’s actually readable. When the print comes out too light, it usually points to a few common culprits. We’ve found that understanding these issues can save you a lot of time and frustration.
Don’t worry, it’s often a simple fix. Let’s get your printer back to making bold, clear impressions.
Checking the Thermal Print Head for Dirt
One of the most frequent reasons for faint print is a dirty print head. Think of it like a pen tip. If it’s clogged with debris, the ink won’t flow smoothly. The thermal print head has tiny heating elements that melt the special ink in thermal paper. Dust, adhesive residue, or paper fragments can block these elements.
A dirty print head leads to uneven heating. This means some parts of your label or receipt will be lighter than others, or the whole print might be pale. Keeping it clean is key to a good print.
How to Safely Clean Your Thermal Print Head
Cleaning is usually straightforward. You’ll need some specific cleaning supplies. Never use abrasive materials or plain water. These can damage the delicate print head.
What You’ll Need for Cleaning
- Isopropyl alcohol (90% or higher): This is the best solvent for the residue.
- Lint-free cloths or swabs: Microfiber cloths work well. Avoid paper towels.
- Printer cleaning solution (optional): Some manufacturers offer specific cleaning solutions.
Step-by-Step Cleaning Process
- Turn off and unplug your printer: Safety first! Always disconnect power before cleaning.
- Open the printer cover: Access the print head area. It’s usually a movable bar.
- Locate the print head: It’s a thin, dark line of dots along the top edge of the print head bar.
- Moisten a lint-free cloth/swab: Dampen it slightly with isopropyl alcohol. Don’t soak it.
- Gently wipe the print head: Move the cloth or swab across the print head from one end to the other. Apply light pressure. You might see some dark residue come off.
- Repeat if necessary: Use a clean part of the cloth or a new swab if there’s still dirt.
- Allow to dry: Let the print head air dry completely for a few minutes. Alcohol evaporates quickly.
- Close the cover and power on: Plug the printer back in and turn it on.
- Print a test page: See if the print quality has improved.
We found that a quick wipe-down every few weeks can prevent many printing issues. If your printer sees heavy use, you might need to clean it more often.
Investigating Your Thermal Paper Quality and Age
Not all thermal paper is created equal. The quality of the paper itself plays a huge role in how dark your prints will be. Also, age can be a factor. Thermal paper has a special coating that reacts to heat. Over time, this coating can degrade.
Why Paper Quality Matters
Cheaper or older thermal paper might have a less sensitive coating. This means the print head has to work harder, or at a higher temperature, to get a dark mark. Sometimes, the paper is simply coated too thinly. This results in faint lines and text that can fade quickly.
Recognizing Poor Quality or Old Paper
Look for these signs:
- Faded appearance: Even unprinted areas might look a bit yellow or faded.
- Scratch easily: The coating might be very delicate.
- Print fades quickly: Prints might look okay initially but disappear within days or weeks.
- No brand name: Generic or unbranded paper is often a red flag for quality.
Many experts recommend using paper specifically designed for your printer model or brand. This ensures compatibility and optimal performance. We’ve seen significant improvement by switching to a reputable brand of thermal paper.
Testing Different Paper Types
If you suspect your paper is the issue, try this:
- Get a small roll of high-quality thermal paper from a trusted supplier.
- Print the same test page on your old paper and the new paper.
- Compare the results.
You might be surprised at the difference. A good quality roll can feel slightly heavier and have a smoother finish.
Adjusting Your Printer’s Darkness Setting
Most thermal printers have a setting for print darkness or intensity. This controls how hot the print head gets. If this setting is too low, the heat might not be enough to activate the thermal paper properly. This leads directly to light prints.
Where to Find the Darkness Setting
The location of this setting depends on your printer model and how you’re connecting to it.
- On the printer itself: Some older models might have physical dials or buttons.
- Printer driver software: This is the most common place. You access it through your computer’s printer settings.
- Label design software: Some specific programs have their own print settings that can override the driver.
Many users overlook this simple adjustment. It’s often the easiest fix for light printing.
How to Adjust the Darkness Setting
Here’s a general guide, but you may need to consult your printer’s manual:
- Open Printer Preferences: On your computer, go to Devices and Printers, right-click your thermal printer, and select “Printing Preferences” or “Printer Properties.”
- Find Print Settings: Look for a tab labeled “Advanced,” “Graphics,” “Print Quality,” or “Page Setup.”
- Locate Darkness/Intensity: You should see a slider, a dropdown menu, or number input for “Darkness,” “Density,” or “Intensity.”
- Increase the Setting: Move the slider up or select a higher number. Start with a small increase.
- Apply and Print: Click “Apply” or “OK” and print a test page.
- Repeat as Needed: If it’s still too light, increase the setting again. Be careful not to set it too high, as this can sometimes reduce print longevity or cause print head damage over extreme periods.
We recommend making small adjustments and testing after each change. This helps you find the sweet spot without overdoing it.
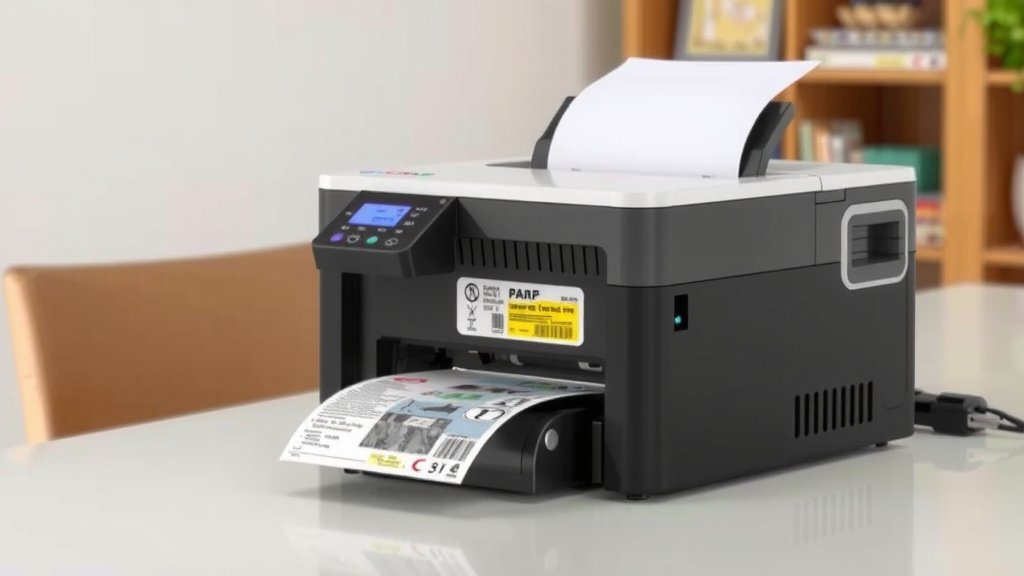
Checking Your Printer Driver and Software Settings
Your printer driver is the software that allows your computer to communicate with the printer. Incorrect driver settings can cause all sorts of printing problems, including faint output. Sometimes, the driver might be outdated or corrupted.
Outdated or Incorrect Drivers
An old driver might not support the latest features or may have bugs. A driver from the wrong model can also cause communication errors. Ensure you have the correct driver installed for your specific thermal printer model.
You can usually download the latest drivers from the printer manufacturer’s official website. Always choose drivers specifically designed for your operating system (Windows, macOS, etc.).
Driver Settings vs. Application Settings
As mentioned earlier, your label design software or other applications might have their own print settings. These can sometimes conflict with or override your main printer driver settings. If you’ve adjusted the driver and still see light prints, check the settings within the application you’re printing from.
Look for options like “Print Density,” “Darkness,” or “Speed” within the application’s print dialog box. Printing too fast can also result in lighter prints, as the heating elements don’t have enough time to fully transfer the image to the paper. Reducing print speed can often darken the output.
Research indicates that ensuring consistency between your driver and application settings is vital for predictable results (Zebra Technologies support documentation).
Addressing Potential Printer Overheating
Thermal printers generate heat to print. If the printer overheats, it can sometimes cause printing issues, including lighter prints. This is less common than the other issues, but it’s worth considering, especially if your printer has been running for a long time without breaks.
How Overheating Affects Print Quality
When the print head gets too hot, it can become less efficient at creating precise heating patterns. This can lead to uneven or faint marks on the paper. Modern printers often have thermal protection to prevent damage, which might include reducing print quality or pausing printing until the unit cools down.
Signs Your Printer Might Be Overheating
- Printer feels unusually hot: Touch the outer casing (carefully!).
- Printing pauses unexpectedly: The printer might stop mid-job.
- Error messages: Some printers will display a warning about overheating.
- Intermittent light prints: The issue might appear and disappear.
If you suspect overheating, give your printer a break to cool down. Ensure it has adequate ventilation and is not covered or placed in a confined space. Keeping the environment cool can also help. We found that allowing a printer to rest for 15-30 minutes usually resolves temporary overheating issues.
Quick Checklist for Fixing Light Prints
Here’s a handy checklist to run through:
- Clean the Print Head: Is it free from dust and debris?
- Check Paper: Are you using high-quality, fresh thermal paper?
- Adjust Darkness: Is the darkness setting in your driver or software high enough?
- Update Drivers: Are your printer drivers current and correct?
- Check Application Settings: Do your software’s print settings match your driver’s?
- Allow Cooling: Has the printer been running for a very long time without a break?
Conclusion
You’ve now got the tools to tackle those faint thermal prints head-on! We’ve walked through the most common culprits: a dirty print head, subpar or old thermal paper, and incorrect darkness settings. Don’t forget to check your printer drivers and rule out any potential overheating. By systematically checking these points, you can usually get your printer back to producing crisp, clear labels and receipts.
Your next step is to grab a cleaning kit and perform that print head cleaning. Then, test a fresh roll of quality paper. You’ll likely see a big improvement!
Frequently Asked Questions
How often should I clean my thermal printer’s print head?
For general use, cleaning your print head once a month is a good practice. If you print heavily or in dusty environments, you might need to clean it weekly. Regular cleaning prevents debris buildup and ensures consistent print quality.
Can I use regular paper in a thermal printer?
No, thermal printers require special thermal paper. Regular paper does not have the heat-sensitive coating needed to create an image with the printer’s heat elements. Using regular paper will result in blank pages.
My prints are fading quickly, what’s wrong?
Fading prints usually point to the thermal paper itself. Either the paper is old and its coating has degraded, or you’re using a low-quality paper. Try switching to a reputable brand of thermal paper designed for your printer model.
Is it okay to set the darkness to the highest level?
While setting the darkness to maximum can make prints very dark, it’s not always recommended. Very high settings can sometimes reduce the lifespan of your print head or cause prints to fade faster over time. Find a balance for optimal darkness and longevity.
My printer stopped printing mid-label and now prints light, did it overheat?
This is a strong possibility, especially if the printer feels hot. Thermal printers have built-in protection and may reduce print quality or pause if they overheat. Try unplugging the printer and letting it cool down for 15-30 minutes before trying again.