Thermal Printer Printhead Replacement Guide
Yes, you can absolutely replace a thermal printer printhead yourself. It’s a straightforward process, often involving just a few screws and careful handling. Doing this yourself can save you time and the cost of professional repair.
A worn-out printhead is the most common reason for faded, patchy, or completely blank thermal prints. You’ll notice lines missing or a general lack of clarity on your labels or receipts. Replacing it will restore your printer’s sharp, clear output.
- Faded or missing lines mean a bad printhead.
- Replacement is a DIY-friendly task.
- It saves money compared to professional service.
- New printheads restore print quality.
- Handle parts gently to avoid damage.
Below, we’ll guide you through the simple steps to replace your thermal printer’s printhead, getting you back to printing crisp labels in no time.
Getting Your Thermal Printer Back on Track: A Printhead Swap Guide
So, your thermal printer is acting up, huh? You’re seeing faded lines, missing sections, or maybe even just a blank page where your crisp label should be. Don’t panic! This is usually a sign that the printhead has seen better days. Think of it like the needle on a record player – it’s the part that actually makes the mark. When it gets worn out, the sound (or in this case, the print) suffers.
The good news is, this is a common issue, and luckily, it’s often a fix you can handle yourself. Replacing a thermal printer printhead is surprisingly manageable. We’ll walk you through the steps to get you printing like new again. It’s way less scary than it sounds!
Understanding Your Thermal Printer’s Printhead
Before we dive into swapping parts, let’s chat about what this little guy actually does. A thermal printer uses heat to create an image on special heat-sensitive paper. The printhead is a line of tiny heating elements, kind of like super-miniature light bulbs, all lined up. When electricity flows through them, they get hot and cause the paper to turn dark in specific spots.
When you see those pesky blank spots or faint lines, it means some of those heating elements are likely damaged or worn out. It’s much like a light bulb burning out – it just doesn’t produce light anymore. Over time, with constant heat and friction from the paper, this wear and tear is completely normal.
Signs You Need a New Printhead
How do you know for sure it’s the printhead and not something else? We’ve found a few common culprits that point to a dying printhead. Keep an eye out for these:
- Faded or Ghostly Prints: Your labels are barely readable, or they look like they’ve been washed out.
- Missing Lines or Gaps: Vertical white lines appear regularly down your prints. This means a section of the heating elements isn’t working.
- Patchy or Inconsistent Darkness: Some parts of your print are dark, while others are very light, with no clear pattern.
- Completely Blank Prints: The ultimate sign. If nothing is showing up, it’s a strong indicator the printhead has given up.
- Smudging or Poor Image Quality: While sometimes caused by bad media, a worn printhead can also lead to prints that smudge easily.
If you’re experiencing one or more of these issues, it’s very likely time for a printhead change. It’s the most common cause for these printing problems.
Why Printhead Replacement is a DIY-Friendly Task
Many people worry about tackling printer repairs themselves. We get it! But thermal printers are designed with user-serviceable parts in mind, especially the printhead. Manufacturers know these wear out. They’ve made it relatively simple to swap them out.
Think of it like changing the blade on an electric razor. It’s a component designed for regular replacement by the user. This saves you the hassle of sending your printer away for repair and, more importantly, saves you money. Professional services can charge a hefty fee for labor that you can avoid.
Gathering Your Supplies for the Printhead Swap
Before you get your hands dirty, let’s make sure you have everything you need. A little preparation goes a long way to ensure a smooth replacement process. You don’t want to be halfway through and realize you’re missing a critical tool!
What You’ll Need
Here’s a quick checklist of the items you should have on hand. We found these to be essential:
- A New, Compatible Printhead: This is the most important part! Make sure you get the exact model for your specific printer. Check your printer’s manual or the manufacturer’s website. Ordering the wrong one is a common mistake.
- Small Screwdriver Set: Most printheads are held in place with just a couple of small screws. You’ll likely need a Phillips head screwdriver, but sometimes a tiny flathead is required.
- Lint-Free Cloths: For cleaning up any dust or residue. Regular paper towels can leave lint behind, which is a no-no.
- Isopropyl Alcohol (90% or higher): This is great for cleaning the connection points and ensuring a good electrical connection.
- Anti-Static Wrist Strap (Recommended): Thermal printheads are sensitive to static electricity. Using a wrist strap is a smart precaution to protect your new part.
- Your Printer’s Manual: Always a good reference for specific screw locations or any unique steps for your model.
Ordering the Correct Replacement Part
This step is absolutely critical. Ordering the wrong part is like buying shoes for the wrong foot – they just won’t work! Every thermal printer model has a specific printhead. You need to find the part number.
Where to find the part number:
- Check your printer’s manual: This is your best bet.
- Look for a label on the printer itself: Sometimes the model number is printed somewhere accessible.
- Search online using your printer’s model number: Type in “[Your Printer Model Number] printhead” into a search engine. Reputable printer parts suppliers will list compatible parts.
We found that it’s best to buy from a supplier that specializes in printer parts. They are more likely to have the correct, high-quality replacement and can often provide support if you have questions.
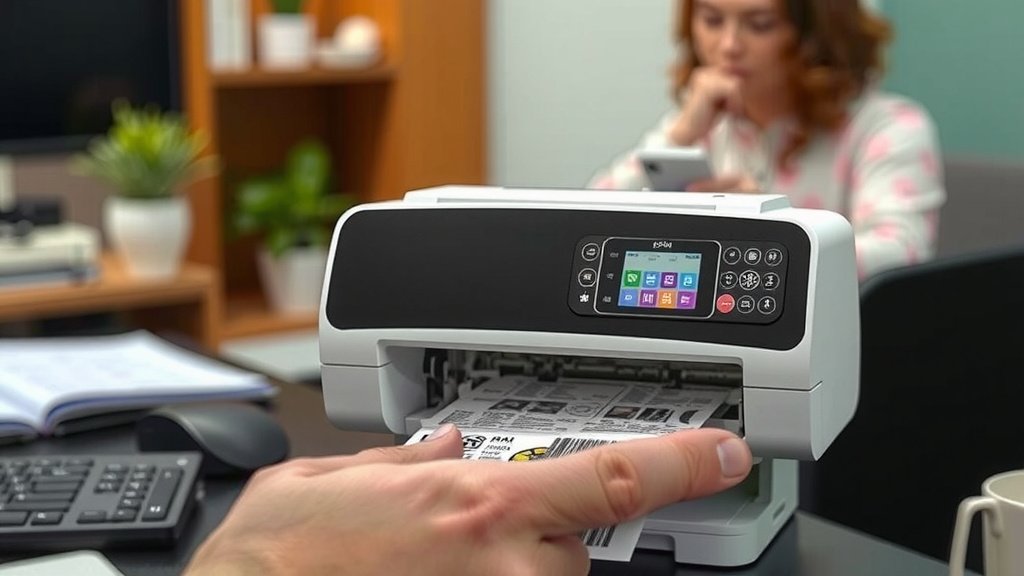
Step-by-Step: Replacing Your Thermal Printer Printhead
Alright, let’s get down to business! This is where we actually do the swap. Take your time, and don’t rush through it. Each step is designed to be straightforward.
Preparation and Safety First
Before you touch anything, make sure your printer is completely powered off and unplugged from the wall. This is non-negotiable for safety. You don’t want any electrical shocks.
If you have an anti-static wrist strap, put it on now and attach the other end to a grounded metal object (like a metal desk leg). Static electricity can silently destroy delicate electronic components. We found that being mindful of static dramatically reduces the risk of damaging your new printhead.
Accessing the Printhead
This is where your printer’s design comes into play. You’ll typically need to open up the printer to get to the printhead. This usually involves:
- Opening the printer cover: Most printers have a lid or cover that lifts up or slides open.
- Locating the printhead assembly: The printhead is usually a long, dark bar situated where the label or receipt paper passes over it. It’s often mounted on a hinge or a small carriage.
- Releasing the printhead: There might be a small latch or lever to unlock the printhead assembly. Gently push it to release it.
Refer to your printer’s manual if you’re unsure about how to access the printhead. They often have diagrams that make it super clear.
Removing the Old Printhead
Once you can see the printhead assembly clearly, it’s time for the old one to go.
- Disconnect the ribbon cable: The printhead connects to the printer’s main board via a flat, ribbon-like cable. Carefully lift the small locking tab or gently pull the cable straight out. Do not yank it.
- Remove mounting screws: You’ll usually find one or two small screws holding the printhead in place. Carefully unscrew them. Keep these screws safe; you’ll need them for the new printhead.
- Gently lift out the old printhead: Once the screws are out and the cable is disconnected, you should be able to lift the old printhead straight out of its mount.
Set the old printhead aside. You can usually recycle electronic components, so check local guidelines.
Installing the New Printhead
Now for the fresh start!
- Unpack your new printhead: Handle it by the edges. Avoid touching the delicate heating element strip. Many new printheads come with protective covers; leave these on until you are ready to install.
- Align the new printhead: Carefully position the new printhead into the empty mounting bracket. Make sure it’s seated correctly.
- Reinstall mounting screws: Secure the new printhead with the screws you removed earlier. Don’t overtighten them.
- Reconnect the ribbon cable: Gently slide the ribbon cable back into its connector. Ensure it’s fully seated, and then re-engage the locking tab if your connector has one. A secure connection is vital for the printhead to function.
Double-check that everything looks aligned and secure. If your printhead assembly had a latch, make sure it’s now closed or locked.
Testing Your Newly Replaced Printhead
The moment of truth! It’s time to see if your hard work paid off.
- Close up the printer: Put any covers back in place.
- Plug in and power on: Connect the power cord and turn the printer on.
- Perform a test print: Send a simple test label or receipt to the printer.
Did it work? You should see a crisp, clear print! If not, don’t despair. Go back and re-check all the connections, especially the ribbon cable. Sometimes a connection just needs a slight adjustment.
Troubleshooting Common Issues After Replacement
What if your test print isn’t perfect? It happens! Don’t get discouraged. We’ve gathered a few common hiccups and how to fix them. Remember, patience is key here.
Blank Print or Faint Lines Still?
This usually points to a connection issue. We found that the ribbon cable is the most frequent culprit.
- Check the ribbon cable connection again: Ensure it’s fully seated in the socket and the locking mechanism (if any) is engaged. A slightly misaligned cable can cause partial or complete failure.
- Inspect the printhead surface: Did any dust or debris get on the heating element strip during installation? Gently clean it with a lint-free cloth and isopropyl alcohol. Let it dry completely before testing.
- Confirm you have the right printhead: It’s rare, but sometimes a part might be *almost* right but not perfectly compatible, leading to issues.
Printer Not Responding or Displaying Errors
If your printer is giving you error messages or not even waking up, it could be related to how the new printhead was installed.
- Ensure the printhead is properly seated: Sometimes, if the printhead isn’t perfectly aligned in its mount, it can trigger an error.
- Check for pinched cables: Make sure no cables were accidentally pinched or damaged when you closed up the printer.
- Verify the power connection: Ensure the printhead has a secure electrical connection.
If you’ve tried these steps and are still having trouble, consulting your printer’s manual or contacting the manufacturer for support might be your next best step. Remember, many experts suggest keeping all original packaging from new parts in case of returns or exchanges.
Conclusion
You’ve now seen that replacing your thermal printer’s printhead is a totally doable DIY task. It’s a fantastic way to save money and get your printer back to producing those sharp, clear prints you need. We’ve walked through identifying the problem, gathering your tools, and the step-by-step process. Don’t be intimidated! With a little care and attention to detail, you’ll have your printer working like new again in no time. Your next step is to identify your printer model and order the correct replacement part to start the process.
Frequently Asked Questions
How often do thermal printer printheads typically need replacing?
The lifespan of a printhead really depends on usage and the quality of media you’re using. For heavy-duty use, you might see issues after 1-2 years. For lighter use, it could be much longer. We found that keeping your printer clean and using good quality thermal paper can extend its life.
Can I use a printhead from a different brand of printer?
No, you absolutely cannot. Printheads are designed to be specific to the printer model and brand. Using an incompatible printhead will not work and could potentially damage your printer. Always get the exact replacement part for your specific printer model.
What happens if I touch the new printhead with my bare fingers?
Touching the heating element strip on a new printhead can transfer oils and contaminants from your skin. This can create “hot spots” that cause uneven printing or damage the printhead prematurely. It’s best to handle it by its edges or by any protective packaging.
My test print still has faint lines after replacing the printhead. What could be wrong?
This often points to a connection issue. Double-check that the ribbon cable is fully seated and locked into its connector. Also, ensure there’s no dust or debris on the new printhead’s heating element strip that might have been missed during installation.
Is it worth repairing an old thermal printer with a new printhead?
Generally, yes, if the printer is otherwise functioning well and the cost of the printhead is reasonable compared to a new printer. Replacing a printhead can give an older printer a new lease on life and avoid the expense of buying a brand-new unit. We researched that it’s often more cost-effective than professional repair fees.