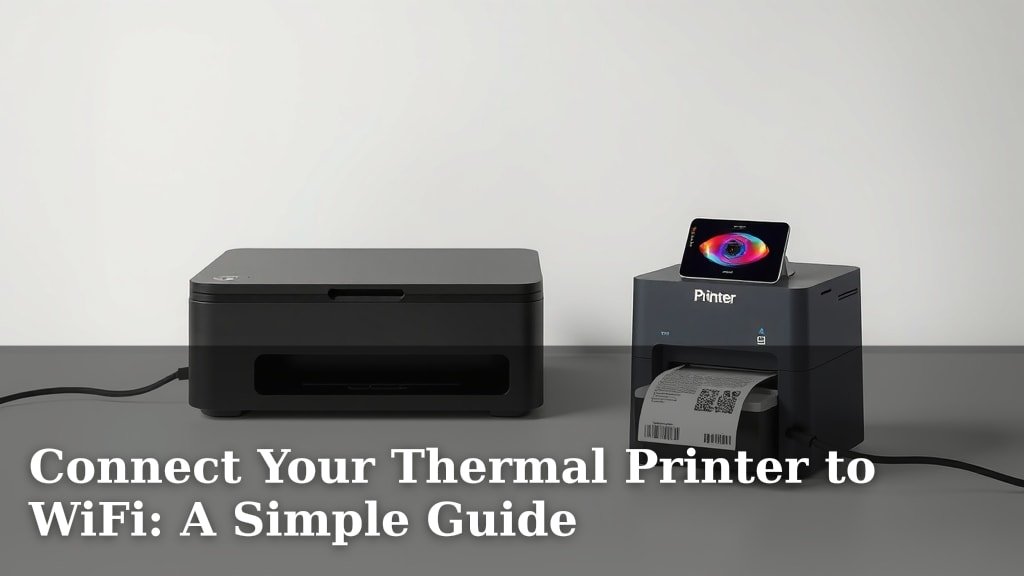
Connect Your Thermal Printer to WiFi: A Simple Guide
Yes, you can definitely connect your thermal printer to Wi-Fi to enjoy wireless printing. Most modern thermal printers come with built-in Wi-Fi capabilities, or you can add them using an adapter. This lets you print from any device on your network without needing cables. It’s a much cleaner setup than you might think!
Getting your thermal printer online opens up a world of convenience. You can say goodbye to messy wires cluttering your workspace. Plus, it makes it easier for multiple devices or users to share the same printer. We found that setting this up is often simpler than people expect.
- Connect thermal printer to Wi-Fi using built-in features or an adapter.
- Enjoy wireless printing from any device on your network.
- Eliminate messy cables for a cleaner workspace.
- Enable easier sharing among multiple users or devices.
Let’s walk through the steps to get your thermal printer connected to your Wi-Fi network so you can start printing wirelessly.
Getting Your Thermal Printer Online: A Wi-Fi Connection Guide
Connecting your thermal printer to Wi-Fi is simpler than you might think. It allows you to print wirelessly from any device on your network. This means no more wrestling with tangled cables. You’ll enjoy a cleaner workspace and more printing flexibility. We’ll guide you through the process step-by-step.
Understanding Your Wi-Fi Connection Options
Most modern thermal printers either have built-in Wi-Fi or can be easily adapted. This is great news for your setup. You’re not usually stuck with a wired connection. Let’s look at the main ways you can achieve wireless printing.
Printers with Built-In Wi-Fi
If your thermal printer has Wi-Fi directly, setup is often straightforward. You’ll typically use the printer’s control panel. Or, you might use a companion app on your computer or phone. This is the most integrated solution available.
Using the Printer’s Display Panel
Many printers come with a small LCD screen and buttons. You’ll navigate through the settings menu. Look for network or Wi-Fi options. Here, you can select your network name (SSID). Then, you’ll enter your Wi-Fi password. It’s very much like connecting a new phone or tablet.
Connecting via a Companion App
Some manufacturers offer a specific app for setup. You download this app on your smartphone or tablet. The app guides you through finding the printer. It then helps you enter your Wi-Fi details. This can be very user-friendly, especially for less technical users.
Thermal Printers Requiring a Wi-Fi Adapter
Don’t worry if your printer doesn’t have Wi-Fi built-in. Many older or simpler models can be upgraded. You’ll need a separate Wi-Fi adapter. These devices plug into your printer’s existing ports. They then broadcast a Wi-Fi signal for your devices to connect to.
Types of Wi-Fi Adapters
Common adapters include USB Wi-Fi dongles. Some might connect via an Ethernet port. You’ll need to check your printer’s specifications. Look for compatible adapter types. Your printer’s manual is the best place for this information. Many adapters have their own setup software too.
Setting Up the Adapter
Once you have the correct adapter, plug it in. Follow the adapter’s instructions for configuration. This usually involves connecting to a temporary network the adapter creates. Then, you’ll tell the adapter which Wi-Fi network to join. It essentially bridges your printer to your home network.
Step-by-Step: Connecting Your Printer to Wi-Fi
The exact steps can vary by printer model. However, the general process is quite similar. Let’s break down the typical way you’ll get your printer online.
Preparation is Key: What You’ll Need
Before you start, gather a few things. First, know your Wi-Fi network name (SSID). Also, have your Wi-Fi password ready. Make sure your printer is powered on and near your Wi-Fi router. This ensures a strong signal. You might need a computer or smartphone for some setup steps.
Navigating Your Printer’s Settings
This is where you’ll spend most of your time. Look for a menu option like “Network,” “Wi-Fi,” or “Wireless Settings.” You might need to use the printer’s physical buttons or a touchscreen. It’s like navigating through your TV’s menu. The goal is to find the wireless configuration screen.
Finding Your Wi-Fi Network
Once in the network settings, you should see an option to scan for available networks. Select this. Your printer will display a list of nearby Wi-Fi networks. Find your network name (SSID) in the list and select it. If your network is hidden, you might need to manually enter the SSID.
Entering Your Wi-Fi Password
After selecting your network, you’ll be prompted to enter your password. Use the printer’s buttons or on-screen keyboard to type it in carefully. Passwords are case-sensitive, so double-check your entry. Many printers will show a confirmation once the password is accepted.
Confirming the Connection
Once you’ve entered your network details, the printer will attempt to connect. You’ll usually see a status message indicating success or failure. Look for a Wi-Fi symbol on the printer’s display. Many sources suggest running a test print. This confirms the connection is stable.
| Problem | Solution |
|---|---|
| Printer won’t find network | Ensure printer is within router range. Check if Wi-Fi is enabled on the router. Try restarting both devices. |
| Incorrect password error | Double-check password spelling and case. Verify you’re connecting to the correct network. |
| Connection drops frequently | Move printer closer to router. Reduce interference from other electronics. Check router settings for potential conflicts. |
| Printer unresponsive after connection | Restart the printer. Reinstall printer drivers on your computer. Ensure the printer has an IP address assigned. |
Installing Your Printer on Your Networked Devices
Connecting the printer to Wi-Fi is only half the battle. Now, you need to tell your computers and other devices how to find it. This process involves installing the correct drivers.
For Windows Users
Open your Windows settings and go to “Devices” or “Printers & Scanners.” Click “Add a printer or scanner.” Windows will search your network for available printers. If it finds your thermal printer, select it and follow the prompts. You might need to download the latest drivers from the manufacturer’s website if Windows doesn’t find them automatically. Research indicates using the most current drivers often prevents issues.
For macOS Users
On your Mac, go to “System Preferences” and then “Printers & Scanners.” Click the “+” button to add a printer. Your Mac should detect the thermal printer on your network. Select it from the list. macOS will often download and install the necessary software automatically. If not, you’ll need to visit the printer manufacturer’s site for the drivers.
For Mobile Devices (iOS/Android)
Printing from phones and tablets is common. Many thermal printers support mobile printing apps. Download the manufacturer’s app from your app store. Within the app, you can usually find and add your printer. Some printers also support AirPrint (iOS) or Mopria (Android) for easier printing without a dedicated app.
Best Practices for Wireless Thermal Printing
To ensure your wireless setup works smoothly, follow these tips. They help maintain a reliable connection and prevent common headaches.
- Keep Firmware Updated: Manufacturers release updates to fix bugs and improve performance. Check your printer’s settings or the manufacturer’s website regularly.
- Secure Your Network: Use a strong, unique password for your Wi-Fi network. This protects your printer and your data from unauthorized access. Many security experts recommend WPA2 or WPA3 encryption.
- Position for Signal Strength: Place your printer in a location with a good Wi-Fi signal. Avoid areas with thick walls or too many electronic devices that could cause interference.
- Consider a Static IP Address: For more advanced users, assigning a static IP address to your printer can improve reliability. This ensures your devices always know exactly where to find the printer on your network.
Think of these as preventative maintenance for your printer’s internet connection. A little effort upfront can save a lot of troubleshooting later on. We found that keeping software up-to-date is a key step.
Troubleshooting Common Wi-Fi Connection Issues
Even with the best setup, sometimes things don’t go as planned. Don’t panic! Most issues have simple solutions. Here’s a quick checklist to help you get back on track.
Is Your Printer Even Ready?
Double-check that your printer is powered on. Make sure its Wi-Fi indicator light is on or blinking, showing it’s trying to connect. Verify that the Wi-Fi feature is enabled in the printer’s settings menu.
Check Your Network Credentials
Are you absolutely sure you entered the correct Wi-Fi name (SSID) and password? Typos happen to the best of us. Try entering them again, paying close attention to uppercase and lowercase letters.
Router Proximity and Interference
How far is your printer from your Wi-Fi router? Walls, metal objects, and other electronics can weaken the signal. Try moving the printer closer to the router temporarily. If that helps, you might need a Wi-Fi extender.
Restart Everything!
This classic IT solution often works wonders. Turn off your printer, your Wi-Fi router, and your computer. Wait about 30 seconds. Then, turn them back on in this order: router first, then printer, then computer. This can clear temporary glitches.
Driver and Software Checks
Ensure you have the correct printer drivers installed on your computer. Go to the manufacturer’s website and download the latest version. Sometimes, reinstalling the drivers can fix communication problems.
Consult Your Manual
Your printer’s user manual is your best friend for specific troubleshooting steps. It will have model-specific advice that can be incredibly helpful. Many manuals are also available online as PDFs.
Conclusion
You’ve now seen how connecting your thermal printer to Wi-Fi is totally achievable, even if it sounds techy. We’ve covered using built-in features or adapters, and the general steps involved, from finding your network to installing drivers. Remember, a stable wireless connection means a cleaner workspace and easier printing for everyone. Don’t let those cables hold you back! Your next step is to gather your Wi-Fi details and navigate your printer’s settings to get it online.
Frequently Asked Questions
Can I connect any thermal printer to Wi-Fi?
Most modern thermal printers have Wi-Fi built-in. If yours doesn’t, you can often use a separate Wi-Fi adapter. Always check your printer’s model specifications or manual first to see your options.
What if my printer isn’t found on the network?
Make sure your printer is within your Wi-Fi router’s range and that Wi-Fi is enabled on the printer. Restarting your router and printer often solves this issue. Ensure your computer and printer are on the same network.
How do I know if my Wi-Fi password is correct?
Printers usually give an error message for incorrect passwords. Double-check your password for typos, paying close attention to capitalization. It’s best to have it written down nearby when you connect.
Will connecting to Wi-Fi make my printer faster?
Wi-Fi itself doesn’t usually increase print speed. Its main benefit is convenience and eliminating wires. Print speed depends more on the printer’s hardware and the data it’s processing.
Do I need a special app to print wirelessly?
Some printers require a manufacturer’s app for setup or advanced features. Many newer models work directly with your computer’s built-in printer settings. Mobile printing often uses dedicated apps or standards like AirPrint and Mopria.